
Last Updated on 2 July, 2026
Starfield delivers a massive universe to explore, but progression hurdles and steep achievement requirements can sometimes stall your interstellar journey. This guide provides advanced troubleshooting steps for critical quest bugs, highly efficient strategies to unlock rare collectibles, and a specialized method to maximize your character level through space combat. By mastering these tactical workarounds and optimized farming paths, you can safeguard your campaign progress and complete your achievement checklist efficiently.
Table of Contents
Bypassing the Into the Unknown Quest Softlock
Understanding the Constellation Progression Bug
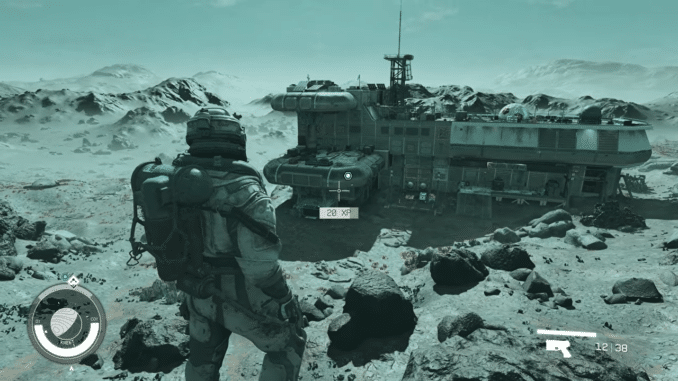
During the primary Constellation storyline, players encounter a severe progression block immediately following the conclusion of the mission known as The Old Neighborhood. Under normal parameters, the completion of this assignment triggers the automatic initialization of three distinct branches in your mission log. You should receive Back to Vectera, The Empty Nest, and Into the Unknown simultaneously.
However, a critical system error frequently disrupts this flow. The game engine successfully lists Back to Vectera and The Empty Nest but completely fails to generate Into the Unknown. This missing entry creates a definitive softlock. Because the subsequent major story milestone, All That Money Can Buy, demands the absolute completion of all three prior branches, you cannot advance the central campaign through conventional gameplay.
Initial Diagnostic Procedures
Before executing invasive quest-skipping overrides, you must accurately diagnose the exact status of the broken mission within your game session. Open the developer console interface and execute the query code below to evaluate the current script state:
sqv 000160A9When a system experiences this specific campaign failure, the console output typically displays a distinct set of values indicating that the quest engine failed to wake up:
| Diagnostic Parameter | Expected Broken Value | Significance |
|---|---|---|
| Enabled | No | The quest asset rests entirely dormant in system memory. |
| State | Stopped | The script manager is not actively running the mission. |
| Current stage | 0 | The mission has captured zero progress or milestone data. |
To cross-verify this frozen data, run the secondary verification inquiry:
getstage 000160A9If this check returns a value of zero alongside the stopped status, the game engine failed to properly initialize the mission framework during the transition from the previous assignment.
Standard Verification and Recovery Commands
If your diagnostic checks confirm a stuck stage zero status, you should attempt gentle system restoration commands before considering a complete narrative skip. These inputs attempt to force-start the dormant asset without bypassing the story content.
First, input the standard activation sequence into the console:
startquest 000160A9Deactivate the console screen, permit the game engine to process background scripts for several seconds, and check the status again using sqv 000160A9. A successful recovery updates the quest parameters and places the entry directly into your active log. If the parameters remain completely unaltered, input the modified force-start command:
startquest 000160A9 1Evaluate the results through the status query tool once more. If the script manager refuses to budge from its stopped state, you can attempt to push the mission forward into its initial operational milestones by inputting early stage indicators. Run the following entry:
setstage 000160A9 5Follow this action with the standard sqv 000160A9 diagnostic to see if the engine registers the change. If the status remains entirely unresponsive, try to bump the script to the next logical stage by entering:
setstage 000160A9 10Run a final verification query. If the engine rejects every single one of these preparatory restoration inputs, your main Constellation campaign structure is completely frozen through normal channels, necessitating a manual leap over the broken content.
Alternative Non-Console Strategies
For players who prefer to avoid console commands entirely, a few community-reported alternative methods might jump-start the stalled story framework. These tactics do not offer absolute certainty, but they can occasionally trigger a necessary script refresh.
- Timeline Reversion: Load an older save file that predates the completion of The Old Neighborhood. Replay the final dialogue exchanges and transitions of that mission completely. This action forces the game engine to re-evaluate the handoff sequence, which frequently yields a clean initialization of all three subsequent story paths. Though you sacrifice a small amount of play time, this remains the safest alternative.
- Story-Manager Refreshes: Continue playing other components of the game for an extended duration without using console tools. Engaging in completely independent activities can sometimes force the background story manager to refresh its pending quest queue. Activities that might trigger this refresh include finishing random side tasks, wrapping up radiant board assignments, establishing and expanding planetary outposts, loading autosaves during transitions between major world zones, completing faction-specific questlines, or advancing auxiliary missions that you accepted before completing The Old Neighborhood.
The Ultimate Workaround: Skipping the Quest
When all traditional recovery avenues fail, you can bypass the softlock by manually initializing the next major campaign milestone. This structural leap essentially forces the campaign to look past the missing content so you can continue your journey. Input the following target override into your developer console:
setstage 002C1C9B 0This specific action bypasses the broken branch entirely and forcibly activates the quest line for All That Money Can Buy. To confirm that the campaign engine has accepted this manual leap, evaluate the new quest asset by running:
sqv 002C1C9BOpen your standard in-game mission log and check for the visible inclusion of All That Money Can Buy. If the title displays correctly in your journal, the primary campaign progression loop can resume.
Important Narrative Notice: You must realize that this action does not repair the underlying bugs affecting Into the Unknown. It simply skips the entire mission. Consequently, this workaround disrupts the intended narrative framework and can leave several story elements, asset states, or companion introductions in a broken or missing condition.
Post-Skip Restoration and Repairs
Because skipping a major story chapter leaves certain companion statuses, items, and unlockable abilities in an incomplete or broken state, you must implement manual post-skip fixes to stabilize your save file.
Companion Recovery
Skipping the mission circumvents the conventional introduction of the companion named Andreja. To locate her asset and fix her status within your active game world, execute the general reference query:
help Andreja 4 ACHRThe console will return a specific reference identification code unique to her character. For instance, a typical session might output the reference code 000059A9. Once you obtain this identification string, select the target and summon her directly to your coordinate position by entering:
prid 000059A9
moveto player
Substitute the example code with the exact reference string generated by your console query. When she appears, initiate a conversation to check her dialogue trees and companion recruitment choices. If she arrives but lacks standard companion recruitment functionality, her physical NPC exists successfully, but her underlying companion status flags remain broken or uninitialized due to the skipped story content.
Ability Acquisition
The normal progression of Into the Unknown awards players their very first special capability, known as the Anti-Gravity Field. Because the skip completely bypasses the temple sequence associated with this reward, you must grant the capability to your character manually by inputting:
player.addspell 2BACBAMonitoring Future Progression
As you advance further down the main story path, pay close attention to your mission log for the arrival of the quest titled Power From Beyond. If this asset generates naturally and allows you to interact with Vladimir to locate additional celestial temples, your save file has stabilized sufficiently for long-term play. If Power From Beyond never appears, the overarching temple and capability acquisition framework remains permanently broken in your current playthrough.
Additionally, skipping this section leaves the physical Artefact table in an inconsistent state within your primary headquarters. No console solution currently exists to fix the visual or physical state of the table, and it remains unknown whether this specific structural inconsistency causes further issues deep in the late-game campaign layers.
Farming Action Figures for the They’re Not Toys Achievement
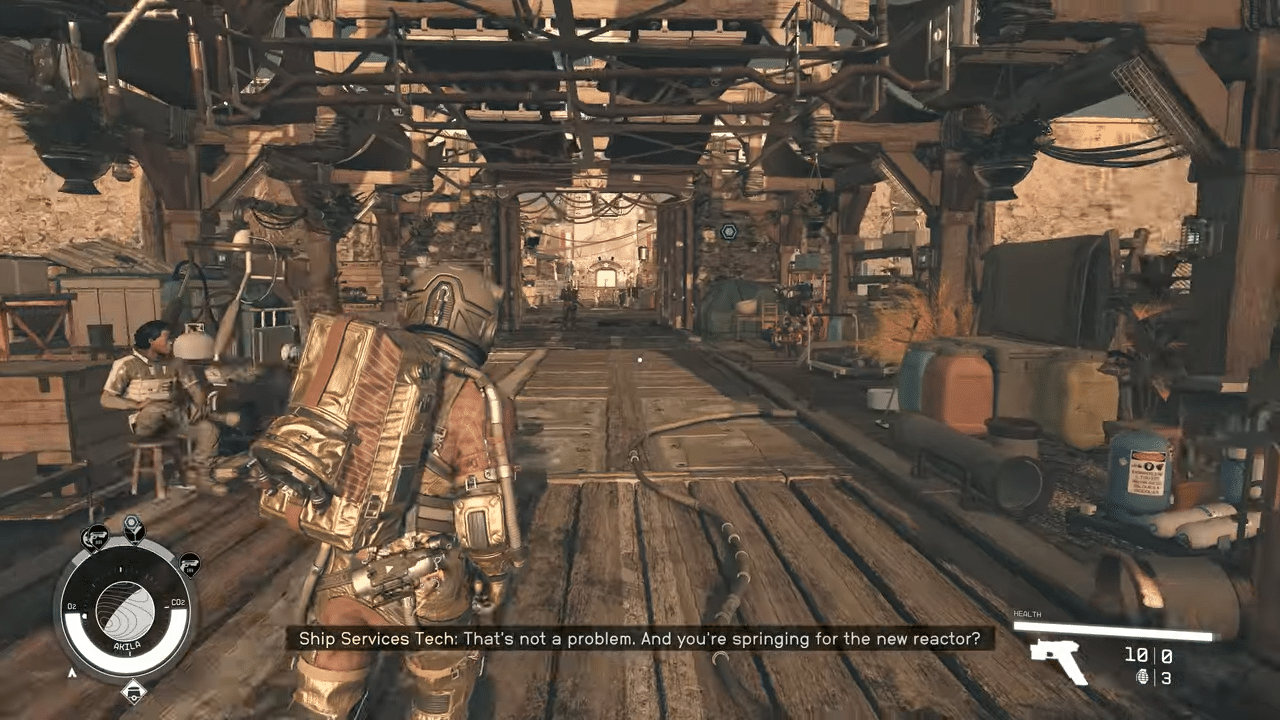
The Jade Swan Duplicate Storage Method
If you seek a rapid strategy to gather the necessary collectibles for the “They’re Not Toys!” achievement, you can exploit a specific cell-reloading loop during the Crimson Fleet faction storyline. This method requires your campaign to be at a precise point in the mission titled The Best There Is, specifically at the step instructing you to meet Huan aboard the vessel named the Jade Swan.
To execute this loop efficiently, implement the following steps in precise order:
- Board the Jade Swan vessel at its docking point.
- Navigate directly to the designated Captain’s Storage container and loot every single item inside.
- Access your universal star map and fast travel straight to the location known as The Lodge.
- Walk through the front doors to enter the interior space of The Lodge.
- Turn around immediately and exit the front doors to return to the exterior zone.
Every single iteration of this specific travel pattern forces the Jade Swan cell to reload its environment. Instead of wiping the container, the game engine rolls a brand-new assortment of loot inside the Captain’s Storage and stacks it directly on top of the previously generated items. Repeat this travel loop back and forth until the massive accumulation of stacked items begins to negatively impact your game’s rendering performance.
Once the area begins lagging, activate your hand scanner, fast travel directly to New Atlantis, and board the ship to collect the massive pile of accumulated loot from the container. Entering and exiting The Lodge roughly 20 times typically yields an aggregate haul of 3 to 8 randomized action figures. Travel back to The Lodge and continue running this loop until you secure the achievement. Note that if you have already completed the Crimson Fleet storyline past this specific mission, you must enter New Game Plus to access this farming method.
Securing Guaranteed Figures at Anchorpoint Station
Before subjecting yourself to the random number generation patterns of endless farming loops, you should collect the guaranteed, non-random figures available in the game world. Travel directly to Anchorpoint Station, which sits located within the Algorab star system. This facility contains exactly 5 fixed action figures that spawn reliably regardless of random loot tables.
You can pinpoint the exact locations of these 5 guaranteed items across the station layout:
- Commander Sarah Morgan: Look inside Rishi Saint’s private quarters, positioned clearly upon a storage shelf.
- Freestar Mech Pilot: Located directly inside the defunct security safe that features a riddle mechanism. You must gather the local clues scattered nearby to unlock it.
- Terrormorph: Found inside the secure holding chest for seized items located within the main security office.
- Sealed Kaiser & Sealed Terrormorph: Both collectibles sit tucked away together inside an overhead ventilation shaft positioned directly above the engineering zone, specifically within Maddie’s assigned section.
Gathering these 5 items establishes an excellent foundation for your collection, leaving only the random drops to be acquired through targeted farming loops.
The Terran Armada Patrol Loot Cycle
Once you harvest the fixed collectibles from Anchorpoint Station, you must rely on optimized farming loops to gather the remaining random figures. The most effective strategy involves targeting Terran Armada patrols, with a strict focus on large capital ships such as Saladin-class vessels or identical patrol leaders. These specific hulls utilize higher-tier randomized container tables. Smaller escort craft do not possess these tables and will only waste your time.
To execute this farming loop efficiently, follow these procedural steps:
- Shift your spaceship into cruise mode by pressing the appropriate input key.
- Search the immediate space for an active Terran Armada patrol, which typically comprises a group of 3 spaceships.
- Isolate the largest vessel in the formation and systematically destroy all accompanying minor escort ships first.
- Swap over to your precise targeting mode system and target only the primary engines of the large ship to immobilize it completely.
- Approach the disabled vessel and trigger a manual save file immediately before boarding.
- Board the craft and run directly to the Captain’s Locker container, ignoring the standard cargo hold entirely.
The Captain’s Locker stands as the only container on these vessels that consistently rolls action figures. If the locker contains a duplicate figure or yields no collectible at all, reload your manual save file and board the ship again. This action forces the container to reroll its entire loot table instantly, saving you from hunting down entirely new patrols across the star map.
If you are farming ground locations instead, the same idea can work there too. Before entering an old mine, factory, facility, or other interior area, make a manual save outside first. Then go inside and check the Military Crates, Science Crates, and Industrial Crates. If nothing good appears, reload your outside save and enter again to reroll the containers.
Advanced Strategies for Incursions and the Battle of the Unifier
If you prefer alternatives to hunting random patrols in deep space, you can utilize two highly reliable spawning methods to locate Saladin-class capital ships.
The Unifier Spawning Ground
During the major campaign assignment titled Battle of the Unifier, the game engine generates an infinite stream of hostile Terran ships. You can park your ship in this conflict zone, ignore the main targets, and focus entirely on isolating Saladin-class hulls. Disable their engines, dock, generate a manual save file while connected to the hull, and board to inspect the locker. Be aware that the continuous destruction of ships in this zone causes large amounts of space debris to collect around the Unifier structure. Over time, this debris accumulation degrades your rendering performance and drops your frame rates significantly, forcing you to finish the battle under sluggish conditions.
The Incursion Sleep Loop
If you have already passed that story milestone, you can generate major incursions manually. Sleep in your ship’s bed to advance time, which triggers fresh space incursions. Initiate cruise mode a few light-seconds away from the target zone and save your game. Approach the point, and if the arriving escort force lacks a Saladin-class capital ship, reload your save to reroll the encounter.
The Ultimate Spaceship and Experience Point Grind
Setting Up the Battle of the Unifier Grind
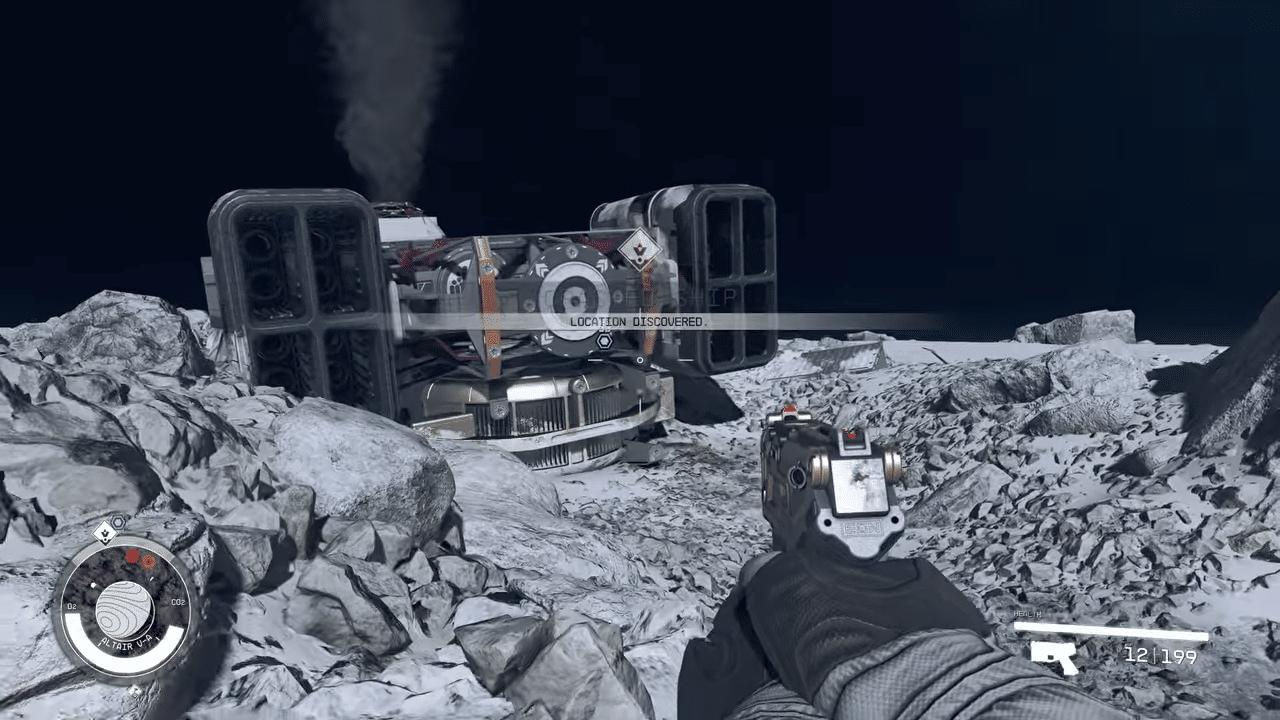
For players seeking rapid experience point gains, the final stages of the Battle of the Unifier mission within the Terran Armada expansion offer an exceptional combat grind. This method can regularly yield between 300 and 700 experience points per individual ship kill while throwing a constant stream of 5 to 15 enemy targets at your ship every minute. The overall speed of this leveling loop depends entirely on your ship’s offensive damage output.
To establish this endless grinding loop, advance through the main storyline of the Terran Armada DLC until you reach the mission titled Battle of the Unifier. Proceed through the initial engagement objectives until you successfully destroy the local shield amplifiers. I recommend doing this as soon as you can. From there, you must immobilize the Unifier vessel completely.
As long as the Unifier remains completely immobilized but not fully destroyed, the scenario script forces an endless wave of enemy spaceships to jump into the sector. Friendly AI forces will continuously warp into the area to back you up, ensuring that you never face the endless fleet completely alone. This endless spawn loop allows you to farm experience points indefinitely, making it highly effective even for characters well past level 100. If you have already done the mission, you could always get onto the new game plus and do it again.
Optimizing Difficulty Settings for Maximum Experience
To maximize the efficiency of this space battle grind, you should alter your gameplay difficulty settings before initiating the endless waves. The game engine awards distinct experience multipliers based on the combat settings you apply.
| Difficulty Category | Recommended Grinding Level | Experience Impact |
|---|---|---|
| Player Damage Output | Maximum / Extreme | Accelerates time-to-kill metrics; keeps enemies from feeling spongy. |
| Enemy Ship Damage Output | Hard | Provides a welcome 2% experience boost without making survival impossible. |
| General Auxiliary Settings | Harder / Extreme Options | Maximizes cumulative experience point scaling across all kills. |
Adjusting the player damage setting to its highest tier ensures that your weapon systems shred enemy hulls quickly, maintaining a high kill-per-minute ratio. Normally, playing with extreme enemy ship damages creates a realistic feel where your character can die easily. However, for this specific mission, you should change the enemy ship damages to hard to secure a two percent experience boost, or lower them entirely for no boost and no experience loss. This ensures your survival during the endless onslaught. If you possess an overpowered ship in terms of defense, it may be different, and you may keep extreme enemy ship damages. Most of the settings are set at harder difficulties so you have more experience boosts, you should do the same.
Performance and Hardware Considerations
Because this leveling method relies on an endless script loop that keeps spawning assets in a single space zone, it places a heavy burden on your system’s hardware. Under normal exploration conditions, powerful setups like an RTX 5070Ti graphics card can easily maintain a smooth 60 frames per second at a crisp 4K resolution. However, the continuous accumulation of destroyed ship hulls, engine effects, and space debris around the Unifier structure slows your game down significantly over time. This frame rate degradation occurs entirely regardless of your graphic settings. Eventually, your frame rate might drop all the way down to 25 frames per second.
To maintain playable performance during extended grinding sessions, apply the following adjustments:
- Lower your primary rendering resolution before initiating the space battle.
- Drop your general graphical presets down to medium or low settings to ease the rendering load on your GPU.
- If you have already finished this mission in your current playthrough, jump into a New Game Plus cycle to access the mission framework again.
Conclusion
Whether you are bypassing a frustrating campaign softlock or chasing rare collectibles, mastering Starfield’s underlying game systems gives you a massive advantage. Using targeted console commands can safely restore a broken save file, while precise cell-reloading loops remove the tedious randomness from collecting rare action figures. Additionally, locking the Battle of the Unifier mission into a permanent combat state provides one of the fastest leveling loops in the galaxy. Keep these strategies in mind, optimize your ship’s systems, and explore the settled systems on your own terms.

Leave a Reply