
Last Updated on 26 June, 2026
Welcome to the definitive resource for conquering Fatekeeper. Perhaps your gaming rig shows its age, struggling to maintain smooth performance during intense graphical encounters. Maybe the repetitive startup sequences test your patience every single time you launch the application. Or perhaps a massive Minotaur completely halts your progress, crushing your character repeatedly in the circular boss arena. This comprehensive guide addresses all these challenges. We provide a meticulous breakdown of graphical adjustments for older systems, a quick tutorial on speeding startup, and an exhaustive combat blueprint to defeat the formidable Minotaur boss. By mastering these techniques, you will transform your gaming experience from frustrating to triumphant.
Table of Contents
- Optimizing Fatekeeper for Aging Computers
- Bypassing the Startup Video Sequences
- Analyzing the Minotaur Battlefield
- Decoding Enemy Attack Patterns
- Executing the Perfect Evasion Strategy
- Selecting the Optimal Talent Tree Build
- Brewing Potions and Crafting Deadly Poisons
- Delivering the Final Blow in Combat
- Conclusion
Optimizing Fatekeeper for Aging Computers
Hardware Expectations
If you have an older personal computer equipped with a dated graphics processing unit, you might wonder if Fatekeeper remains playable. We base our performance benchmarks on a specific hardware configuration.
- CPU: Intel Core i7-7700 processor running at 3.60 gigahertz.
- RAM: 32 gigabytes of random-access memory.
- GPU: NVIDIA GeForce RTX 2060 graphics card with 6 gigabytes of video memory.
Before adjusting any toggles, you must assess their personal frame rate expectations and visual tolerance levels. Attaining anywhere from twenty to thirty frames per second constitutes a highly playable experience for this title. During the initial hours of your journey, your frame rate will likely soar well above those numbers. However, you must anticipate a gradual decline in performance as the environments become more demanding over time.
If you remember purchasing The Elder Scrolls IV: Oblivion back in 2006 you understand this struggle perfectly. Back then, enthusiasts often attempted to run the massive roleplaying game on obsolete hardware like the GeForce4 MX440, completely lacking crucial Pixel Shader support. If you belong to that resilient generation of gamers who endured severe performance bottlenecks after minor upgrades, achieving twenty to thirty frames per second in Fatekeeper will feel absolutely fine. If you demand a flawless sixty frames per second constantly, this particular hardware guide might not suit your needs.
Display and Quality Settings
To extract the maximum performance from your aging rig, you must navigate to the display settings menu and apply specific parameters. Select the WindowedFullscreen option for your primary display mode, as this particular setting yields the most stable results during gameplay. Ensure your resolution rests at exactly 1920 by 1080 pixels. You must turn the unlimited frame rate option off entirely. Instead, cap your maximum frame rate to a value strictly below fifty. Finally, enable the VSync function. Keep in mind that if you experience severe input lag or stuttering later on, you should immediately disable VSync as your very first troubleshooting step.
Moving on to the detailed graphics tab, you need to select the Custom tier for your overall visual quality. Change your shadow quality, reflection quality, and shading quality to the Medium setting. You hold the freedom to push all other quality related toggles to the High setting. However, you must exercise caution. Right before you enter highly intense combat scenarios, you should proactively lower those High settings back down to Medium. Following this proactive step two or three times throughout your playthrough will save you from catastrophic frame drops.
You must adhere to one strict graphical rule regarding reflections. Never set your reflection quality to Low. If you ignore this warning, the game engine will generate terribly distorted lighting effects and corrupted color palettes. Dropping other miscellaneous options to the Low tier might also produce visually unsatisfactory environments, so maintain the Medium baseline wherever possible.
Upscaling and Overclocking Tactics
Upscaling technologies provide the final piece of the performance puzzle. You possess three primary options in this category. First, you can utilize TSR. Adjust the TSR slider anywhere between the values of 50 and 90. If you find yourself in a desperate situation with unplayable lag, you can drop the TSR value below 50 as an absolute last resort, sacrificing significant visual clarity for a crucial performance boost. Second, you can activate DLSS. When exploring highly detailed areas or engaging in chaotic battles, push the DLSS slider toward the Performance setting. Third, you might opt for FSR. If you choose FSR, absolutely avoid selecting the Performance or Ultra Performance tiers. Making that mistake triggers the exact same visual degradation issues mentioned earlier regarding the Low quality toggles.
For those willing to push their hardware further, a moderate dose of overclocking can yield excellent results. Naturally, you must undertake any hardware modifications entirely at your own risk. Using an EVGA branded NVIDIA graphics card allows you to utilize the EVGA Precision X1 software suite. Inside this application, increase your core clock by exactly 130 megahertz. Follow this by boosting your memory clock by exactly 1000 megahertz. Ensure you maintain the previously mentioned 50 frames per second limit. Implementing these precise overclocking values provides a tangible performance increase of roughly 5 frames per second, varying slightly depending on the complexity of the current scene.
Bypassing the Startup Video Sequences
Locating the Directory
Every time you launch Fatekeeper, the application forces you to watch lengthy branded intros. You can permanently eliminate these delays by modifying your local game directory files. Open your Steam library interface and locate the game in your software list. Right click the title, hover your cursor over the Manage option, and click on the Browse local files button.
Your operating system will open the root game directory. From this starting point, navigate into the folder named SLASHER. Next, open the Content directory. Finally, enter the Movies folder. For reference, the complete file path looks exactly like this: Steam\steamapps\common\Fatekeeper\SLASHER\Content\Movies.
Modifying the Files
Inside this folder, you need to locate two specific video items.
Paraglacial_LogoSequence_Black_4k_60fps_240Mbps_QT_SoundTemp.bk2THQNordic_Logo.bk2
You hold two options for dealing with these files. You can safely delete them entirely, or you can rename them by adding a random character to their extensions. Performing either action prevents the game engine from loading the videos. Once you complete this simple modification, you can launch the application and immediately jump into the action.
Analyzing the Minotaur Battlefield
The Center Lantern
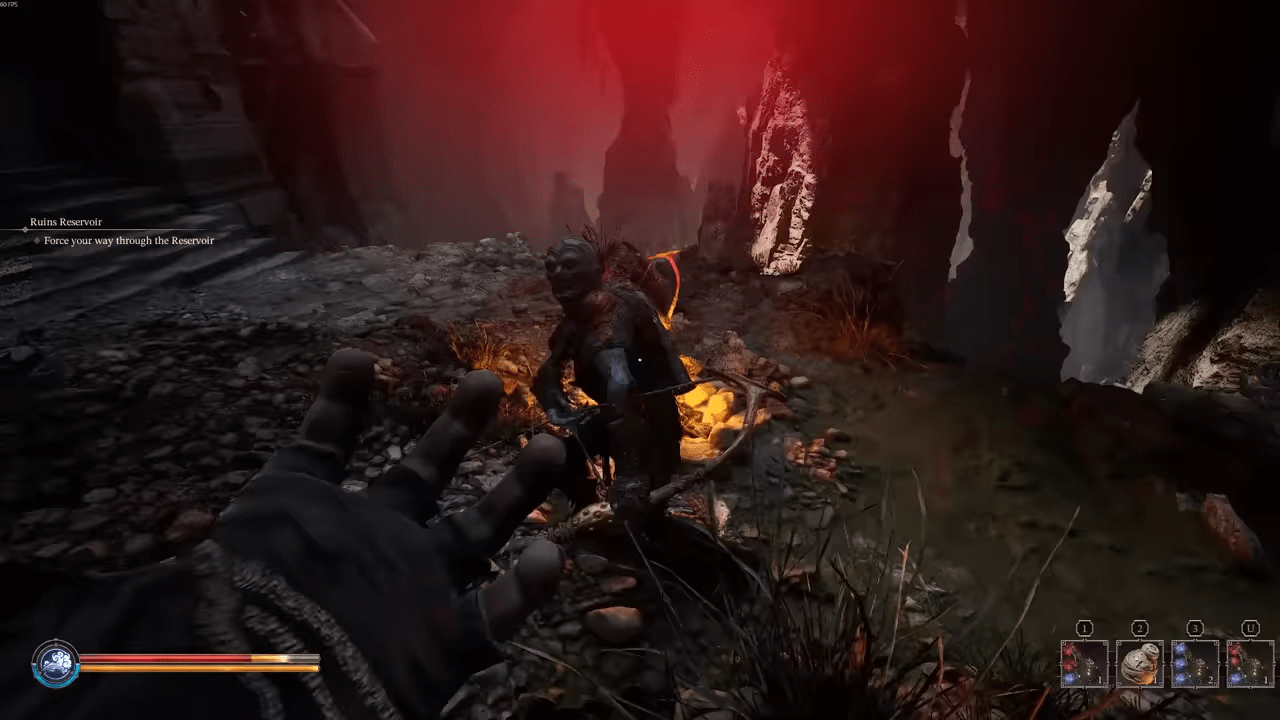
Defeating the fearsome Minotaur requires a deep understanding of your surroundings. The developers designed the boss arena as a remarkably simple circular room. In the exact center of this space, you will notice a glowing lantern. Do not let this object distract your attention. The lantern serves a purely decorative purpose, placed there solely to illuminate the dark environment. It offers no tactical advantage and presents no hidden mechanics.
Perimeter Spikes
Along the outer edges of the circular room, you will spot several sharp wall spikes. While these hazards might look tempting to use against the massive boss, you should ignore them during your primary engagement. You can theoretically use these perimeter spikes to eliminate the smaller minions that spawn during the encounter, but they deal negligible damage to the Minotaur himself. Focus your attention entirely on the main enemy rather than the environmental traps.
Decoding Enemy Attack Patterns
Close Quarters and Area Effects
The giant beast utilizes a strictly defined set of six distinct attack patterns. Learning to recognize the startup animation for each move ensures your survival in the arena.
- Simple Punch: He typically initiates the battle with this rapid strike the very moment you cross the arena threshold. This specific attack triggers incredibly fast, and he executes it with alarming speed whenever you stand in close proximity to his body. Furthermore, he often incorporates this quick punch into a longer combination of strikes, frequently launching it immediately after completing a much larger swing.
- Stomp: This brutal maneuver inflicts a massive amount of damage upon impact. Fortunately, the animation provides a clear visual warning. Watch his lower body carefully, and you will spot him lifting his massive foot into the air. When you see this warning sign, you must quickly create plenty of distance between yourself and the boss. Alternatively, you can attempt to leap directly over the resulting shockwave, and we highly recommend choosing the jumping method for maximum safety.
Rushing Maneuvers
- Head Charge: He prefers to trigger this aggressive rushing attack whenever you stand at a medium distance from his position. Evading this maneuver proves rather tricky and demands a significant amount of practice to master. To survive, you must perform a swift sidestep maneuver and immediately follow it with a quick dash.
- Axe Charge: He unleashes this secondary rushing attack when you stand too far away from him. Pay close attention to his weapon hand. The exact moment he raises his giant axe into the air, you must dodge out of the way and immediately strike him. Right after landing your counterattack, dash backward rapidly to reestablish a safe distance.
Heavy Weapon Strikes
- Heavy Swing: Interestingly, this terrifying maneuver actually provides your greatest opportunity to deal damage. However, you must exercise extreme caution. The boss frequently chains a second swing or a rapid punch onto the end of this attack. Therefore, you must only launch your counteroffensive if your evasion successfully staggered him. He retains the ability to add one or even two additional follow-up strikes to his initial Heavy Swing.
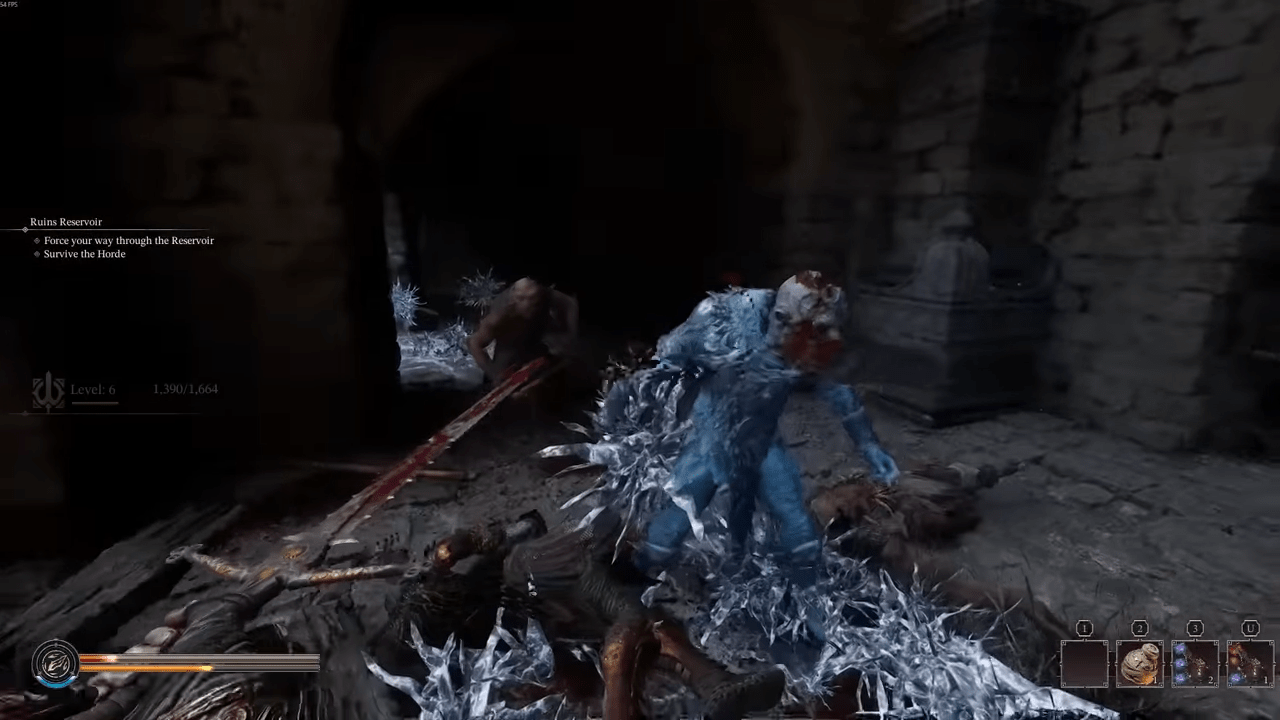
- Overhead Slam: This massive vertical strike often tricks players into believing they have an opening to attack. Do not fall for this deadly trap. After bringing the weapon down, he will immediately swing his axe in a violent upward motion that will absolutely hit you.
Executing the Perfect Evasion Strategy
Mastering the Stagger
Now that you understand every single attack in his arsenal, we must discuss the precise tactical approach required to secure your victory. The fundamental strategy for defeating this enemy revolves entirely around the perfect dodge mechanic.
You must time your evasive rolls flawlessly. Executing a perfect dodge directly causes the massive boss to enter a staggered state. While he remains temporarily incapacitated, you gain a brief window to safely land two or three solid attacks. After absorbing your strikes, he will recover his balance rapidly, so you must immediately prepare yourself to evade his next incoming assault.
Strategic Retreats
Managing your health pool dictates the tempo of the fight. We strongly advise against running blindly away from the enemy under normal circumstances. You should only attempt to create distance after you successfully stagger him with a perfect dodge and desperately need to consume a healing item. The exact rhythm of survival requires you to stagger the boss, sprint away to a safe distance, and then drink your potion safely.
The Circling Method
Because the battle takes place inside a circular arena, you must utilize a constant circling technique. Take a close look at the graphical model of the boss. You will notice that the right side of his body features heavy armor plating. In stark contrast, the left side of his body remains completely exposed. Therefore, you must constantly circle the enemy by moving toward your right side in a counter-clockwise path. Constantly dodging to your right side perfectly exposes his unprotected arm and face to your weapon strikes.
As a professional combat tip, you should incorporate your kicking ability into your offensive rotation. Immediately after landing a perfect dodge and forcing the boss into a staggered animation, you can execute a powerful kick. This specific action completely knocks the giant enemy down to the floor, granting you enough time to land multiple uninterrupted hits.
Selecting the Optimal Talent Tree Build
Maximizing Health
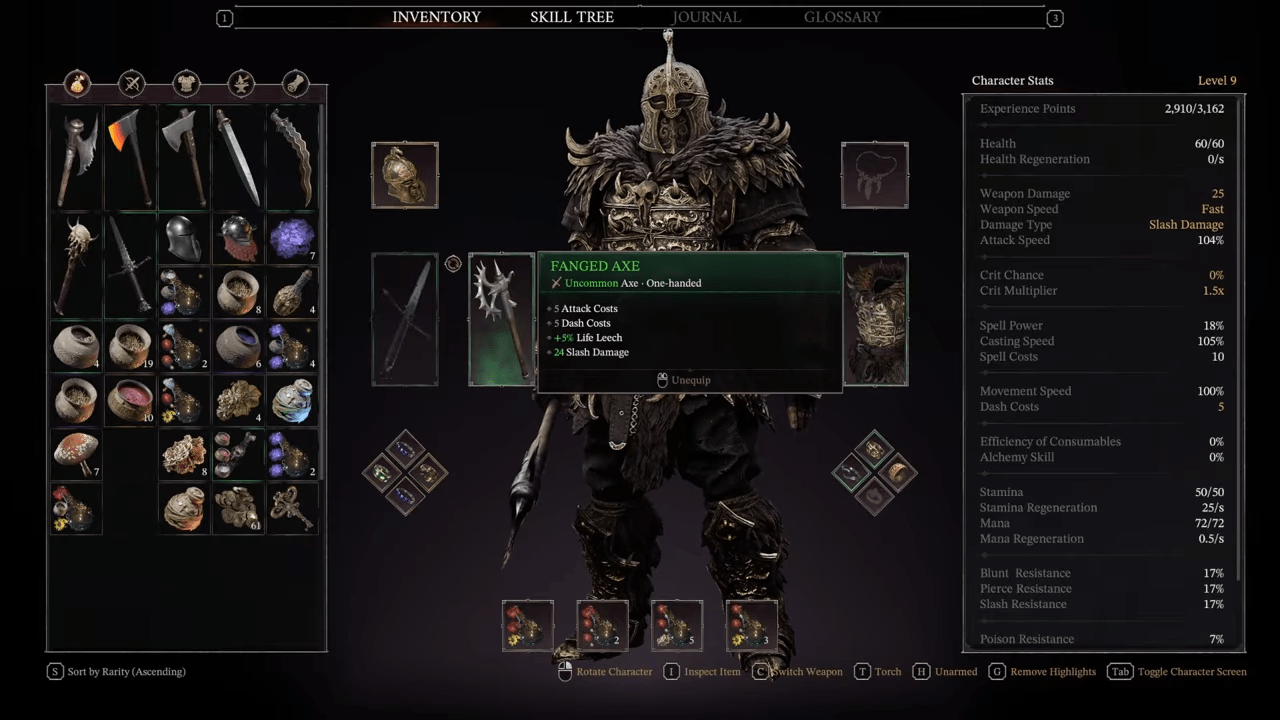
Preparing for this encounter requires specific character progression choices. You must allocate your earned skill points heavily into the Fortitude tree to maximize your survivability. Invest exactly three points into the Minor Health node, and follow that by placing one point into the Greater Health node.
Managing Stamina
Next, shift your attention to your energy reserves. Dedicate three points into the Stamina node, and finish your progression by placing one point into the Greater Stamina node. This specific distribution guarantees you possess enough energy to constantly dodge while maintaining a large enough health pool to survive an accidental hit.
Brewing Potions and Crafting Deadly Poisons
Essential Restorative Mixtures
With your talents secured, you must utilize the crafting system to prepare essential consumables. You need to gather materials to craft three distinct types of potions, and you should ensure you carry exactly two copies of each specific potion type into the arena.
- Healing Mixture One: Combine three Crimson Wardbloom plants to create a potion that restores thirty points of health.
- Healing Mixture Two: Process three Everkin ingredients to brew a mixture that heals twenty one points of health.
- Defensive Elixir: Utilize three Rockflower herbs to concoct a powerful defensive elixir that grants you a fifteen percent physical resistance buff lasting for exactly fifteen seconds.
Formulating the Toxic Toxin
Beyond standard healing items, you must formulate a highly specific poison. This toxic recipe requires three precise ingredients. You must use Widowhaulm as your base ingredient to apply the poison effect itself. You must blend in Everkin to successfully extend the overall duration of the affliction by fifty percent. Most importantly, you must include Azuremash in the mixture.
Adding Azuremash alters the chemical properties of the poison, causing it to deal an extra fifteen percent of the target’s health damage as additional mana damage. This specific toxin completely breaks the difficulty of the encounter. Because the boss features incredibly high defensive statistics and a massive health pool, the percentage based damage melts his life bar rapidly.
Delivering the Final Blow in Combat
Initiating the Encounter
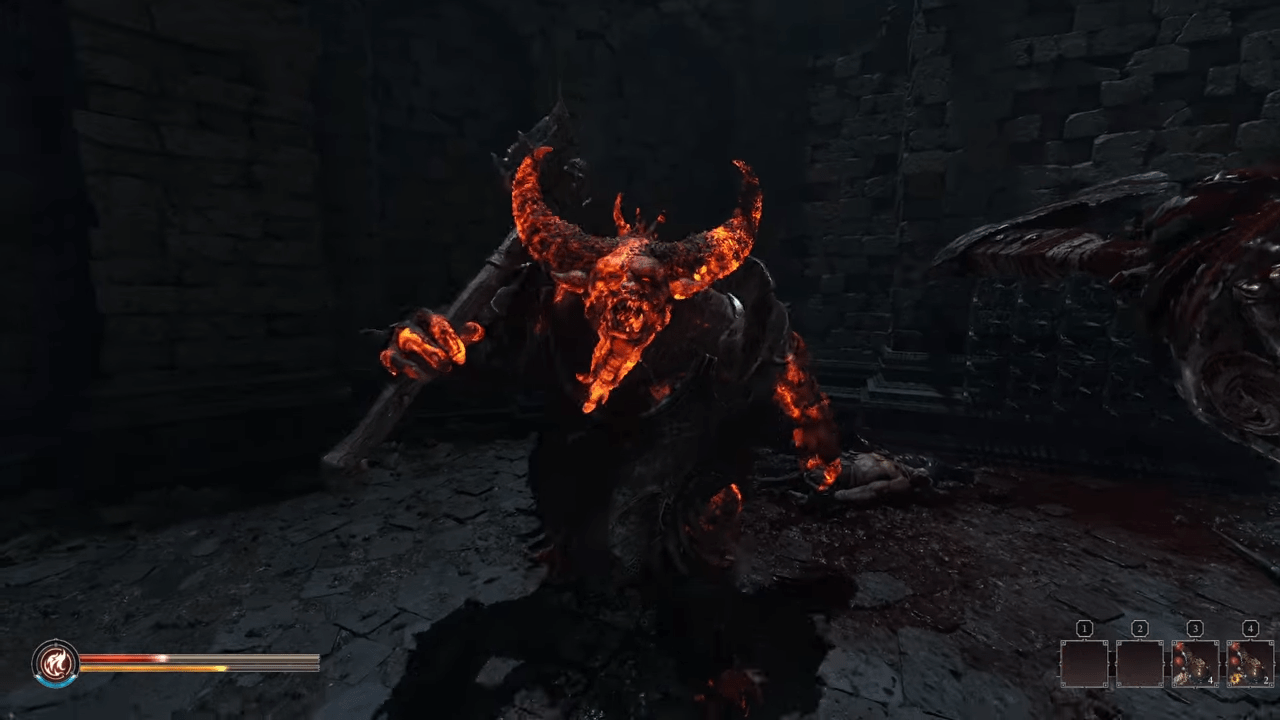
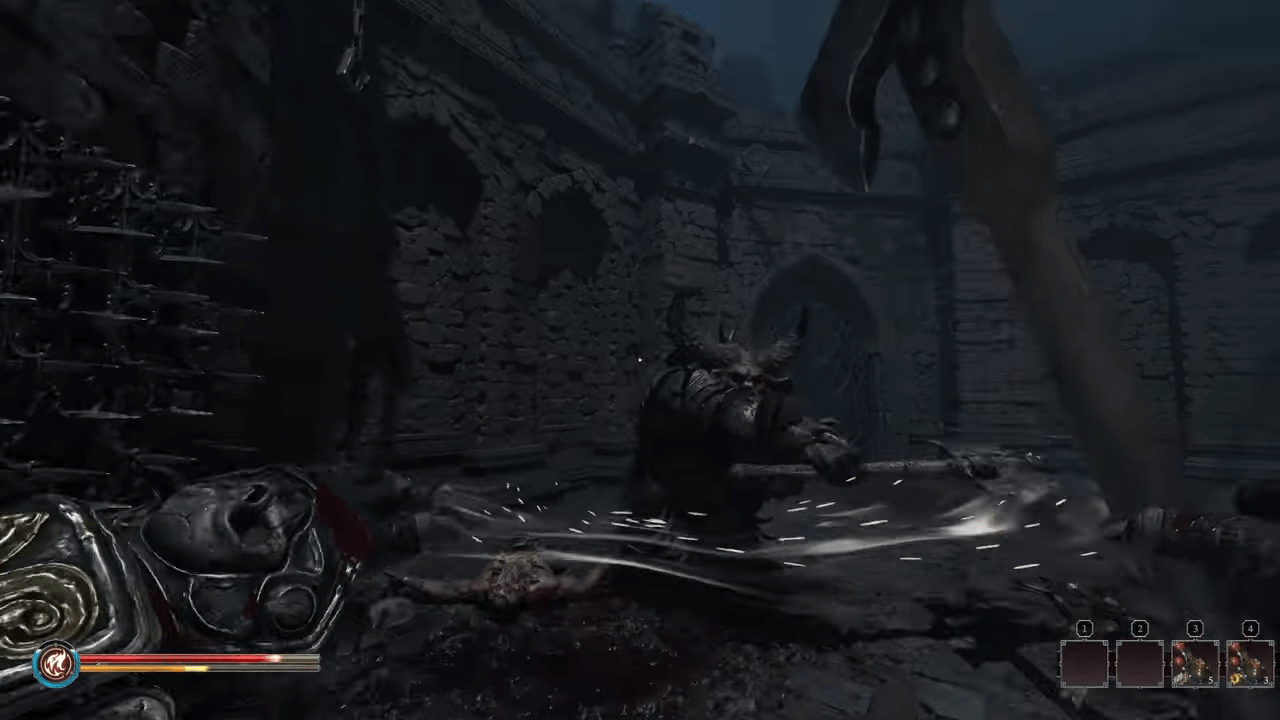
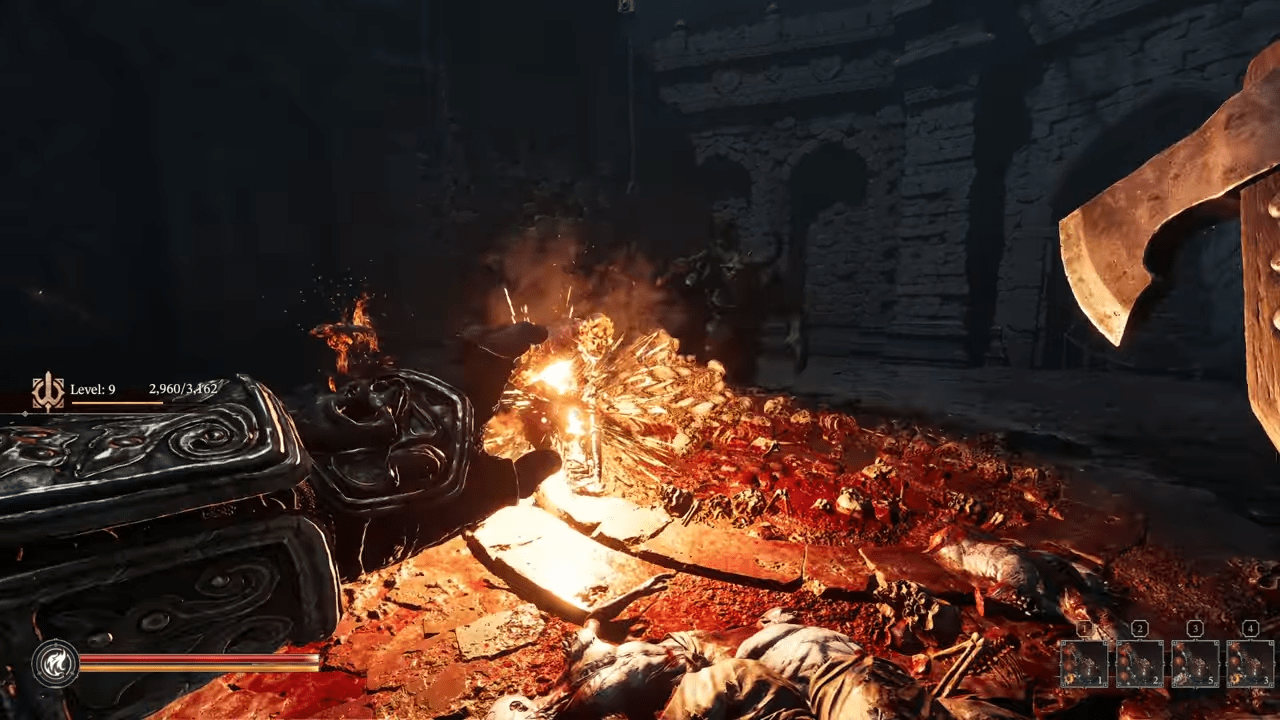
When you finally step into the ring, the best initial strategy involves letting the boss perform his rushing attacks. Focus on kiting the massive creature around the circular room, strategically positioning him so his wild charges crush and kill the three smaller goblins that inhabit the arena. Maintain a significant distance from the main threat and continuously throw fireballs at his exposed areas.
Capitalizing on Openings
When he inevitably charges directly at you, wait until the very last second to execute your perfect dodge. Timing this correctly at the end of his charge triggers a slow motion effect, giving you the perfect opportunity to strike his vulnerable side two or three times. Always remember to raise your guard and block his two follow-up melee attacks immediately after your offensive burst. Once you block the strikes, either follow up with another quick attack or dash away to create distance once again.
Consume your crafted healing potions only when absolutely necessary, adhering to the stagger and retreat method discussed previously. Once you adapt to the rhythm of the encounter and recognize his patterns, wait for a clear opening to pop your custom poison vial. The lingering toxic damage, combined with the percentage based Azuremash effect, will absolutely shred his health bar. While the poison continuously drains his vitality, step in close and relentlessly spam your fastest light attacks against his exposed face.
Navigating Buggy Mechanics
Never forget that maintaining proper distance, executing perfect dodges, and effectively blocking remain the most critical skills needed to win this fight. Remain hyper vigilant regarding his devastating stomp attack. This specific maneuver feels incredibly overpowered and behaves in a slightly buggy manner. Sometimes an evasive roll successfully avoids the damage, and other times the shockwave connects regardless of your timing. Because of this inconsistency, jumping remains the most reliable mitigation technique.
Finally, take note of his unique pathing behavior. The massive enemy will seamlessly walk directly through the decorative skull pile located near the middle of the room. Because of this mechanic, you cannot use the debris as a protective barrier to halt his movement.
Conclusion
Mastering this challenging adventure requires a mixture of technical optimization and precise combat execution. By lowering your visual settings and tweaking your hardware configuration, you guarantee a playable framerate even on older computer systems. Removing the THQNordic and Paraglacial splash screens from your installation directory saves countless hours of wasted time across multiple gaming sessions. Finally, by understanding the circular arena, memorizing the six distinct attack patterns, utilizing the counter-clockwise circling strategy, and applying the devastating Azuremash poison, you will quickly dispatch the dreaded Minotaur. We hope this manual elevates your gameplay experience and guides you toward total victory. Good luck, and have fun mastering Fatekeeper!

Leave a Reply