

Last Updated on 8 January, 2026
Don’t let the adorable feathers fool you. Escape From Duckov is far more than just a whimsical parody of Escape From Tarkov. Beneath its cute, top-down exterior lies a punishing extraction shooter where a single mistake against bosses like Pato Chapo or the Man of Light can cost you everything. Whether you are struggling to survive the relentless assaults in the Storm Area or scratching your head over the 35 hidden achievements required for 100% completion, you have found your lifeline. This guide delivers a game-breaking HP manipulation strategy to turn your duck into a tank and provides a comprehensive roadmap to unlock every single ending and accolade the wasteland offers.
So, prepare your gear and check your dog’s backpack. It is time to conquer the wasteland!
Table of Contents
The “Immortal” Strategy: Infinite HP Buff Trick
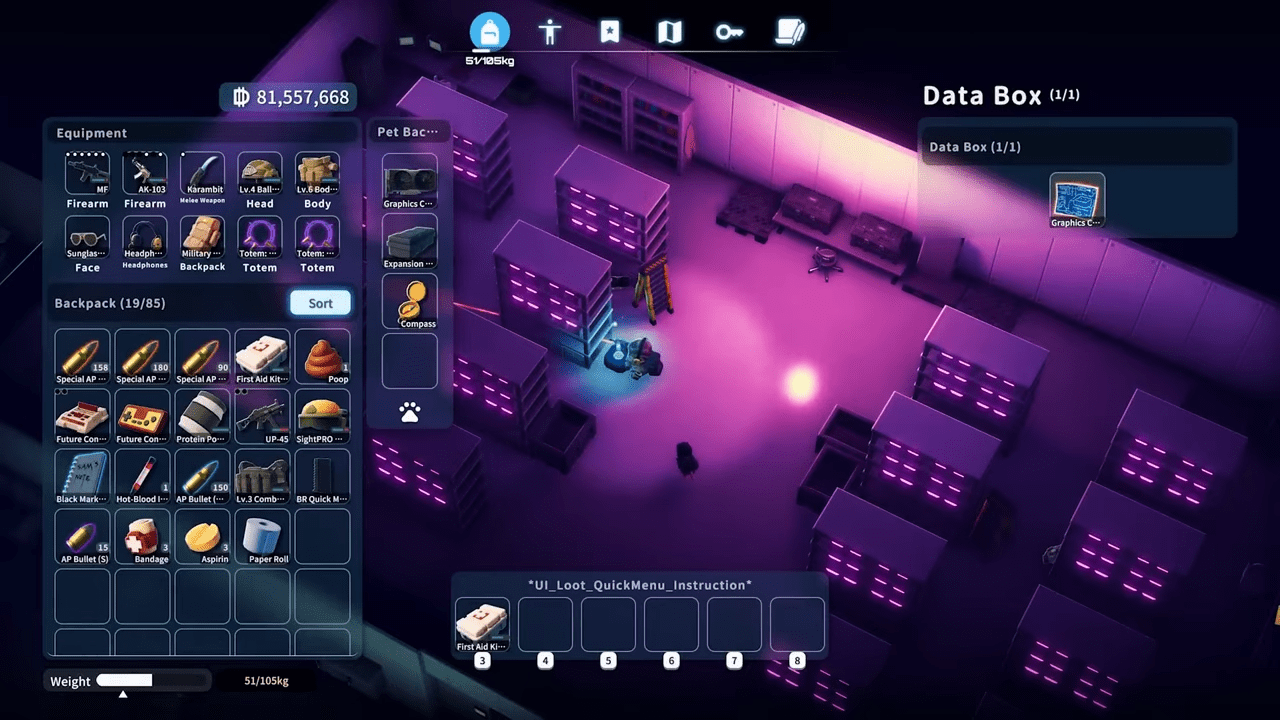
Survival in Escape From Duckov often comes down to a few hit points. On higher difficulties like Extreme, a standard health bar simply does not cut it. We have discovered a specific method to manipulate how the game calculates your maximum health versus your current health using Totems.
This trick allows you to utilize the massive HP bonuses of the HP3 Totem without suffering from its debilitating movement speed penalty.
The Setup
To execute this, you need three specific items:
- The HP3 Totem: Grants +25 HP but reduces move speed.
- The HP2 Totem: Grants +15 HP.
- A Swap Totem: Any non-HP totem (e.g., Headshot 2, Aegis 2, or Perception 2).
Crucial Step: You must store your Swap totem in your dog’s backpack before you enter the mission. This ensures it is available for the switch but does not occupy your active slot initially.
Executing the Trick
Follow this process once you deploy into your mission:
- Equip for Health: Start with the HP3 Totem equipped on your character. You can also equip the HP2 Totem simultaneously for maximum effect.
- Heal to Full: Ensure your health bar is completely full (e.g., 105/105).
- The Swap: Open your inventory and swap the HP3 Totem with the totem stored in your dog’s pack (e.g., Headshot 2).
The Result:
When you remove the HP3 Totem, the game reduces your Maximum HP cap, but it does not remove the extra Current HP you already possess. You will see your health bar display something like 105/80.
You now possess the 25 bonus hit points from the HP3 Totem, but you have successfully removed the movement speed penalty. This effectively gives you an overheal shield for your next fight.
Base Building and Economy Achievements
The road to 100% completion starts at home. Many achievements unlock simply by upgrading your bunker and expanding your roster of allies.
Recruitment and Facilities
These achievements trigger when you construct specific facilities, which subsequently invites new characters to your base.
- Fully Armed: Build the Armor Shop. This recruits Orange.
- Fitness Coach: Build the Gym. This recruits Mud.
- Arms Dealer: Build the Weapon Shop. This recruits Xavier.
- Tech Expert: Build the Tech Center. This recruits Xiaoming.
- Air Force Commander: Build the Kitchen. This recruits Vogo.
- Passive Income: Build the Bitcoin Miner. This allows automatic money generation.
- All-Rounder: Build the Commemorative Trophy.
The Economy of Duckov
Money talks in the wasteland. You will need to amass significant wealth to trigger these milestones.
| Achievement | Requirement |
|---|---|
| Self-made Success | Accumulate savings of 10,000 Duck Bucks. |
| Middle Class | Accumulate savings of 100,000 Duck Bucks. |
| Millionaire | Accumulate savings of 1,000,000 Duck Bucks. |
High-End Upgrades
- Wealth from All Sides: You must unlock all 9 upgrades for the Black Market.
- Mega Warehouse: Unlock the VIP Warehouse Expansion. This is a hefty investment requiring Level 20, 250,000 Duck Bucks, and one of each Expansion Crate size (S, M, and L).
Map Progression and Exploration
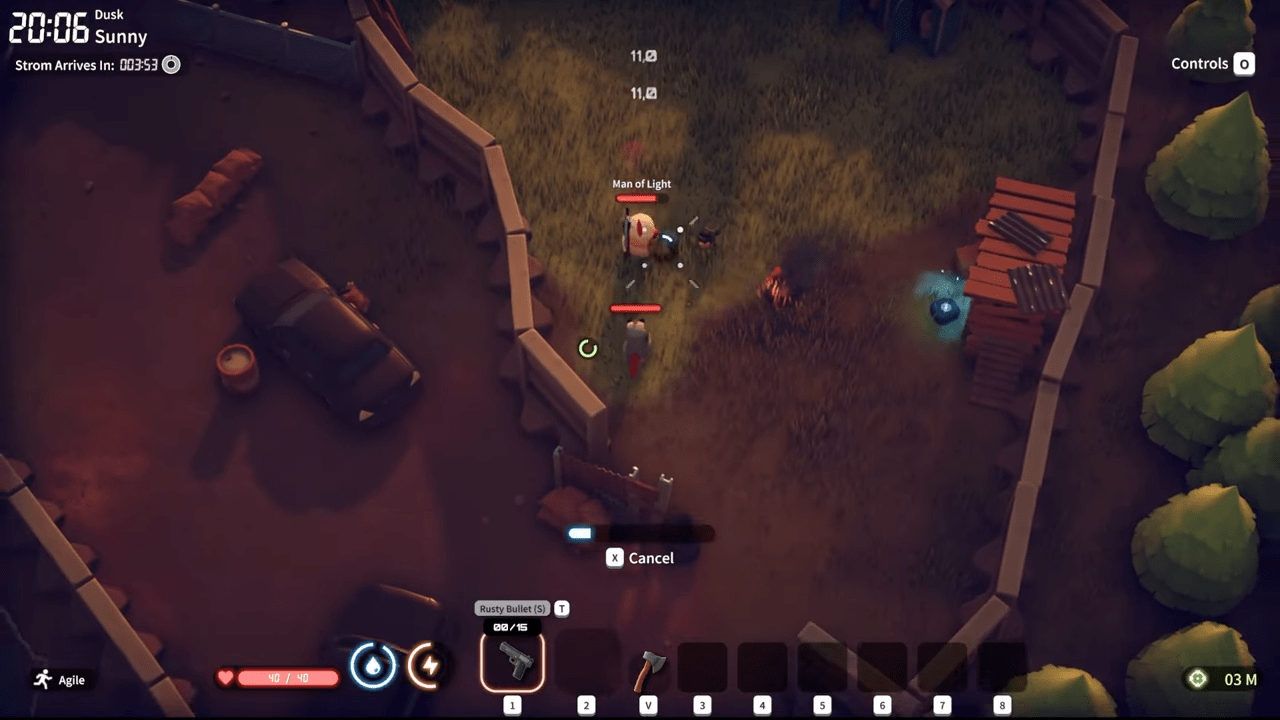
Simply surviving long enough to reach new areas yields a steady stream of achievements.
- First Blood: Defeat your first enemy. An easy start.
- Escape Artist: Enter the Bunker for the first time.
- Fresh Air: Step out of the bunker into Ground Zero.
- Newcomer: Successfully extract from Ground Zero.
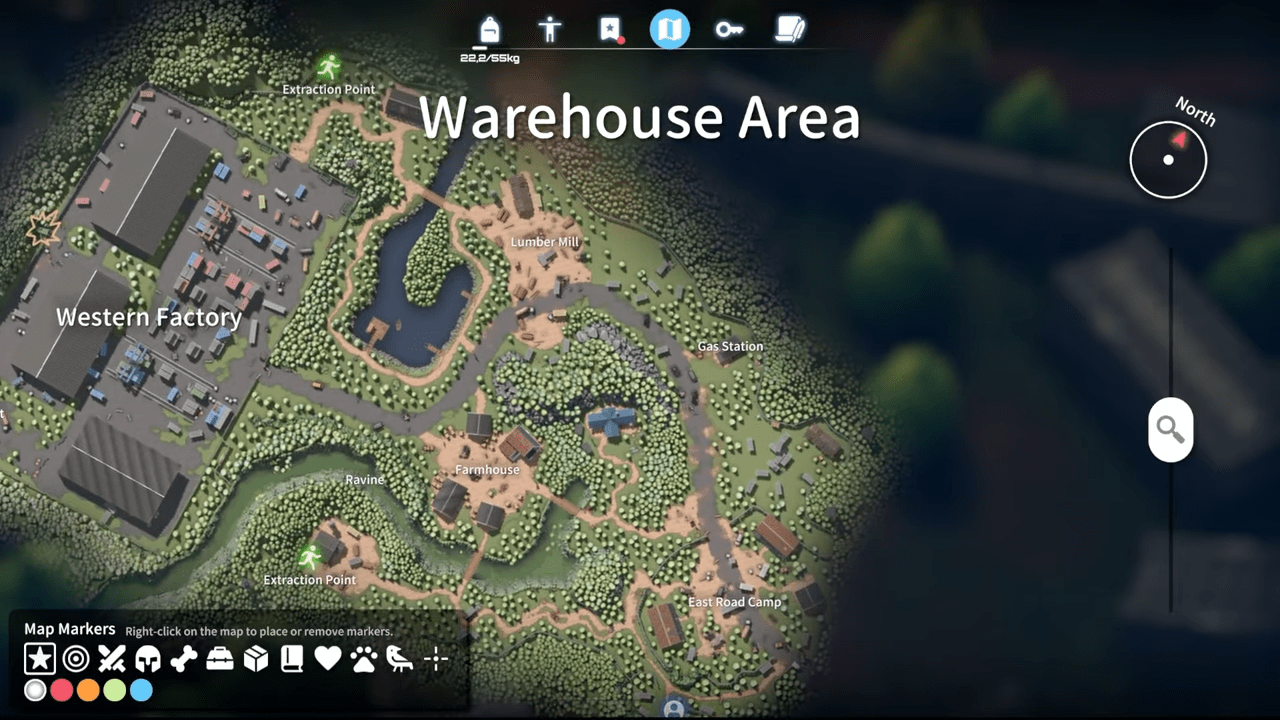
- Warehouse Area: Reach the Warehouse Area map.
- Farm Town: Reach the Farm Town map.
- Lab: Enter the J-Lab. You find the entrance in the basement of the Office Building in Farm Town.
- Storm Area: Reach the Storm Area map.
The Boss Hunter’s Checklist
A significant portion of the hidden achievements requires you to hunt down specific bosses. Here is your hit list, organized by location.
Ground Zero Bosses
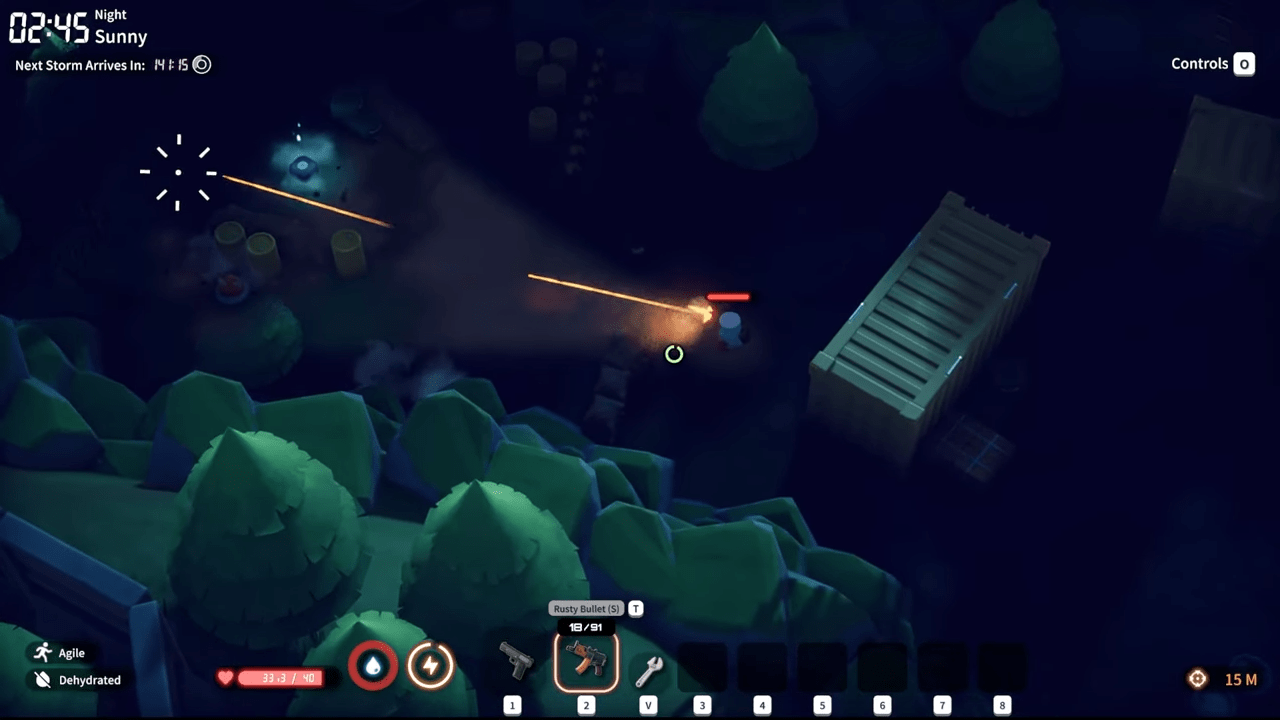
- Do You Believe in Light: Defeat Man of Light. He spawns at the far west of the map, north of the Forest Path.
- Overlord of Ground Zero: Defeat Pato Chapo. Look for him at the Road Camp.
- Grinder Sharpshooter: Defeat Pato Chapo a total of 10 times. This requires grinding the Road Camp encounter.
Warehouse Area Bosses
- Judgment on Lordon: Defeat Lordon. He roams most of the map but usually stays east of the Farmhouse.
- Speedy Group Commander: Defeat Speedy Group Commander. Check the Farmhouse or Western Factory.
Farm Town Bosses
- Insect Nemesis: Defeat Fly Captain. He has a chance to spawn in any toilet on the map.
- Star of Peace (Fake): Defeat Rampaging Arcade. He spawns south of the Construction Site Dormitory.
- Kill Vida: Defeat Vida. Locate him in the Supermarket.
- School Bully: Defeat School Bully. As expected, he spawns in the School.
J-Lab Bosses
- What a Surprise: Defeat an invisible Test Object in the lower level of J-Lab (requires Lv. 2 Certificate and turning on power).
- Entry Ticket: Defeat Roadblock, the final boss of J-Lab. Open the door west of the Zone 9 Office by activating the second power lever.
Storm Area Bosses
- Billy Billy: Defeat him by taking elevator B3 (North).
- Pala Pala: Defeat him by taking elevator D2 (Southeast).
- Pulu Pulu: Defeat him by taking elevator B1 (Southwest).
- Gulu Gulu: Defeat him by taking elevator D4 (East).
- Koko Koko: Defeat the final boss. Take the large central elevator. You must activate 3 levers to access his room.
Talents and Skill Mastery
Your character build plays a massive role in how you tackle the game. Unlocking specific talents counts toward your 100%.
Talent Unlocks:
You unlock talents by progressing through the main story questline.
- Berserker: Unlocks naturally via story progression.
- Porter: Unlocks naturally via story progression.
- Survivor: Unlocks naturally via story progression.
- Marksman: Unlocks naturally via story progression.
Skill Enhancements:
- Cardio Training: Unlock the Cardio Kickboxing perk at the Physical Enhancement tree.
- Firearm Grandmaster: Unlock the final skill in the Skill Enhancement tree. This is an expensive investment. To unlock it, you will need:
- 47,000 Duck Bucks
- 14 Cold Core Fragments
- 6 Crimson Core Fragments
- 1 MCX Spear
- 1 MP-155 ULTIMA
- 1 Repeating Bow
- 3 Accelerators
- 3 Crystal Boosters
- 3 Crystal Filtration Units
Special Modifications:
- Modular: Unlock Damage Module II. You must visit the underground trader in the Warehouse Area Cellar. You need the Cellar Key, Cellar Crossroad Key, and a Gas Mask to reach him. Buy the Cube Collector backpack to start collecting Blue Cubes required for this unlock
Quests, Fishing, and Side Hustles
Sometimes the hardest achievements involve fetch quests, rather than gunfights.
Mud’s Requests
- Red cap, White Stalk: Complete the Walking Delicacy quest. You must submit 3 mushrooms. Find these by killing Walking Mushrooms during rainy weather in Ground Zero. Check these three spawn areas:
- Forest Path
- Right next to Road Camp
- Around the Home of the Fitness Fanatic
- Nine Dragons Coffin: Complete the entire medicine quest chain ending with Specific Medicine V. This requires fetching Strong Protein Powder from the first floor of the Farm Town Office Building.
- First Class: Build a first-class cabin for Mud. This comes from Xiaoming’s optional storyline (see Moving Target in the Endings section for the blueprint location).
Specialist Quests
- King of Fishing: Catch an Azure Galaxias. You must be on Farm Town during rain and use R6 Batteries as bait. This is part of Vogo’s questline.
- Game Master: Complete all 3 High Score Duck quests for Xiaoming. Finding the cartridges takes time; the Duck Market mod helps here as well.
- Golden Sniper: Complete the Gold Sniper quest at the end of the sniper questline.
- Expert Courier: Complete the Promotion to Expert Courier quest.
Unlocking All 4 Endings
To truly finish Escape From Duckov, you must witness every conclusion. There are four distinct endings, and getting the Escape From Duckov achievement simply requires reaching any one of them. However, specific achievements are tied to each unique finale.
#1 Ending 1: Survivor (Ending 0)
- Achievement: Survivor (A blessing in disguise).
- How to Unlock: Simply choose to Take Off in your spaceship once you have attached all the necessary parts.
#2 Ending 2: District 9 (Ending 0 + Variation)
- Achievement: District 9.
- How to Unlock: Select Ending 0 again, but this time you must disable the Air Defense System.
- Defeat the final boss, Koko Koko.
- Take the Air Defense Key to the green circle area in the northeast of the Storm Area.
#3 Ending 3: Moving Target (Ending 1)
- Achievement: Moving Target.
- How to Unlock: You must fully upgrade the spaceship.
- Take a Portable Hard Drive to the west of the Storm Area.
- Download the file at the computer to get the Mysterious Spaceship Blueprint.
- Return to the bunker to trigger a new quest chain for Xiaoming.
- Complete the chain to upgrade the ship and unlock Ending 1.
#4 Ending 4: Escape Alive (Ending 1 + Variation)
- Achievement: Escape Alive.
- How to Unlock: Choose Ending 1 (fully upgraded ship), but only after disabling the Air Defense System using the key from Koko Koko.
Conclusion
You now possess the knowledge to become the ultimate survivor in Escape From Duckov. By combining the Immortal HP swap trick with this exhaustive list of achievements, you can dominate the wasteland economy, slay every boss from Ground Zero to the Storm Area, and uncover every secret the game has to offer.
Remember that patience is key. Whether you are waiting for rain to catch an Azure Galaxias or grinding Pato Chapo kills, persistence pays off. Good luck out there, survivors!

Leave a Reply