

Last Updated on 7 January, 2026
So, you’re stuck in the rock as Bob. You’ve got a camera, a nose for the truth, and a whole lot of inmates who want to turn you into a rug. Welcome to maximum security.
This guide covers everything you need to know to navigate Bob’s Route in Back to the Dawn. We are working off version V2.0.0.25-RC, so if things look different on your screen, an update might have shifted the furniture. While Bob shares some escape mechanics with Thomas, this walkthrough stands on its own. You don’t need to know anything about the other guy to get Bob and Fenra out alive.
Let’s get to work.
Table of Contents
- Mastering Your Body and Mind: Stats and Buffs
- The Main Quest: Finding Fenrir (Runes Tiwaz to Raidho)
- Into the Depths: Sewer Exploration (Rune Laguz)
- Infiltrating the System: PRU and The Plan (Runes Dagaz to Gebo)
- The Escape Artist: Securing the Tool (Runes Jera to Eihwaz)
- Escape Route A: The Laundry Room (Rune Isa)
- Escape Route B: The Barbershop and The Devil (Rune Ehwaz)
- Escape Route C: The Infirmary (Rune Perthro)
- Escape Route D: The Roof Glider (Rune Kenaz)
- Life on the Inside: Side Quests and Alternate Achievements
- The Final Verdict: Endings (Runes Mannaz to Othala)
- Conclusion
Mastering Your Body and Mind: Stats and Buffs
Surviving prison requires more than just sharp wit. You need to manage your physical and mental stats carefully. Many achievements require stats higher than your base attributes. You can boost these temporarily through food, medicine, and clothing.
1. General and Alcohol Buffs
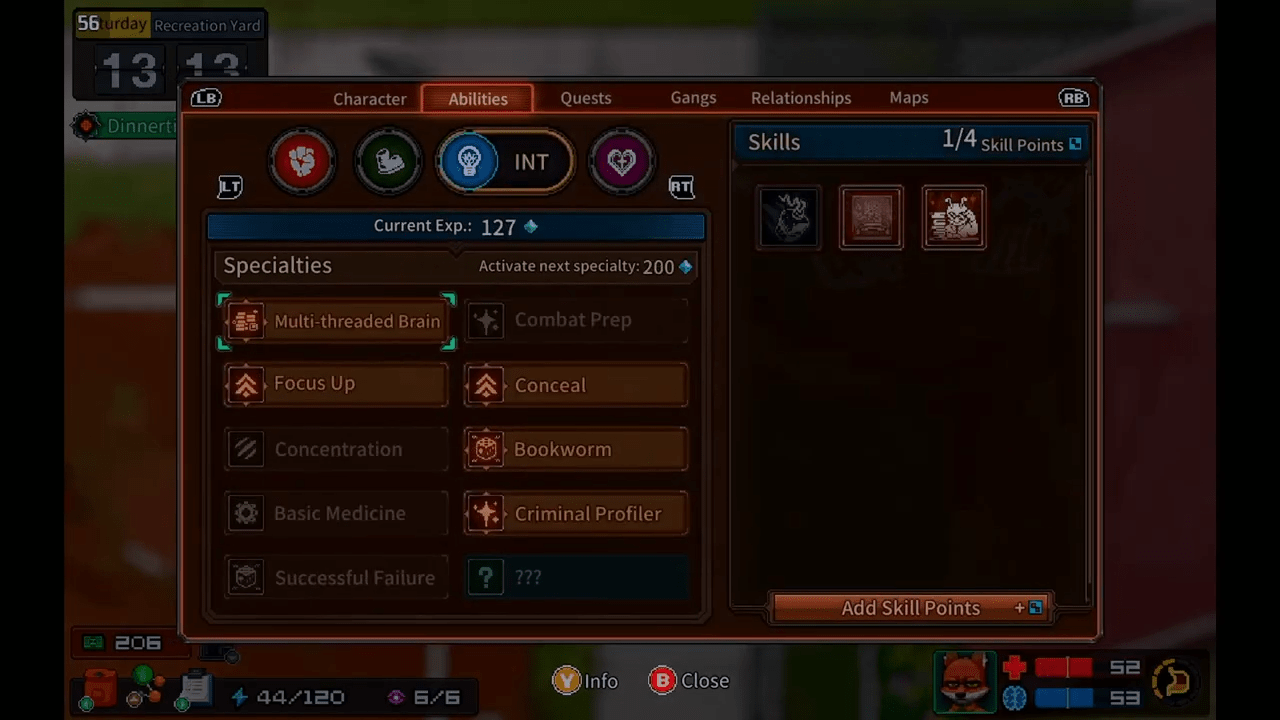
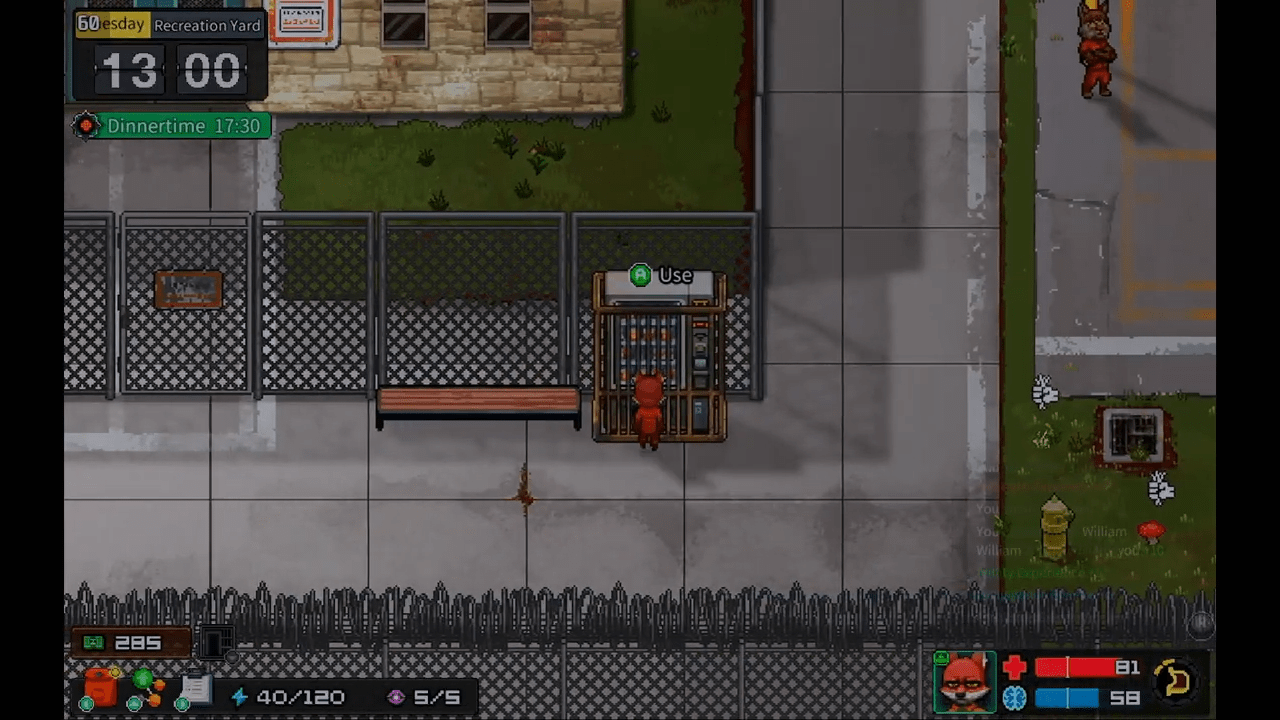
Alcohol items typically lower Intelligence by 2 points while active. However, you can alter this effect with specific skills. Bonding with Old Lee the Panda gives you the Drunken Master skill, turning the penalty into an Intelligence +1 bonus. Alternatively, reading the Love and Wine book grants you Charisma +1
- Jewel Scarab: Grants +5 stamina, +2 body, and +2 mind. It also adds +1 to all attributes if you unlocked the respective videogame skill. Duration is 2 hours.
- Energized! Status: You earn this skill by sleeping before midnight for three consecutive days. Activate it with 3 Strength skill points. Once active, sleep before 2:00 AM to gain +1 to all attributes the next day.
- Beer: +10 mind, +6 base attack power. Duration is 2 hours.
- Cold Beer: +15 mind, +6 base attack power. Obtain this by exchanging Good Conduct Credits with the roof site guard or placing normal beer in the barbershop freezer overnight. Duration is 2 hours.
- Liquor: +10 mind, +12 max health, +6 base attack power. Duration is 2 hours.
- Premium Liquor: +20 mind, +12 max health, +6 base attack power. Duration is 2 hours.
- Rubbing Alcohol: +10 mind, +15 max health, but costs you -10 body. Duration is 2 hours.
- Wine Gourd (Alcohol): +20 mind. Restores +3 health at the start of each fight turn. Obtain this by filling an empty wine gourd with water and waiting. Duration is 2 hours.
- Champagne: +10 mind. Grants +9 shield points at the end of a fight turn. You only find this during the boxing tournament act. Duration is 2 hours.
2. Boosting Strength
- Mushroom: +1 Strength (and +10 max health with the videogame skill). Costs -5 body.
- Stimulant: +2 Strength, +50 stamina. Costs -5 body.
- Belt: +2 Strength. Acts as a lanyard.
- Sports Belt: +1 Strength. Grants +30% agility experience when gaining strength experience. Acts as a lanyard.
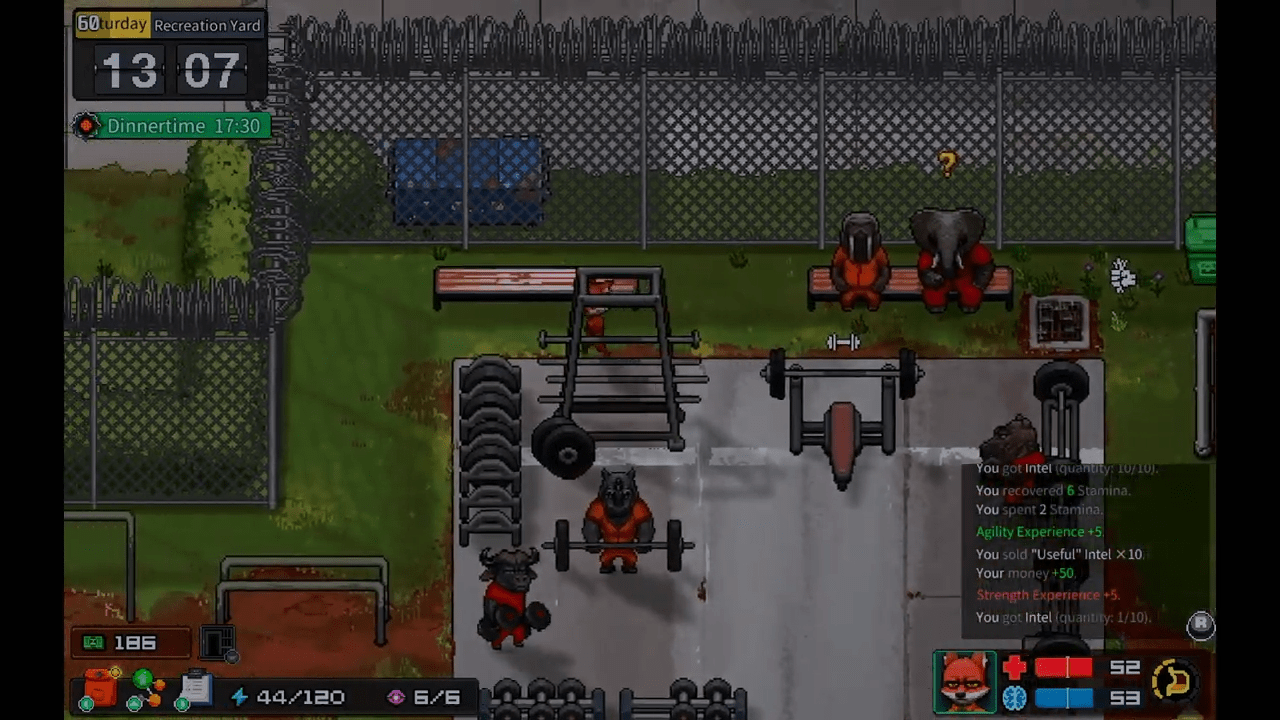
3. Boosting Agility
- Soda: +1 Agility, +20 stamina.
- Limited-Edition Soda: +2 Agility, +20 stamina. Check the fridge in the Staff Block.
- Premium Cigarette: +1 Agility, +10 stamina, +2 focus points. Costs body health based on usage.
- Golden Fleece Cigarettes: +1 Agility, +1 Intelligence, +10 stamina, +2 focus points.
- Basketball Shoes: +1 Agility.
- Running Shoes: +2 Agility.
- Comfort Effect: Use a toilet with digestion at 5 or higher to gain +1 Agility for 2 hours.
4. Boosting Intelligence
- Caramel Bar: +1 Intelligence, +5 mind.
- Sedative: +2 Intelligence, +10 mind. Costs -5 body.
- Gold-Plated Watch: +1 Intelligence. Reduces dice roll action time by 20%.
- Necronomicon: +1 Intelligence. Grants unknown abilities but reduces max health by 7.
- Digital Watch: +2 Intelligence.
- Fancy Watch: +1 Intelligence. Adds +2 points to lockpicking.
- Wesley’s Recording Watch: +1 Intelligence, +8 max health.
5. Boosting Charisma
- Chewing Gum: +1 Charisma, +2 mind.
- Polarized Sunglasses: +1 Charisma. Increases stamina recovery when resting by 20%.
- Punk Sunglasses: +2 Charisma.
- Geek Sunglasses: +1 Charisma. Adds +2 points to Technology actions.
- Height Increasing Insoles: +1 Charisma (or +2 when talking to someone shorter). Penalizes exercise actions by -2 points.
- Red/Green Bandanas: +1 Charisma (requires Man Style skill from the library).
- Scented Soap: +1 Charisma, +10 points in the shower. Duration is 24 hours.
- Toothpaste: +1 Charisma, +2 body. Duration is 6 hours (ends if you eat).
- Special Cologne: +1 Charisma. Duration is 24 hours. Obtained via a barbershop quest.
The Main Quest: Finding Fenrir (Runes Tiwaz to Raidho)
Your journey begins with simple steps. You will not access the sewers immediately, so do not panic. You can complete these initial steps by the morning of Day 4 if you play efficiently.
Early Game Achievements
- ᛏ – Tiwaz: Simply finish the opening cutscenes.
- ᚨ – Ansuz: Call your contact on the evening of Day 1. Remember, you can only make these calls in the evening. Save your money and calls during the day.
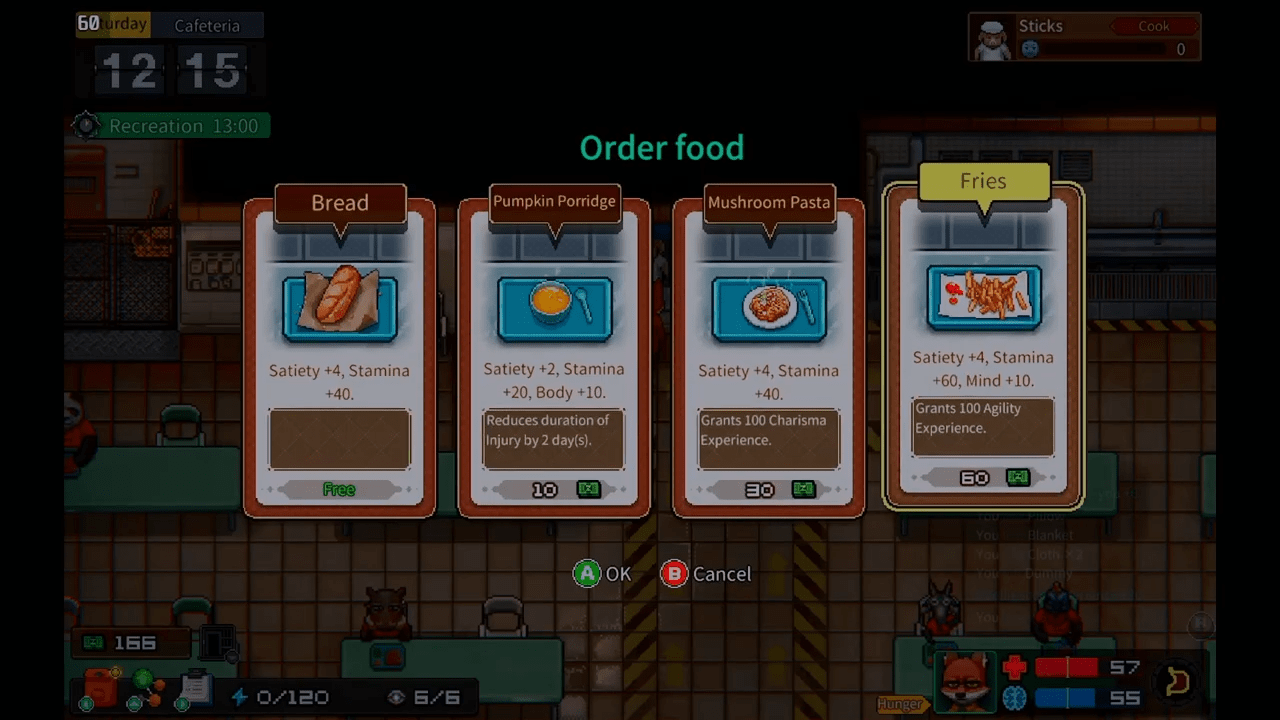
- ᚠ – Fehu: Complete the kitchen investigation. To get the kitchen job, you must handle a quest for Bruce regarding Phil. You can pay Phil or beat him up. Guards will not intervene if you choose violence here. Once inside the kitchen, check Frank the Hippo’s food logs (spy on him or read them when he leaves). Locate the cart with suspicious deliveries in the cooking room. Call your contact again to unlock this achievement.
Locating Fenrir (ᚱ – Raidho)
You need access to the cooking room to find Fenrir. While the game suggests talking to Sticks, you can bypass him. Speak to Diego the Alpaca, Old Lee the Panda, or Thomas the Fox. Thomas is the easiest path as he shares a recipe for free.
Once you have the cooking job:
- Prepare ingredients for at least three meals.
- Place the watch you received in the mail into the red cart in the cooking room.
- On the next day, work the cooking job again. Prepare three meals and retrieve the watch.
- You will automatically view the recording in your cell.
Into the Depths: Sewer Exploration (Rune Laguz)
Finding Fenrir requires sewer access. This is also critical for most escape routes.
Step 1: The Toilet Disassembly
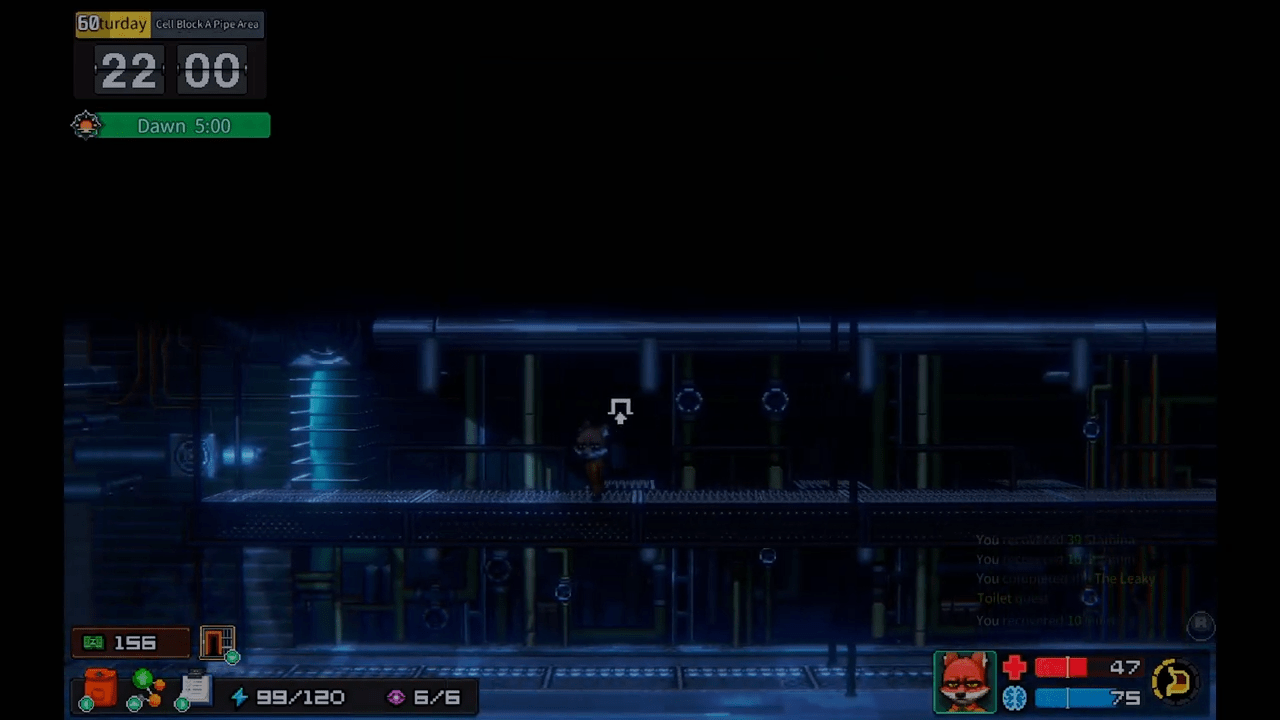
Wait until night (22:00). Disassemble your toilet. You need a worn wrench (check the laundry detergent room cabinet) or a crafted tool. DO NOT move your cell to Block A yet. You need to reach the area in front of the Main Building from Block B first.
Step 2: The Pipe Area
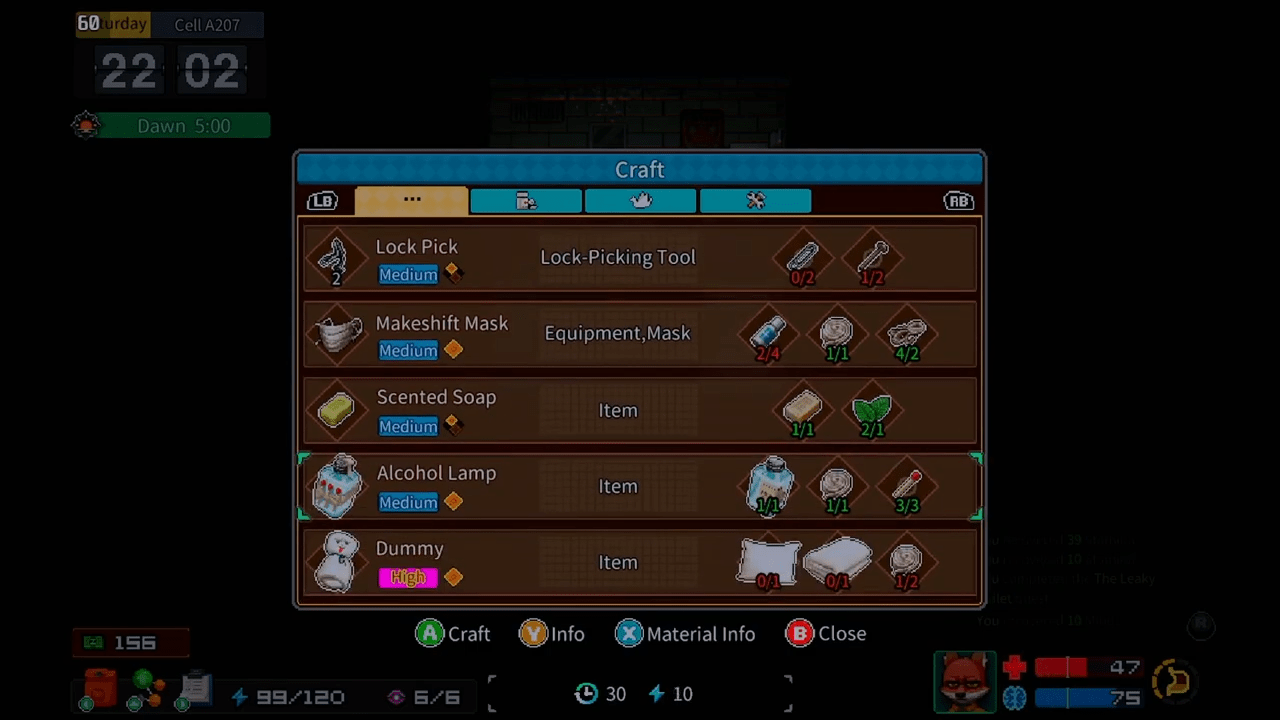
Enter the hole. You need a crafted dummy in your bed to avoid detection. In the Block B Pipe Area, you can pick the yellow door (requires two successes) or break through the floor to the boiler room. Both paths work. If you hit the boiler room, use Motorcycle Gloves to climb the hot pipes or solve the flow puzzle.
Step 3: Crossing Blocks
Unlock the gate leading to the Main Building exterior. This gate connects Block A and Block B pipe areas. Now you can move to Cell Block A legally during the day by paying Bruce Good Conduct Credits. This gives you extra storage.
Step 4: The Jump
Access the Block A Pipe Area. If you enter via the yellow door, you can climb the platform and attempt a jump. This teaches you the jump mechanic which saves you from crafting a rope. Open the hatch on the first floor to enter the true Sewer Area.
Step 5: The Eastern Sewer
Equip a Makeshift Mask. Fix the lights in the room to the right by solving a sokoban puzzle or using DIY Maestro skills. You face a choice. You can jump across the water (requires High Agility, 7+) or build a bridge using boards from the left area.
Secret Loot: Go far left to find a toolbox containing the Fancy Watch. This item is essential for passing difficult lockpicking checks later.
Cross the sewer river. Locate the corridor leading to the Staff Block. You can skip the Staff Block section entirely if you have Agility 10 and make a difficult jump to the left, but we recommend the standard path for story purposes.
Infiltrating the System: PRU and The Plan (Runes Dagaz to Gebo)
To cross the pit (unlocked by draining water in the sewers), you need to power off the electronic gate. This requires a keycard from the PRU pharmacy.
Getting the Keycard
You must get a psychiatric evaluation referral from Beth. Befriend inmates with mental issues (Teddy, Crunchy, Diego, Pickman, Miguel, Wilbur) to gain points for the charisma check.
- The Heist: During your consultation, use a laxative, sleeping pill, or the Reverse Hypnosis skill. This lets you grab the keycard immediately, enter the sewers, and power off the gate in one go.
- The Hack: If you cannot slip away, memorize the card number during the puzzle. Call HQ that evening to get a copy the next day, or use the Hacking skill to enter the pharmacy that same night without a physical card.
Completing the consultation unlocks ᛞ – Dagaz.
Meeting Fenrir
Crawl through the ventilation past the deactivated gate. You will find Fenrir. This unlocks ᚹ – Wunjo and ᚺ – Hagalaz. Call your contact the next evening to unlock ᛉ – Algiz. Finally, return to Fenra’s room to share the plan and unlock ᚷ – Gebo.
The Escape Artist: Securing the Tool (Runes Jera to Eihwaz)
You need to get Fenra a disassembly tool. You have two suppliers:
- Franklin the Zebra: Wants a Red Bandana, Punk Sunglasses, and Basketball Shoes. Punk Sunglasses are rare random drops, making this path risky.
- Richard the Babirusa: Wants weapons totaling 57 Violation. This is easier. Craft nail bats or gather wrenches found around the prison.
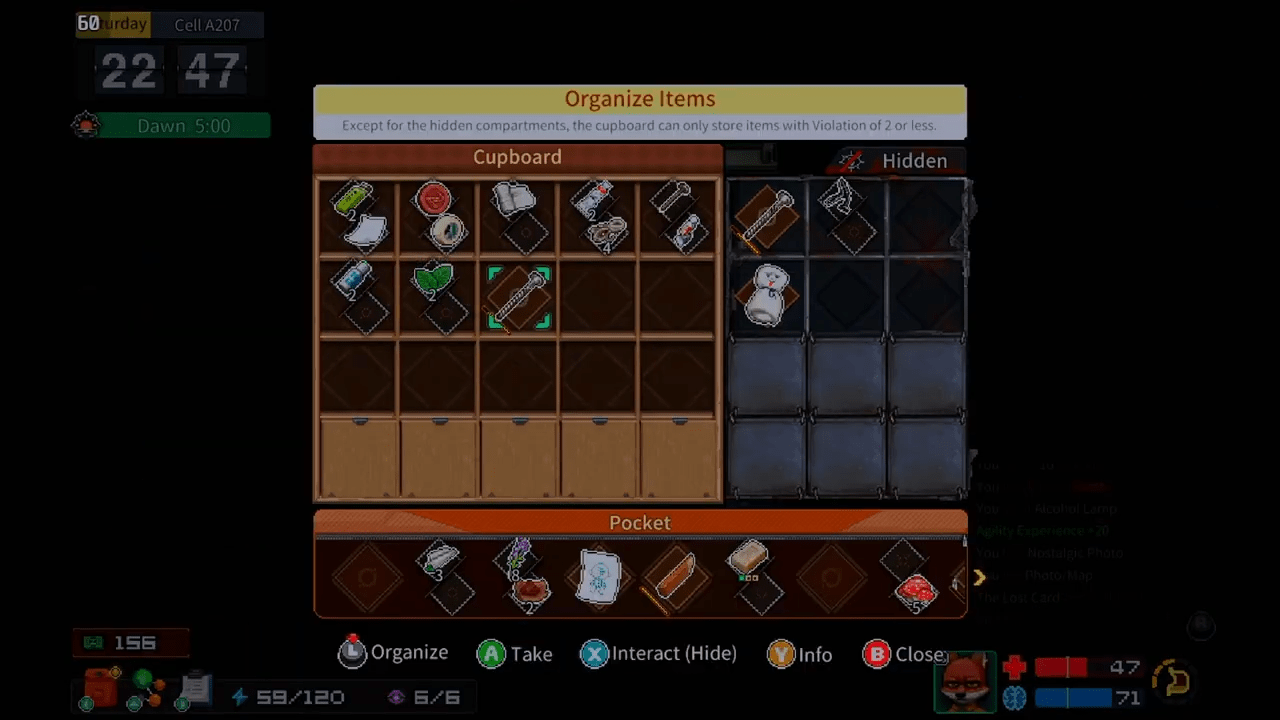
Once you deliver the items, you receive a tool that is too big to hide in one place. You must dismantle it and hide the three parts in specific locations discussed with Fenra.
Hiding Spot 1: Laundry Exterior
Go to the area outside the laundry room at night. Find the gate with the no-climb wire. Hide the part under the left bench.
Hiding Spot 2: Infirmary Laundry
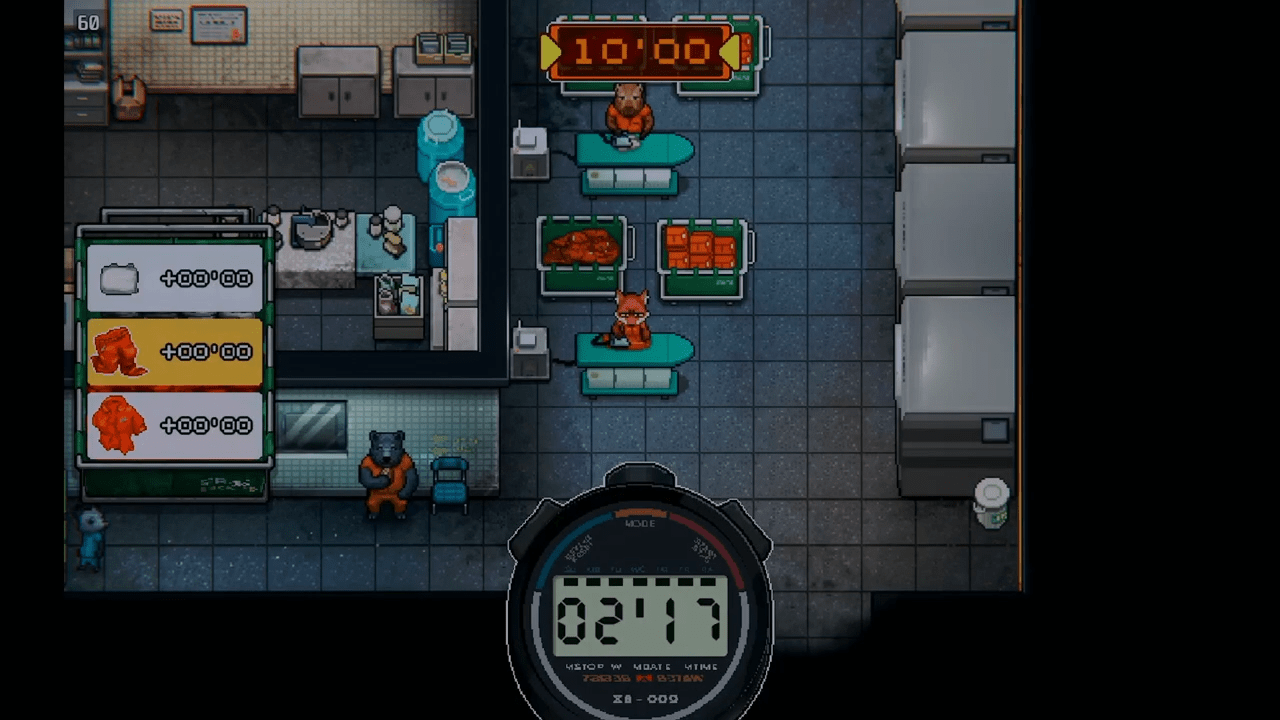
Locate the special infirmary laundry room accessed via the operating room. You can learn about this location from Dr. Beth (high Rapport) or Fernando the Anteater (for cash). Ask Fernando to power the door, or sneak in. Hide the part in the clean laundry cart.
Hiding Spot 3: PRU Patient Room
Return to the room where you found Fenrir via the vents. Hide the final part there.
Once all parts are hidden, report to Fenra. The escape begins the next day. If you succeed, you get ᛃ – Jera. Completing the “A Day in Fenra’s Life” episode grants ᛝ – Ingwaz. Failing leads to ᛇ – Eihwaz.
Escape Route A: The Laundry Room (Rune Isa)
This route involves escaping through a sewer pipe accessed via the laundry room.
Step 1: The Hole
During work hours, move the cupboard in the detergent mixing room. You need to pass a strength check or lockpick it. This reveals a hole.
Step 2: The Path
At night, enter the sewers and move to the area below the drained river. Sneak past the guards in the central garden (requires two hard agility checks). You will reach the laundry room exterior.
Step 3: The Dig
You must dig through the hole in the wall. You can do this during the day (convince the detergent mixer to leave) or at night. Use a Hammer to boost your digging.
Step 4: The Hatch
Open the pipe hatch leading outside. Use 10 rust removers or pass a strength check. You can mix rust removers in the adjacent room. Crucial: You must open the hatch at night to secure the route.
The Escape:
Fenra must crawl through the pipe. This consumes Body and Stamina points. If her Body hits zero, she loses health. Boost Fenra’s and Bob’s Body points with Painkillers or Yogurt before starting.
Escape Route B: The Barbershop and The Devil (Rune Ehwaz)
Escape through underground waters with the help of a shark named the Devil.
Step 1: Speak the Language
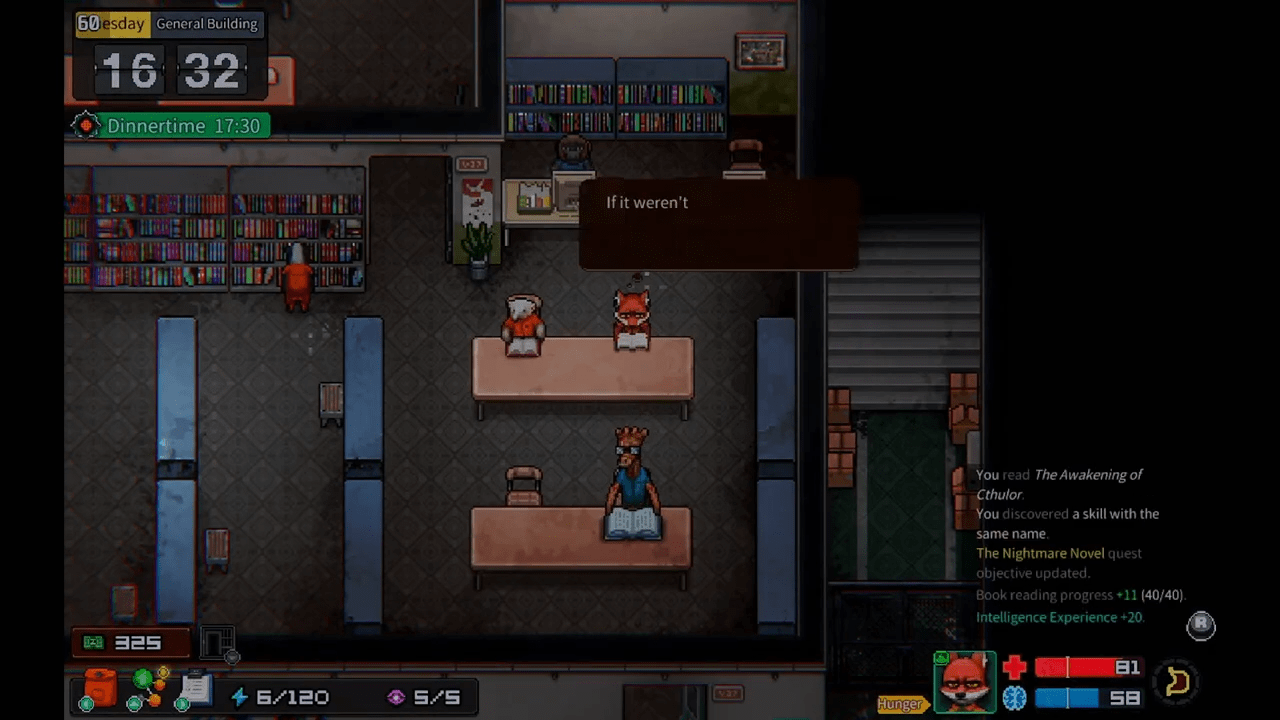
Find The Fish and the Mermaid movie on the Staff Block shelf. Watch it in the General Building to learn the mermaid language. This doubles your rapport gain with aquatic creatures.
Step 2: The Meeting
In the sewers, find the tucked-away corridor southeast of the pipe area entrance. Break the cracked wall with a Hammer. Enter the room and climb the ladder to the barbershop. You will trigger a tough fight, but winning is not mandatory.
Step 3: Befriending the Devil
Go down the manhole in the secret room. Meet the Devil.
Important: You must bring a crafted rope for your first solo visit. You need 200 rapport points. Visit him nightly to play or feed him. He loves Spicy Ramen (+10) and Goldfish (+22). Avoid Limited-Edition Soda, Champagne, and Caramel Wafers as he hates them.
Step 4: Oxygen
Steal the small oxygen cylinder from the operating room. Fill it at the large cylinder in the pharmacy (locked area of the infirmary). Once you have 200 rapport and full oxygen, the route is secure.
Escape Route C: The Infirmary (Rune Perthro)
This is likely the easiest route for Bob to secure.
Step 1: The Window
In the secret infirmary laundry room (where you hid Fenra’s tool part), investigate the window. It leads to the roof.
Step 2: The Climb
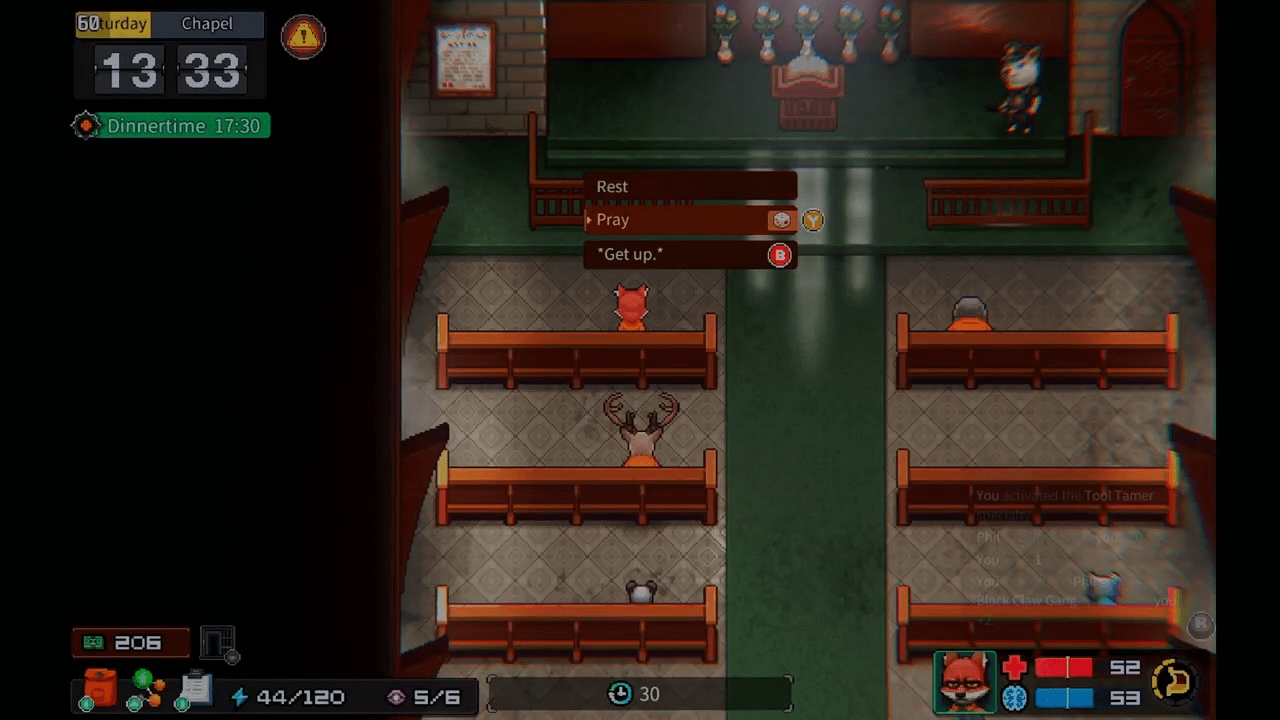
You must climb the tower and avoid searchlights. The climbing check is unique because it gets harder the more Max Health you have.
- Strategy: Consume Painkillers before the escape. Each pill reduces your Max Health by 2 which makes the climb easier.
- Combat: You will face a boss fight before the climb, so use your strength buffs then, and pop the painkillers immediately after.
Escape Route D: The Roof Glider (Rune Kenaz)
Escape by flying off the roof with a homemade glider.
Step 1: Access
Apply for the roof job. Examine the asphalt station during the day. At night, climb the stairs in Cell Block A Pipe Area and enter the vent. You must turn off the fan first by flipping the third switch on the roof panel during the day.
Step 2: The Crossing
At night, cross to the left side of the roof by lassoing the cable or jumping (Agility 8).
Step 3: The Knowledge
Read all three Game of Kings books in the General Building. Climb the water tower to unlock the glider blueprint.
Step 4: The Crafting
You need specific materials. Note that Bob’s recipe differs from Thomas’s.
- Salicloth: 3 bed sheets, 9 shoelaces, 9 paperclips.
- Keel: 6 dowels (craft from lumber), 4 screws, 9 tapes.
- Delta Frame: 3 dowels, 3 small iron plates, 9 nails.
- Harness: 1 rope, 3 quick-drying glues, 1 belt.
Important: You cannot store these parts individually. You must craft all four pieces first, and only then will the option to store them by the water tower appear.
Life on the Inside: Side Quests and Alternate Achievements
The Segregation Room (ᚾ – Naudhiz)
Get thrown into the seg by assaulting an inmate and letting the guard catch you. Once inside, try to flush the clogged toilet. Unclog it to find a clue about Fenrir and a Small Iron Plate. This unlocks the achievement.
The Boxing Tournament (ᚦ – Thurisaz)
Win four boxing matches organized by the Big Foot Gang. On Day 14, the warden will invite you to a tournament in a neighboring city.
- Requirements: You must leave the prison for three days.
- Strategy: Bring fighting items that aren’t weapons, like Whistles or Anesthetic Injections. Bring ingredients for Scented Soap to boost Charisma before fights.
- Opponents: Watch out for Lakota’s Bone Crusher (interrupt it with high damage) and Rex’s Fury Unleashed (finish him fast).
The Gang War (ᚢ – Uruz)
Note: You cannot get this and the Boxing Tournament achievement in the same run.
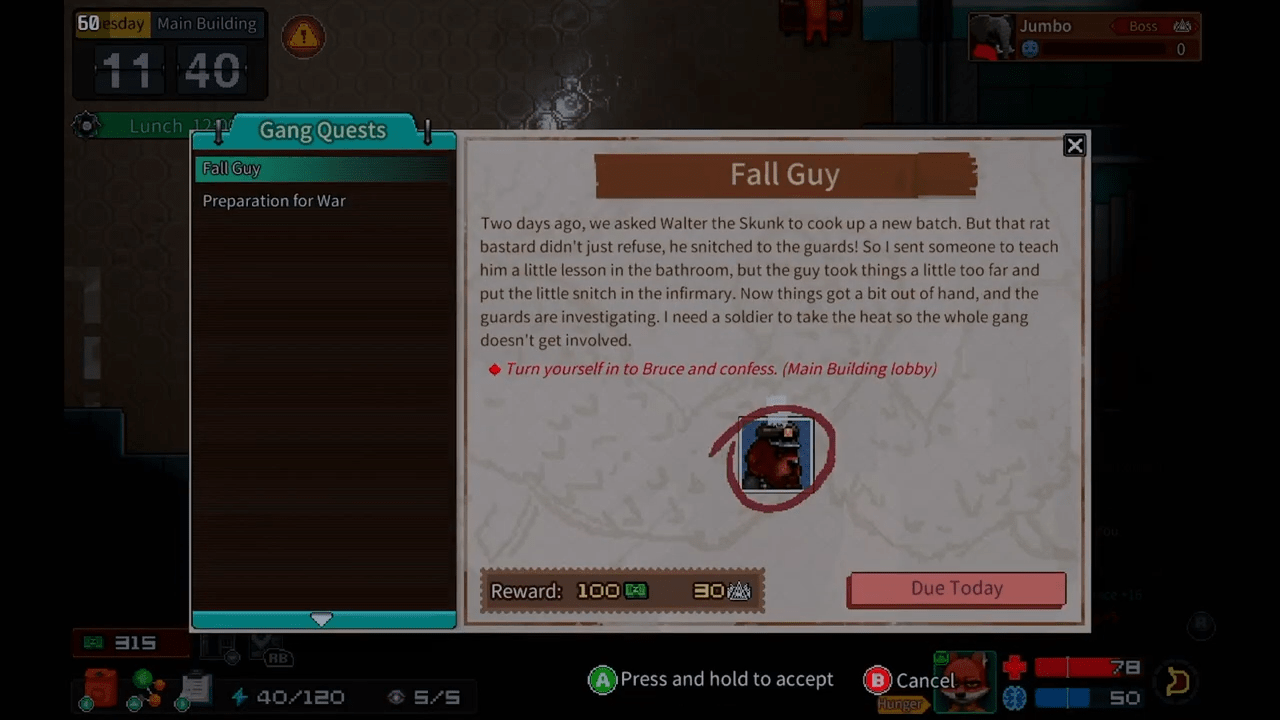
On Day 17 (Wednesday), a riot occurs. Win the first fight, choose “Save Vincent,” and then defeat Jumbo the Elephant. This allows the Black Claw Gang to win.
The Final Verdict: Endings (Runes Mannaz to Othala)
If you successfully execute your escape plan and defeat the boss, you face a final choice involving Rocky and Surtr.
- ᛗ – Mannaz (Bad Ending): Shoot Rocky instead of Surtr.
- ᛒ – Berkanan (Good Ending): Shoot Surtr first, then shoot Rocky.
- ᛊ – Sowilo (True Ending): Shoot Surtr first, then spare Rocky.
Additionally, finishing the game on Black/Gray mode (Normal+ difficulty) grants the ᛟ – Othala achievement.
Conclusion
Escaping the rock is no easy feat, but with this guide, you have the roadmap to every rune, route, and resolution in Bob’s story. Whether you choose to fly off the roof, swim with sharks, or crawl through the muck, remember to watch your stats and keep your friends close. Good luck, inmate. The dawn is waiting.

Leave a Reply