
Last Updated on 26 February, 2026
Step into the high-pressure shoes of a border inspector in Quarantine Zone: The Last Check, where every decision could mean the difference between life and death for your camp. This comprehensive guide provides you with essential strategies to master complex medical tools, manage your base resources efficiently, and secure maximum research points. We solve the mystery behind confusing symptoms and hidden mechanics, so you can perform perfect diagnoses under extreme pressure. Read on to discover how to easily earn every achievement and secure the best ending for your checkpoint.
Table of Contents
1. Essential Base Management and Daily Tips
Running a successful checkpoint requires more than just looking at patients. You must manage your camp, your resources, and your time efficiently. Here are the core strategies you need to implement early in your playthrough.
Lighting and Navigation
You should almost always keep your flashlight turned on. The lighting in the game can obscure important details, and having your flashlight active helps you spot subtle visual cues in most cases. Additionally, when you open the Symptoms tab, look for a small tab bar located above the symptom list. Clicking this bar allows you to jump directly to the specific symptom tool category, which saves you from tedious scrolling during a busy shift.
Upgrading Your Base
When looking at your Base menu, you must exercise restraint. You should only upgrade buildings as absolutely needed or when the upgrade directly helps you save money. The only exception to this rule is the generator. Every new building upgrade increases your camp’s energy consumption. Higher energy usage requires more fuel, and purchasing fuel drains your hard-earned cash.
Managing Supplies and Evacuations
You must check your base supplies at the end of every day and strive to keep your fuel tanks completely full. As you admit more healthy survivors into your camp throughout the day, your daily food and medical pack requirements will naturally increase.
Evacuation days operate under a unique set of rules. On these days, you can safely exceed your maximum survivor support limit without facing penalties. The game only calculates support limits and penalties when you go to sleep. Therefore, you can pack your camp full of healthy survivors right before an evacuation.
When conducting an evacuation, you must prioritize meeting your main quota on the right side of the screen first. Only after meeting this quota should you send additional survivors for Research Points. The game awards these bonus points at specific thresholds, usually for every five extra survivors. If you realize you cannot reach the next threshold, you should send the remaining survivors back to the camp. You will have to feed them for another day, but saving them guarantees you have a head start on your next quota or threshold.
Maximizing Income
You have several unconventional ways to generate extra cash during your shifts.
- Target Practice: You can venture out to the Garage and shoot zombies over the wall. Each successful kill nets you 75 dollars.
- Pest Control: You can hunt rats around your base. You can crouch and strike them with a hammer if you sneak close enough, or simply shoot them once you acquire a firearm. Eliminating rats provides a small cash bonus, noted as either 25 dollars or 75 dollars depending on the specific game action.
- The Caged Infected: You should always try to keep an infected individual in a cage on Evacuation day. Successfully holding a caged infected awards you a massive 2000 dollar bonus. Just remember that you must feed the caged infected a body every day.
2. Mastering Diagnoses and Research Points
Your primary job is to separate the healthy from the infected. Rushing this process will cost you valuable upgrades and money.
The Perfect Diagnosis
Whenever you examine someone, you must identify and mark down every single symptom they possess. You might spot red eyes immediately and want to send them straight to Liquidation, but doing so without logging the symptoms ruins your score. Achieving a perfect diagnosis by marking all conditions rewards you with nine Research Points (RP). You need these points to improve your checkpoint.
Spending Research Points
When deciding how to spend your RP, you should ignore most side upgrades initially and focus entirely on increasing your Zone Level. A higher Zone Level unlocks better base capabilities.
The only side upgrade you should purchase early is the Clear View upgrade for the Scanner. Survivors often arrive covered in mud or blood, which hides their true symptoms and causes misdiagnoses. The Clear View upgrade eliminates this problem. You might feel tempted by the Stethoscope Color Indicator upgrade since distinguishing between “good” and “neutral” breathing sounds proves difficult. However, you should wait until you reach the maximum research tier to buy it, as it only affects one specific condition.
The Lab Mini-Game
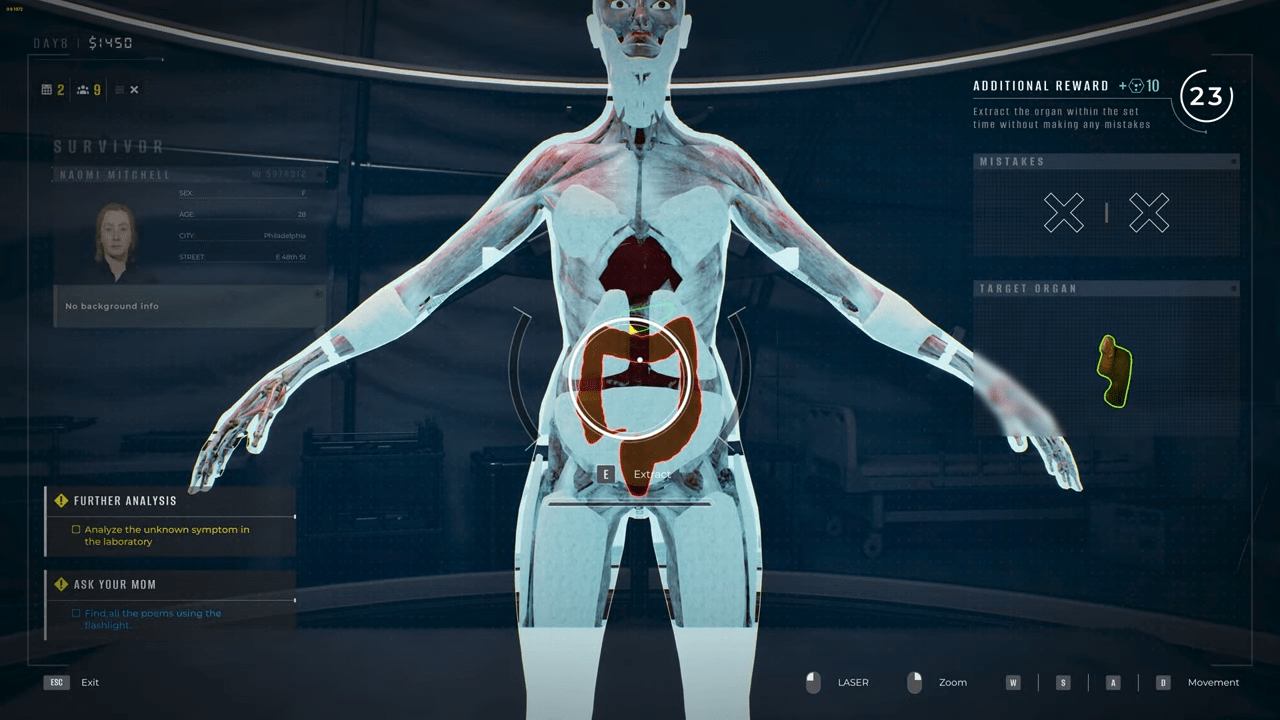
If you feel unsure about a diagnosis and do not mind potentially losing a survivor, you can send them to the lab. The lab features a mini-game where you extract organs. During this mini-game, you can safely zap the Red Organ without automatically failing. Taking a hit on the Red Organ sometimes creates an opening for you to successfully Extract the Target Organ.
If you accidentally kill a survivor in the lab, the game spares you the standard 1000 dollar penalty for a dead survivor. Furthermore, if the deceased survivor turns out to be infected, you still receive the 400 dollar reward. You can use the Lab or the Quarantine cell to avoid capacity penalties on non-evacuation days.
Visual Clues and Distribution Files
You must learn to distinguish between different skin conditions. For example, Red Bruises look distinctly different from Necrosis. Necrosis causes the skin to turn black, and you must note that the actual in-game appearance does not perfectly match the reference picture provided to you.
You should also utilize the Distribution tab regularly. This tab displays an image of the current survivor alongside their Name, Sex, Age, Address, and background history. You need this specific information to complete various Directives. The picture in the Distribution tab also serves as a helpful visual aid for spotting subtle conditions like the Pale Skin symptom.
3. Comprehensive Tool Guide
The game provides you with ten primary tools. Understanding the hidden mechanics of each tool ensures you never miss a hidden infection.
Thermopulsometer
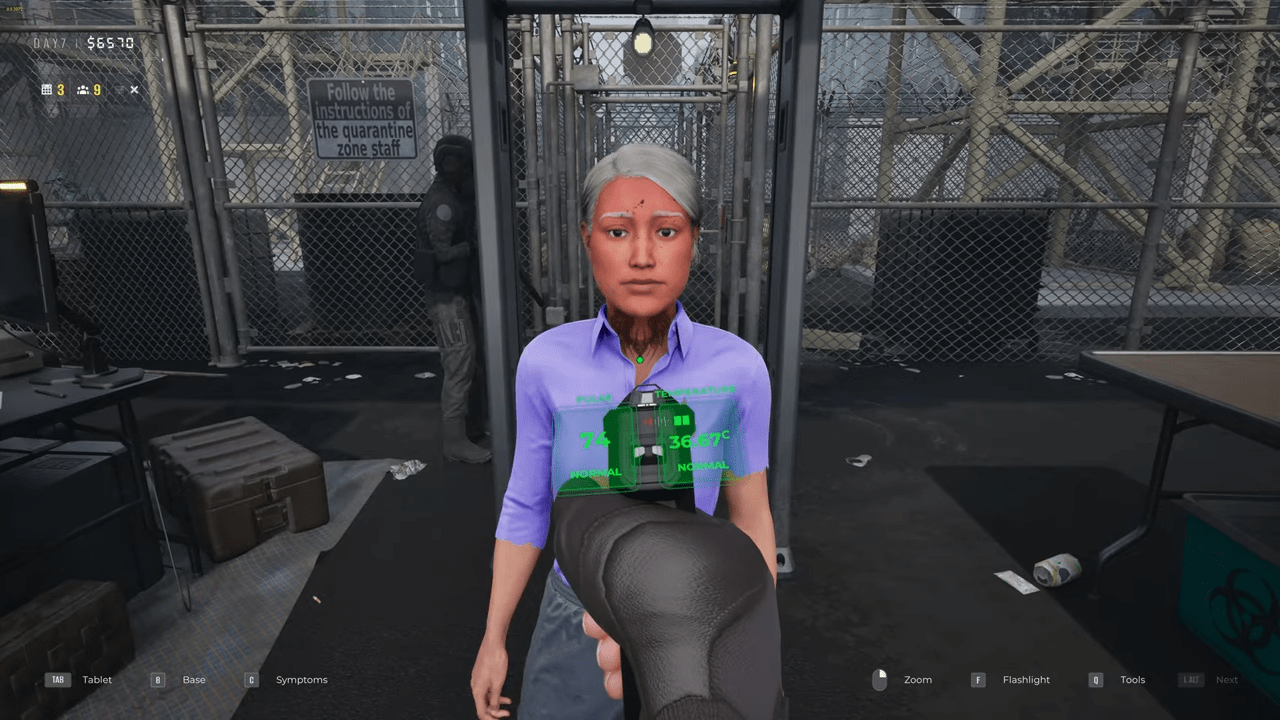
This tool measures the patient’s heart rate. If their pulse reads between 120 and 180 beats per minute and they exhibit hiccups or sneezing, they likely just have a common cold. However, any pulse reading above 180 indicates a guaranteed infection. You should save your Research Points and avoid upgrading this tool until you max out your research tiers.
Hammer
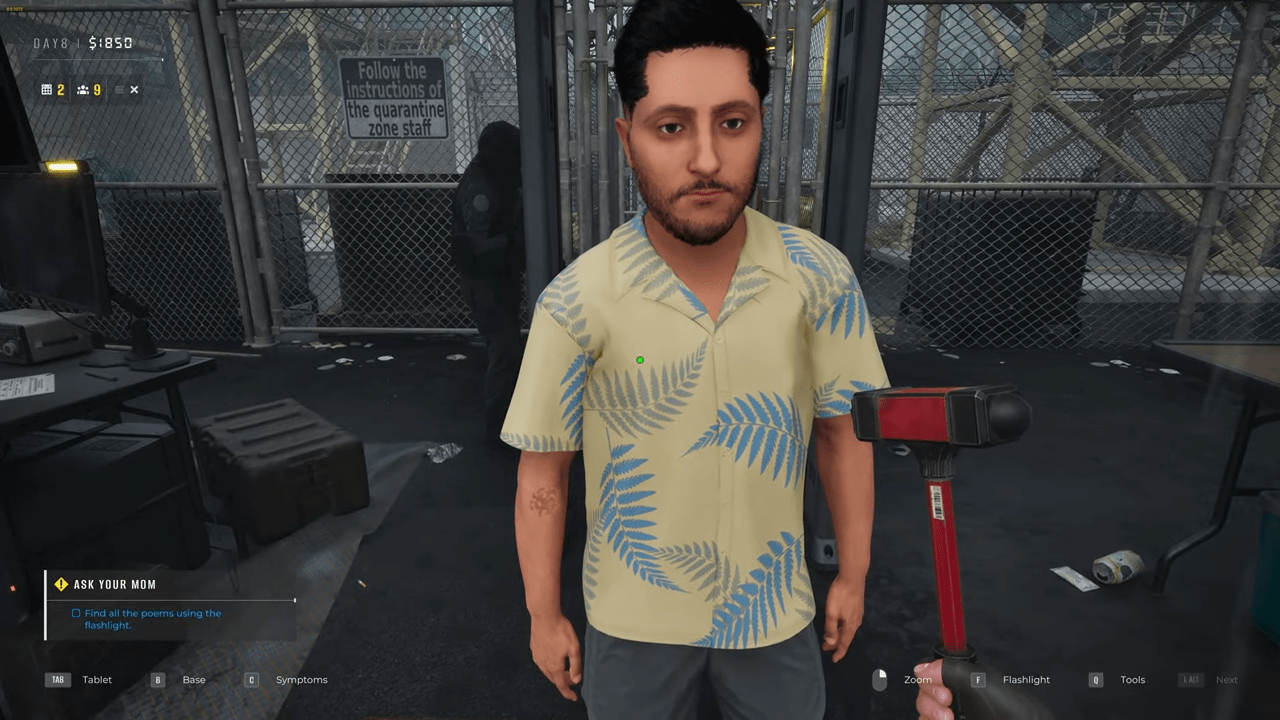
You use the medical hammer to check reflexes. You must aim the hammer directly at the patient’s hand. If you strike too high up on their arm, the game will incorrectly register the hit as an Absent Reflex condition, even if the patient is healthy.
Scanner
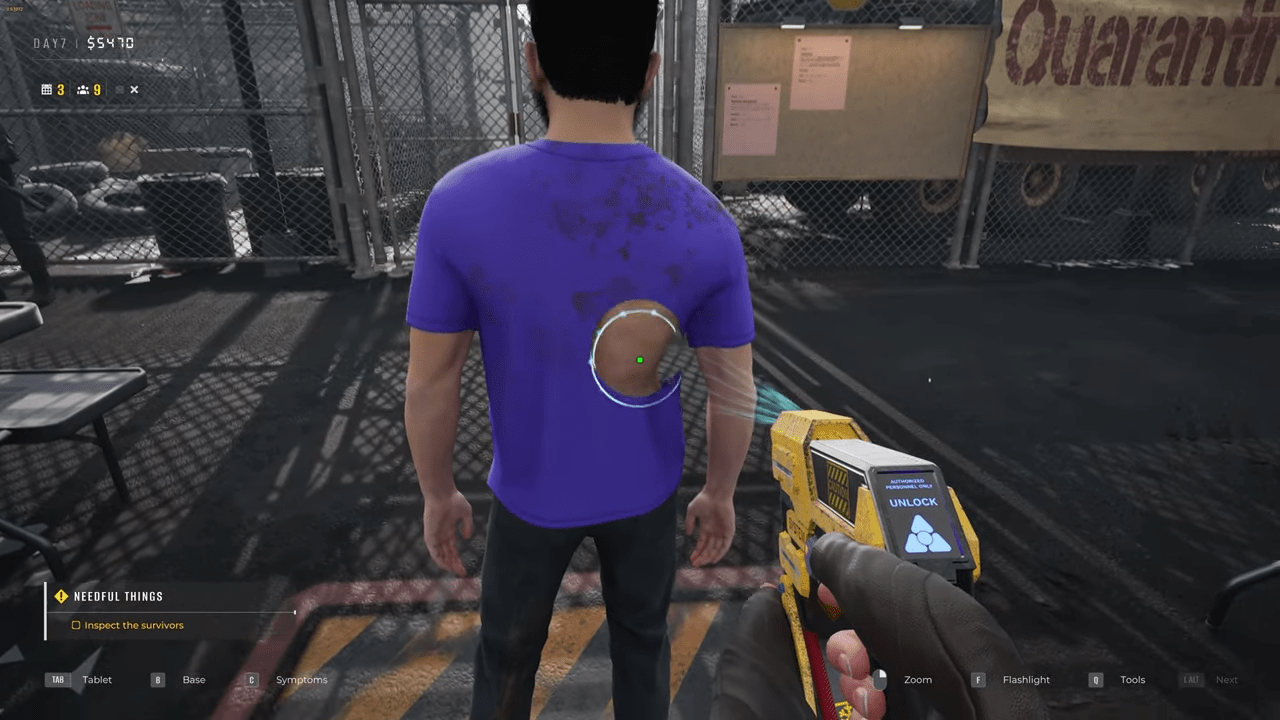
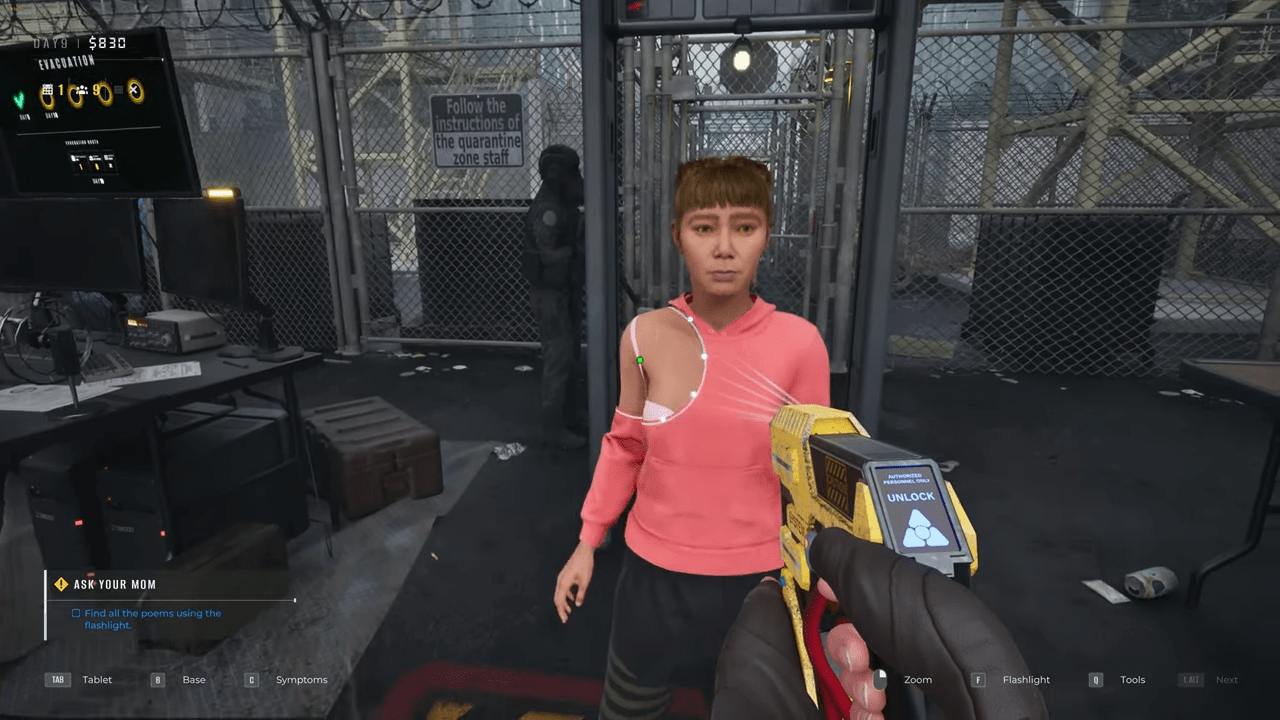
The scanner serves as your most vital tool. It allows you to peer through the patient’s clothing to find hidden marks. Be aware that survivors often have normal tattoos hidden under their clothes. You must learn the visual differences between harmless tattoos and deadly conditions.
Luggage Search
Searching bags requires a keen eye. The game does not label the items you point at, so you must memorize what constitutes contraband. Weapons and syringes represent clear violations. You must also learn to distinguish a box of bullets from a box of candy. If you discover Infected parts in a bag, the survivor must go straight to Liquidation. Always remember to complete their full symptom diagnosis first to secure your RP.
Stethoscope
Using the stethoscope presents a moderate challenge. When you listen to the patient’s chest and back, the absence of any black spots indicates perfect health. Differentiating between a Sick lung and a Neutral lung requires practice, but an Infected lung produces a very obvious visual and audio cue.
Rapid Test Syringe
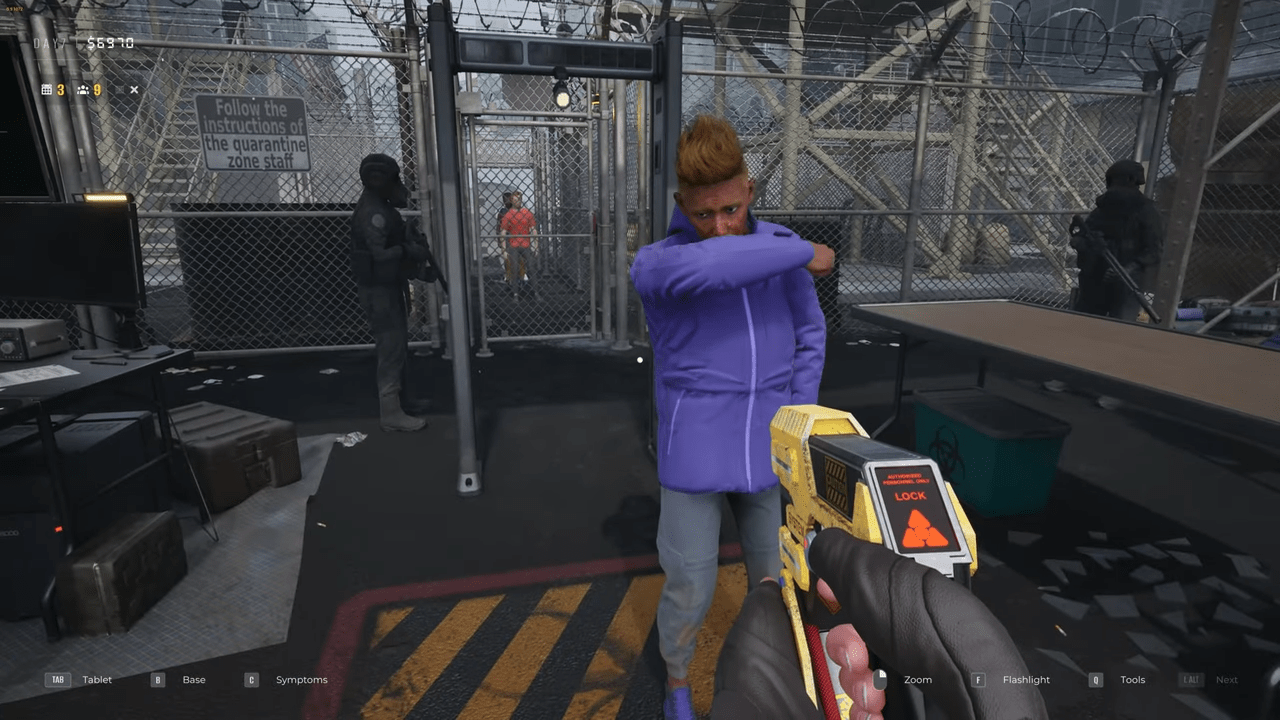
This syringe provides an immediate, definitive answer regarding the patient’s infection status. Because your supply remains strictly limited, you should only use a syringe during emergencies when you feel completely stuck. Even if you use a syringe, you still need to log all the visual symptoms to earn your RP before sending the patient away.
Gun
Your firearm protects you and enforces the rules. You must never shoot a patient before officially sending them to Quarantine or Liquidation, as premature executions forfeit all RP for that diagnosis. You can use your gun to shoot rats and zombies outside the wall. However, if you decide to shoot the checkpoint guards, the other guards will immediately return fire and kill you.
X-Ray Scanner
The X-Ray requires careful analysis. The symptom reference screen only shows you the infected state of a single, generic organ. However, an infection can manifest in any internal organ, including the brain. Furthermore, a single patient might have multiple organs in different states. One organ might be Sick while another is entirely Infected. You must mark both conditions on the diagnosis screen.
You also use the X-Ray to check for internal contraband. Survivors will swallow items like grenades, bullets, bones, and black computer chips. If you spot these items on the lowest X-Ray layer, you must extract them, confiscate the contraband, and send the smuggler to Liquidation.
Matiscope
This tool allows you to examine the patient’s eyes. You must adjust the lens to bring the ocular layer into focus. Once focused, you look for floating anomalies. Most symptoms appear obvious, but the Ocular Helminth requires careful observation as it resembles a very thin, almost invisible, see-through worm.
Since patients usually keep their eyes partially closed, spotting overall eye color changes like Yellow or Red eyes proves difficult from a distance. Fortunately, when you use the Matiscope, the background color of the scope view matches the patient’s actual eye color.
UV Detection Tower
The UV tower reveals hidden bodily symptoms and illuminates contraband. During the story, the game makes the tower seem difficult to use due to its short battery life. However, the battery recharges quite rapidly. If any items in a patient’s luggage light up under the UV rays, that patient goes to Liquidation. Crucially, if the UV light reveals a bodily symptom, you must manually open the appearance tab and mark that specific symptom to achieve a perfect diagnosis.
4. The 100% Achievement Walkthrough
You can unlock every achievement in Quarantine Zone through careful gameplay. We have divided these into regular campaign progression and miscellaneous actions.
Regular Campaign Progression
You will earn these achievements naturally by playing through the main story and managing your base effectively.
| Achievement Name | How to Unlock | Notes |
|---|---|---|
| Tooling Up | Get your first inspection tool. | Pick up the flashlight on the very first day. |
| First Time, Huh? | Finish your first day. | Simply go to bed after day one concludes. |
| Light My Fire | Cleanse the quarantine cell. | Leave an infected in the cell until they turn, then pull the lever by the door to burn them. |
| City Builder | Upgrade a building. | Open the base editor (B) and purchase any building upgrade. |
| Evacuator | Achieve an evacuation quota. | Successfully send five or more healthy people away on Day 5. |
| Finders Keepers | Confiscate contraband. | Take an illegal item like a gun or knife during a bag inspection. |
| I Can Read | Complete a bulletin board task. | Finish any task assigned by the Major. |
| Headhunter | Eliminate a contract target. | Kill a specific individual requested by the Major via the board. |
| Jackpot! | Earn 50,000 dollars. | Perform perfect inspections and meet all quotas to amass wealth. |
| Certified Next-Shouter | Shout “Next!” 100 times. | Simply call the next patient in line one hundred times. |
| Watch Them Closely From Now On | Liquidate an attacking survivor. | Shoot an infected survivor who attacks you after you assign them to quarantine. |
| Can’t Touch This | Confiscate a zombie body part. | Find and take a zombie part from a bag. This action costs you 10 dollars. |
Janitor |
Kill a rat. | Hit a rat with a hammer or shoot it. |
| Dinner is Served | Feed a zombie in a cage. | Send an infected to the cage. Use the trolley to deliver a body to the lab pet. |
| Under My Skin | Confiscate internal contraband. | Use the X-Ray, go to the lowest layer, press E on the item, and talk to the guard next to Georgie to confiscate it. |
| Good Work, Son | Get the good ending. | Successfully complete at least four out of the five evacuation quotas. |
| Master Evacuator | Achieve every quota in one run. | Provide enough healthy survivors to perfectly pass all five quotas in a single playthrough. |
| SNAFU | Get the bad ending. | Requires a second playthrough. Perform poor inspections, fail your evacuations, and shoot healthy survivors to ruin your run. |
Miscellaneous Achievements
You can earn these achievements at various points during any campaign run.
| Achievement Name | How to Unlock | Notes |
|---|---|---|
| Perfect Day | Score a perfect inspection on every check in a single day. | Extremely easy to accomplish on Day 1 by taking your time. |
| Ain’t That A Kick? | Knock out a survivor. | Hit any survivor directly on the head with your medical reflex hammer. |
| Safety First | Inspect a staff member. | Use any of your medical tools on a checkpoint guard or staff member. |
| Brain Slam | Shoot a human brain through a basketball hoop. | Take a brain from the lab, walk to the survivors block, and throw it through the left side hoop. |
| Lights Out | Break 5 lightbulbs. | Shoot out five lights. The center pillar and Command center are great spots for this. |
| Rat Slayer | Kill 30 rats. | Rat kills stack across multiple runs, so you do not need to hunt all 30 in one campaign. |
5. Known Bugs and Game Exploits
The game features a few quirks and bugs that you should keep in mind:
1. The Restart Exploit
You can exploit the day restart function to guarantee perfect diagnoses. If you quarantine someone, check them the next morning. Symptoms might appear, disappear, or stay the same. If you want absolute certainty, send all quarantined survivors to Liquidation or shoot them. If your money goes up, they were infected, but if your money goes down, they were healthy. Restart the day, and you will retain that knowledge, as their infection status never changes upon a restart. Note that the patients waiting in line outside will randomize, but the quarantined ones remain static.
2. Impossible Directives
Sometimes, the game assigns you an impossible task. For example, a directive might ask you to kill three infected outside the walls, but only two spawn. Some zombies occasionally glitch inside the base infrastructure, rendering the directive impossible to finish.
3. The Vitiligo Bug
You will occasionally encounter survivors with white blotches on their skin. The game engine does not recognize these marks as a symptom. Sending them to the lab confirms they are healthy. These marks represent vitiligo and should be ignored during your diagnosis.
Conclusion
Surviving your shifts in Quarantine Zone requires patience, a sharp eye for detail, and careful resource management. By utilizing your tools correctly, maximizing your Research Points on every patient, and managing your camp’s energy levels, you will easily secure the good ending and build a formidable checkpoint. Remember to scan the shoes, aim the hammer carefully, and always check for internal contraband!


Leave a Reply