
Last Updated on 2 January, 2026
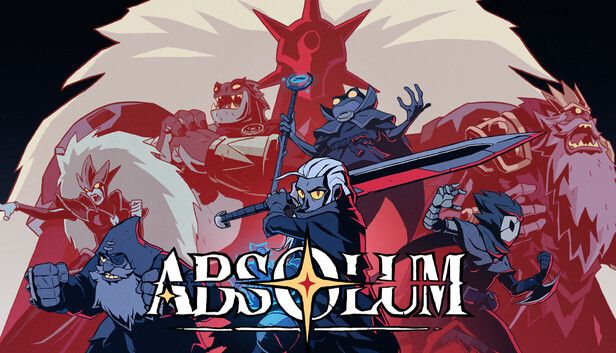
You have likely realized that liberating the war-torn lands of Talamh requires more than just button-mashing. Absolum blends the punishing loops of a roguelite with the technical depth of a classic beat ’em up, creating a challenge that demands mastery over luck. If you find yourself crushed by the Crimson Order or struggling to time your Clashes against Azra’s zealots, you have come to the right place.
This guide solves the mystery of combat mechanics and turns you into a precision weapon. We provide everything you need to survive the rebellion, from a breakdown of the Hearth’s sanctuary to a deep analysis of frame-specific damage statistics. You will learn to exploit the Punish system, master the art of the Tech Hit, and optimize Galandra’s devastating swordplay. We strip away the confusion of random Rituals and focus on the skills that remain constant: your inputs, your combos, and your knowledge. Prepare to transform your fighting style and bring the Sun King to his knees!
Table of Contents
The World of Talamh
To fight effectively, you must understand what you are fighting for. The world of Talamh changed irreparably 18 years ago during the Cataclysm of Yeldrim. This catastrophic event threw the longstanding traditions of the Root Sisters and their magic Rituals into question.
Azra the Conqueror took advantage of this chaos. He proclaimed that magic must be outlawed. Alongside his loyal, faceless followers known as the Crimson Order, he imposed his iron will upon the various tribes of the lands. The result was a slaughter. Wizards, their allies, the Root Sisters, and the mowlaï race faced imprisonment or death.
Today, Azra and his Crimson Order are the sole sanctioned holders of magic. They use this power to demand tribute from every corner of Talamh. While the capital of Asterios grows bigger and richer every day, the villages starve. The forests shrink, the mines are emptied, and the mowlaï go extinct.
The rebellion rests on the shoulders of a few survivors. These souls escaped death and now stand as the last hope of Mother Uchawi and her allies.
- Galandra: Her sword hungers for revenge.
- Karl: A warrior whose people were lost to madness.
- Cider: A survivor shattered in both body and mind.
- Brome: A fighter molded by hatred since birth.
You must navigate this dangerous world carefully. Foes will stand in your way, and each one fights differently. You must be observant to identify their attacks and patterns. However, exploration offers rewards. You might find containers to break, leaf piles to kick, or tall grass to cut down. These often hide gold, relics, or food to regain spent strength.
Sanctuary: The Hearth
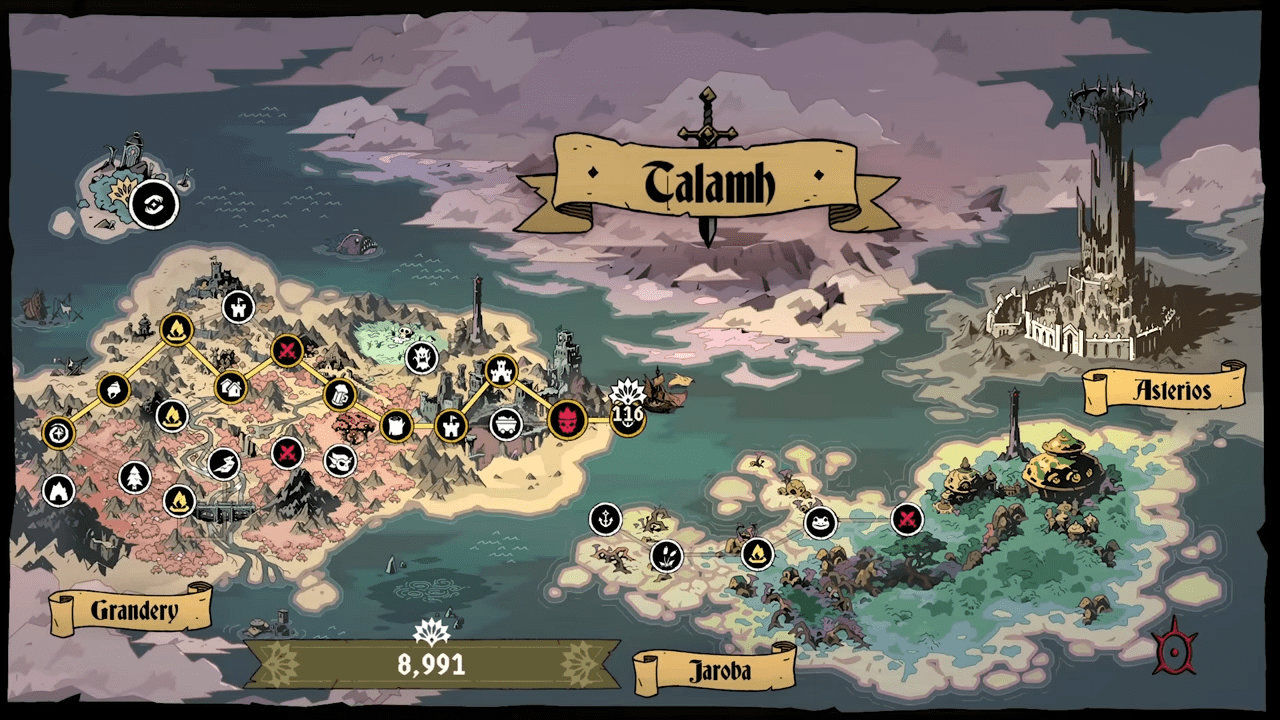
Your journey begins in Uchawi’s Hearth. This location serves as the last sanctuary for wizards in Grandery. It is vital that you familiarize yourself with the layout of this place and search every nook and cranny before venturing out to brave the world.
Key Locations in the Hearth:
- The Tree of Talamh: This is where you will spend Crystals to strengthen yourself. As you purchase available upgrades, new tiers will unlock. You must carefully read the effects of each upgrade. They allow you to shore up your weaknesses or unlock unique effects that define your build.
- Ederig: A veteran of combat resides here. He possesses deep knowledge of the world as it was before the War and understands how Azra’s tyranny transformed it so terribly. He will teach you many new techniques in exchange for certain items.
- The Campfire: Your Siblings rest around the campfire. If you see a bubble above their heads, they wish to converse with you. This is where you bond with your allies.
- Mother Uchawi: Occasionally, you will find sparkle-like flames in various spots. Interact with them to hear Mother Uchawi’s voice. She provides history about Talamh and occasionally offers hints to help you figure out some secrets.
- The Exit: To the East, a shining Root guides you toward the exit and the great forests of Grandery.
Once you leave the Hearth, Mother Uchawi will offer you a random choice of Rituals. Pick the one that you find most interesting, as this power will fuel your journey through the massive region of Grandery.
Combat Fundamentals
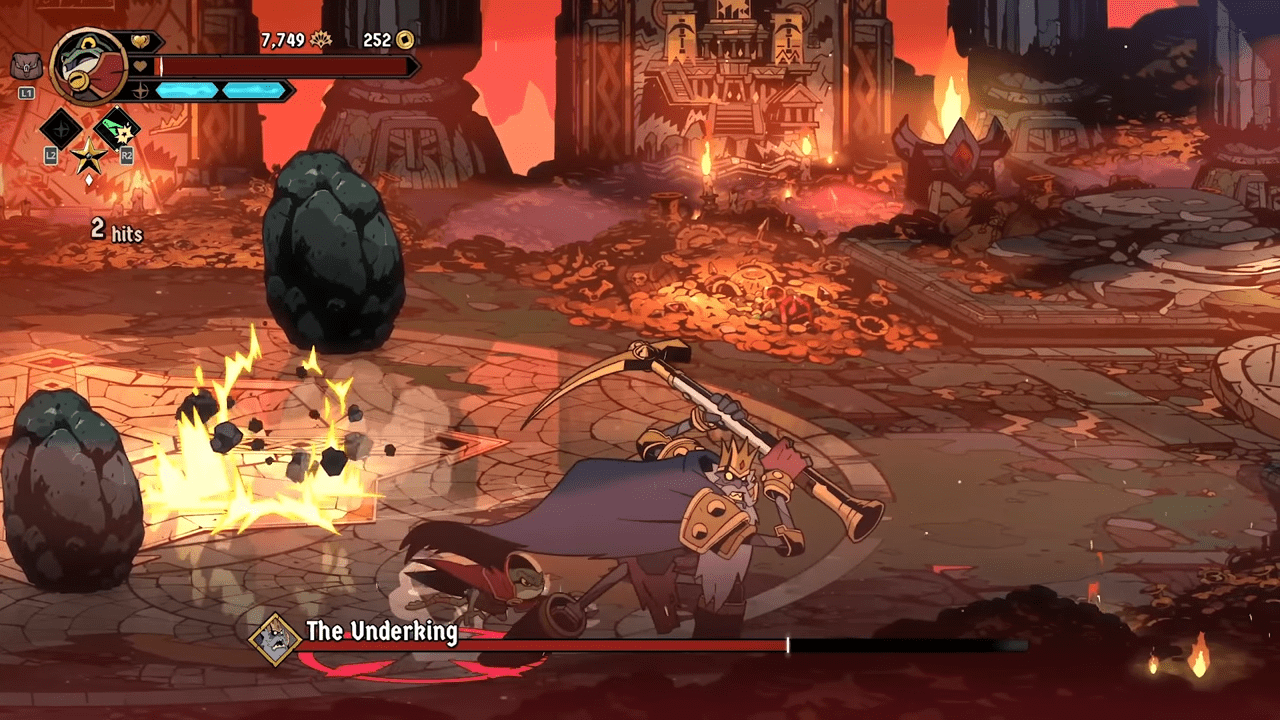
As a fighter in Absolum, you have many options on the battlefield. Mastering the basics is the first step toward victory.
1. Movement and Defense
You can walk freely around the arena. Double-tapping right or left allows you to run, and double-tapping up or down allows you to dodge. Alternatively, you can press the Dash button to dash forward. You can also dodge vertically by holding the Dash button while pressing up or down. If you hold the Dash button without a direction, you will run without needing to double-tap. You also have a Jump button for navigating terrain and aerial combat.
2. Offense Basics
The Strike button allows for swift attacks. Pressing it multiple times chains attacks into a short combo. You must learn the range of your Strike to position yourself effectively. Uniquely, you can turn around for each Strike of your combo, allowing you to hit an enemy trying to flank you. Pressing Strike while running executes a powerful running attack. You can also Strike enemies in the air, chaining multiple air attacks in a row.
3. Skills and Magic
The Skill button executes a slower, heavier attack that deals more damage. If you hit your target with any Strike, you can chain it into a Skill by pressing the button immediately. Experiment with chaining Strikes into Skills, but do not hesitate to use a Skill on its own if the timing suits the situation. You can also chain an air Strike into an air Skill.
4. Arcanas
These are powerful magic skills that can lay ruin upon your adversaries. You need Mana to cast them, which generates as you hit enemies. Arcanas serve as excellent offensive tools and can be chained from any Strike or Skill, even in the air. They also offer a powerful defensive tool, as most provide a moment of invincibility to pass through an enemy’s attack.
5, Deflection
Dashing in the direction of an attack allows you to Deflect it. This is crucial for defense. It requires timing, but mastering it turns you into an immovable object.
Advanced Mechanics & Terminology
To truly master Absolum, specifically for high-level play, you must understand the underlying systems. This section focuses on the beat ’em up elements that allow you to clear the game regardless of RNG.
1. The Punish System
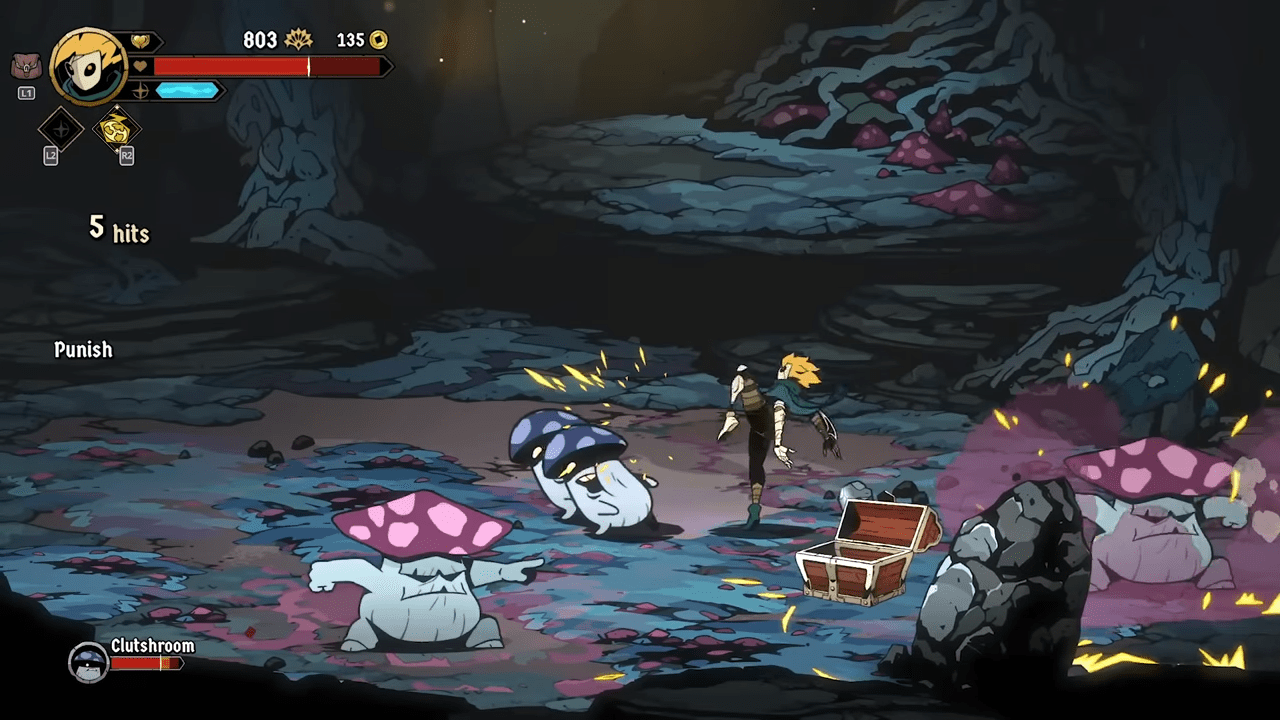
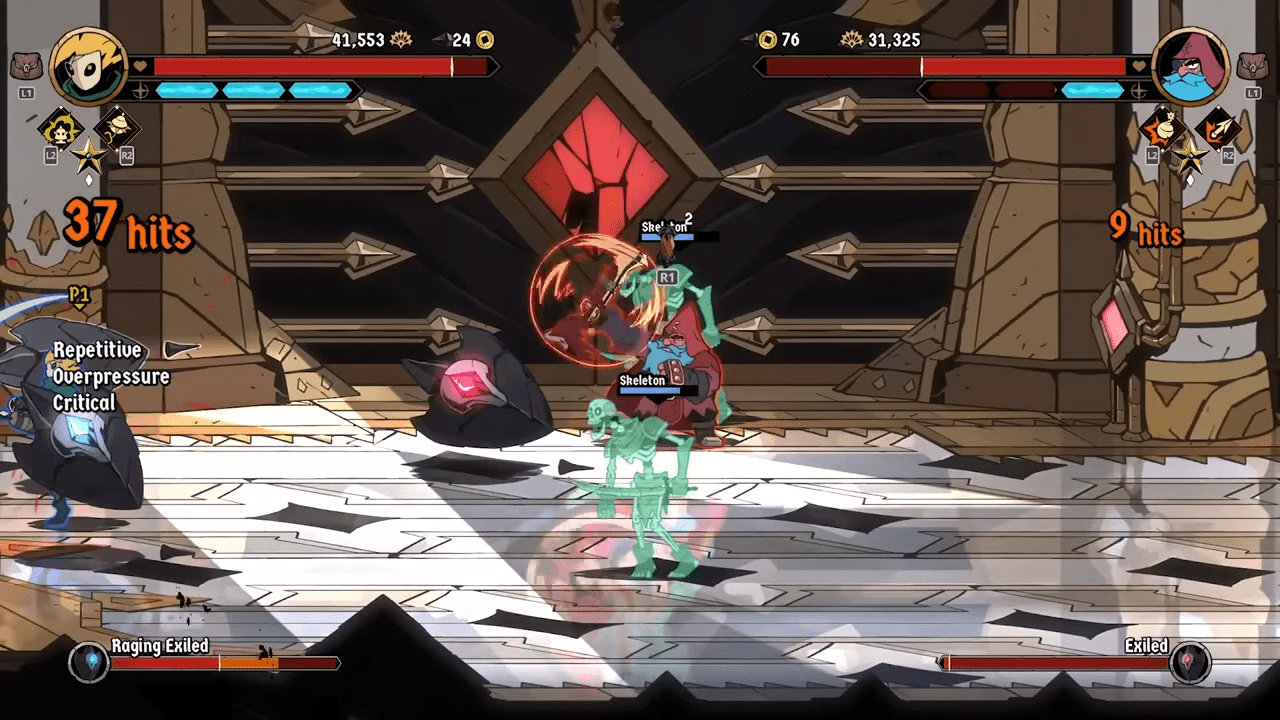
A Punish occurs after a clash, deflect, dodge, or any time you hit an enemy after they whiff an attack. The damage bonus from a Punish applies to the whole combo, not just the initial hit that says “Punish.”
2. Repetitive Penalty
Variety is key. If you repeat the same attack continuously, you incur a “Repetitive” penalty. This reduces damage dealt and prevents you from executing longer, more damaging combos.
3. Overpressure and Resets
Overpressure prevents infinite combos. The hit that triggers Overpressure is always a Critical hit, and the state itself deals extra damage. A flash occurs just before Overpressure kicks in, staggering the enemy significantly. You can reset this state by using your Ultimate (L2 + R2). Alternatively, you can force a “Reset” to avoid Overpressure by stopping your attack to let the enemy recover or letting them wake up after a knockdown.
4. Tech Hit vs. OTG
Understanding the ground game is vital.
- OTG (Off/On The Ground): Hitting an enemy who is knocked down.
- Tech Hit: A specific type of hit on a downed enemy where they can recover and land on their feet.
5. Physics: Wallbounce and Ground Bounce
- Wallbounce: Certain moves bounce enemies off the screen edges.
- Ground Bounce: Some attacks launch enemies off the floor. The height depends on the strength and height of the move. Note that Ground Bounces are not “stored.” You cannot juggle an enemy before they touch the floor if you want the bounce to trigger.
6. Clash and Impact
When your Skill or Arcana collides with an enemy attack, it causes a Clash. This staggers the foe for an extended time. Against certain armored enemies, clashing them in the air puts them in a vulnerable state, allowing you to juggle them as if they had no armor. Impact Hits occur when enemies collide with each other or terrain, dealing collision damage.
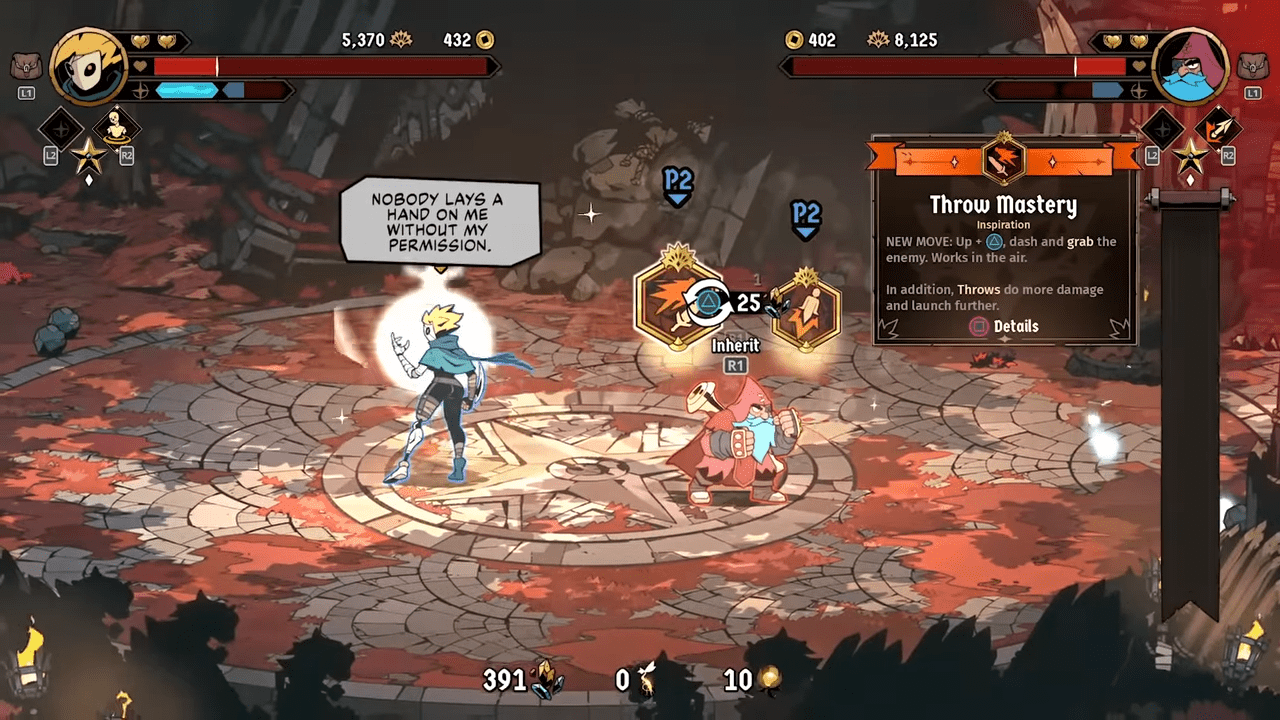
Character Spotlight: Galandra
Galandra is a fierce warrior. This section breaks down her specific toolkit, moving from beginner moves to advanced applications.
The Basic Moveset
- Strike Combo: The 3rd hit (elbow) has inertia and can be canceled into a Skill while preserving momentum. The 4th hit (kick) causes a wallbounce.
- Skill: This acts as a launcher and naturally sets up a farther wallbounce with an auto-combo. It also functions as a Tech Hit.
- Jump Attacks: The 1st hit can hit downed enemies in specific situations. The 2nd hit has inertia and causes a wallbounce.
- Air Skill: This keeps the ground bounce property and is the most damaging original move. It is the optimal combo ender right before an enemy gets Overpressured.
- Running Attack: This deals collision damage and can be canceled into an air Heavy Attack. It acts as a Tech Hit and can jump over some projectiles.
Grappling
Galandra has versatile throws. The Forward Throw pushes enemies farther away than the Back Throw. The Up Throw launches enemies upwards, setting up a combo and a side-switch. Throws deal damage only if the enemy hits the ground naturally without interference. While throws have invincibility frames (iframes), you cannot use them to dodge an enemy grab.
Use of Mounts and Weapons
Some animals serve as mounts. They are strong and fast. You can dismount soldiers to take their steeds. Each mount behaves differently when you press Strike or Skill. You will also find throwable weapons like daggers, axes, or even rocks. These are powerful for attacking safely from a distance and can stagger armored enemies or damage shields.
Mastering Arcanas
At the start of a run, you choose one Arcana. Galandra has no bad options, but understanding their nuances is key.
Reaper Cyclone
This deals the highest damage for an Arcana with a wallbounce. It causes a soft wallbounce, making it exceptional in corners. It benefits from movement speed increases and has less recovery when performed in the air.
Draconic Ascent
This is the premier tool for initiating Air Combos. The aerial version has significant corner carry, useful for setting up corner combos from midscreen. It allows you to perform it immediately after jumping to stay close to the ground, avoiding anti-air attacks.
Revenge Claw
This move features strong knockback and wallbounce. The aerial version includes a Ground Bounce. The counter function triggers only on melee attacks, though it will deflect projectiles back. You do not need to face the enemy to clash with this, and you can redirect the attack.
Necrotic Wave
This is excellent for wave clear and crowd control. The wave itself can clash with attacks. However, it is less effective against bosses and has reduced range when performed in the air.
Phantom Impale
This grants bonus damage if you impale the enemy on a wall. When used close to an enemy, it acts as a grab that works on armored foes. It is also good for clashing.
Dark Helix
While it has lower damage, it offers great built-in mobility for escaping dangerous situations and synergizes well with the Fatal Flow ritual.
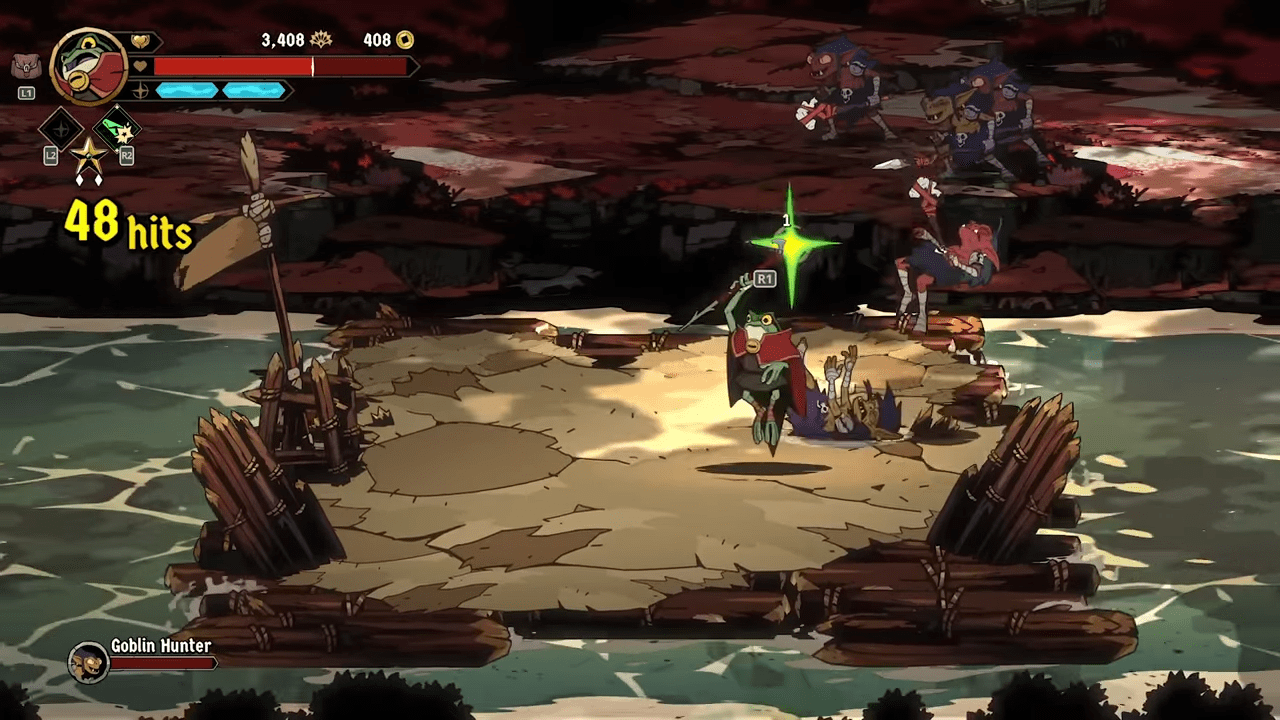
Inspirations and Upgrades
Inspirations drastically change your gameplay. Most modify Galandra’s moveset, while others boost stats.
- Charged Sword: This deals 300% more damage to guard (armor). It is essential for breaking the guard of elite enemies and bosses. Fully charging it increases the Area of Effect (AoE).
- Sword Flurry: The 2nd hit is cancelable and has a ground bounce. The 3rd hit is not dodge cancelable unless you have Charged Sword, cast an Arcana, or use a throwable weapon.
- Blade Spin: This is a multi-hit move where each hit benefits from Rituals. It changes the timing on the Air Skill slightly and causes a ground bounce.
- Burial Smash: This AoE move knocks down nearby enemies and hits OTG. It allows you to grab enemies that usually break out of grabs, such as Goblin Champions. It loops well into itself.
- Claw Finisher: A multi-hit move benefiting from Finisher buffs. It is jump cancelable on the ground. The air version is cancelable into Dive Kick.
- Dive Kick: This is highly useful for combo extensions. It hits OTG and counts as a finisher.
- Arcana Mastery: This upgrades your specific Arcana. For example, Reaper Cyclone becomes unstoppable, and Necrotic Wave creates additional waves.
- Duelist: This boosts damage against bosses, ideal if you prefer not to alter the moveset.
- Ghost Blade: This adds a launcher but can make combos chaotic.
- Blood Harvest: This increases movement speed, which is strong but can make control difficult.
- Dark Grip: Grants substantial mana gain (1.5 chunks) but is single-target and leaves you exposed.
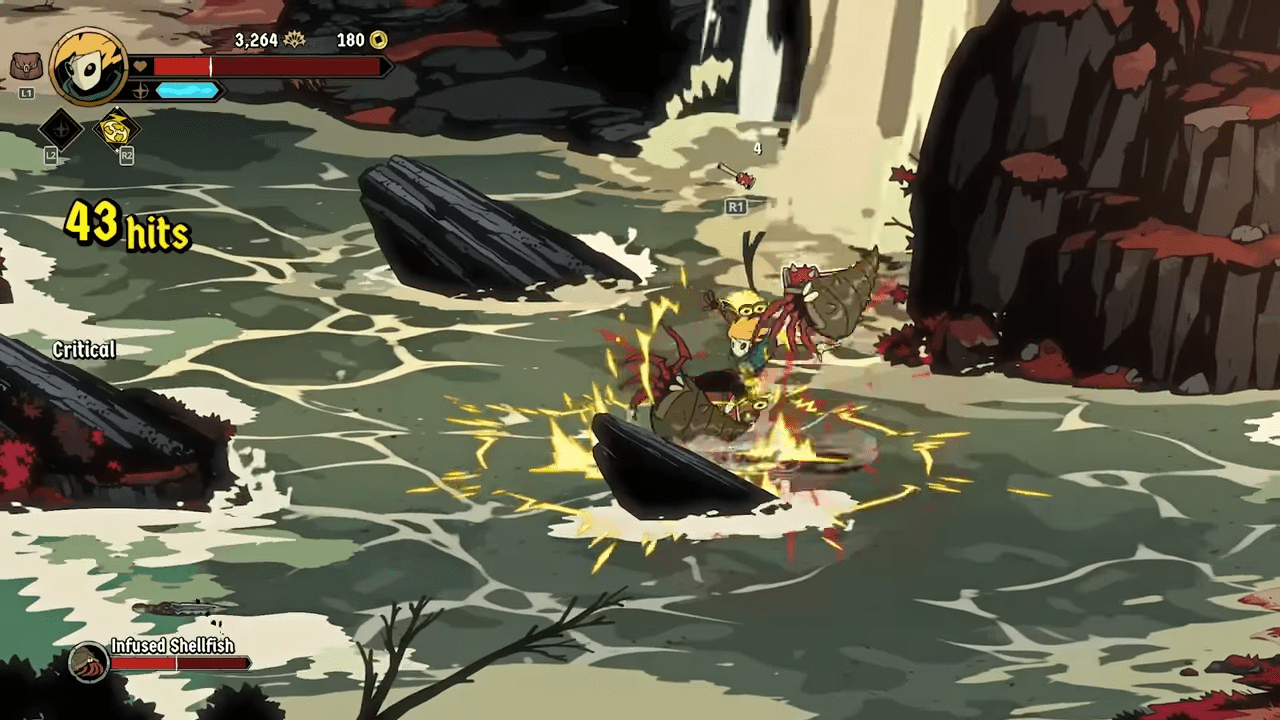
Combo Lab and Synergies
Practicing combos improves your execution and spatial awareness. Here are some drills to practice in the Hearth or on the battlefield.
Terminology for Practice:
- Dash Cancelling: Most attacks can be canceled on-hit into a Dash or Run.
- Dash Jump: Canceling a forward dash immediately into a jump allows you to jump cancel moves that normally cannot be jump canceled.
- Charge Finisher: Hold Strike and dash forward to execute an instant finisher.
Bread and Butter (BnB) Combos:
- The Basic Loop: Strike (3rd hit) into Running Attack into Dive Kick into Air Strike into Strike (3rd hit).
- The Air Specialist: Strike (3rd hit) into Skill into Dash Jump into Air Combo into Dive Kick into Air Strike into Full Combo.
- Cross Under: Heavy Attack into 1-2-3 Combo into Dash.
- Clash Follow-up: Clash into Strike Combo into Running Attack into Skill into Air Arcana.
Ritual Synergies
Your loadout matters. Here are top recommendations:
- Mana Bounce: Powerful mana regeneration.
- Fire Ring: Allows for freer enemy juggling.
- Chrono Lock: Grants more punish opportunities on Clash.
- Gale/Tornado: Launches enemies for extended air combos.
Notable Trinkets
- Orb of Potency: Gains 1 Mana Chunk.
- Claw Charm: Deals more damage to armored enemies.
- Mobius Band (Epic): Removes the Repetitive penalty.
- Winged Boots: Grants infinite dash for 5 seconds after an Arcana.
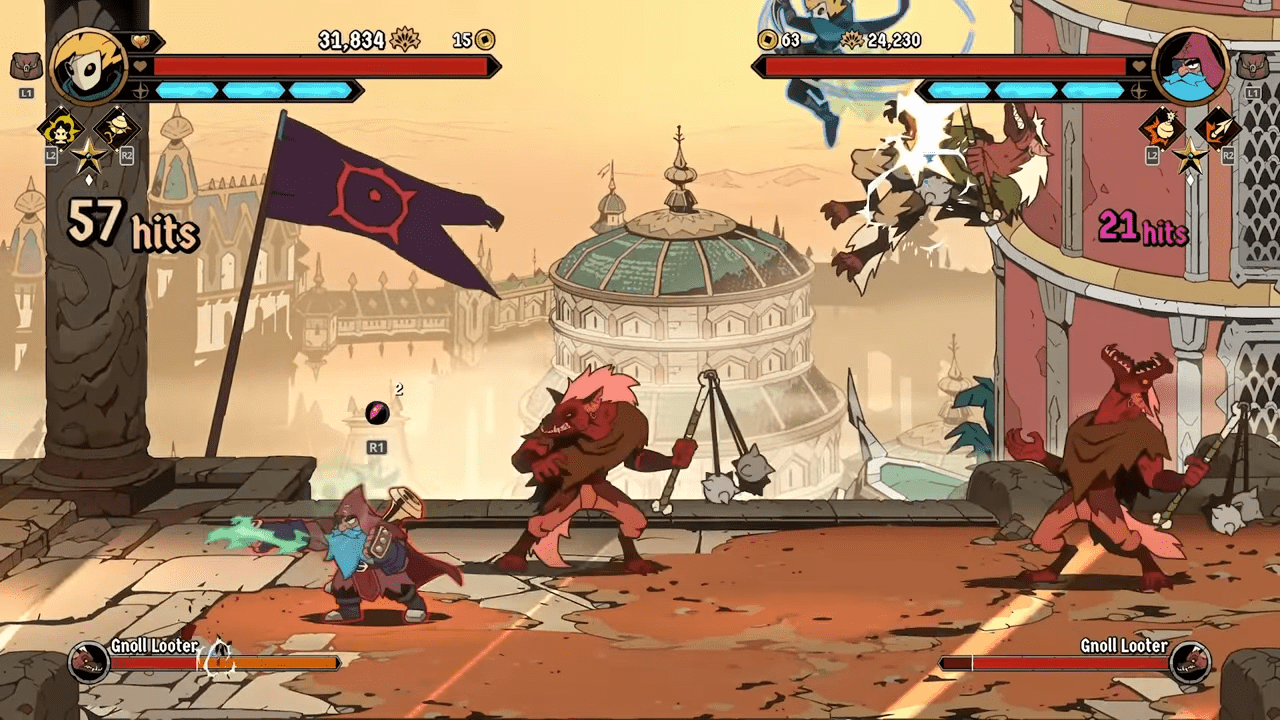
The Math of War: Damage Statistics
Knowledge is power. For those who want to know exactly how hard they hit, we have compiled the damage values for Galandra’s arsenal. Use these numbers to optimize your offense.
Default Moveset Damage
- Auto-combo (4 hits): 4 + 8 + 8 + 14 = 34 Total
- Skill: 12
- Blitz (Dash + Strike): 10
- Dodge Follow-up: 4
- Air Attack: 8
- Air Attack Combo: 14
- Air Skill: 16
Inspiration Damage Values
- Sword Flurry (after Skill): 12 + 12 = 24
- Charged Sword: 24
- Full Charged Sword: 36
- Dive Kick: 14
- Blade Spin: 16 + 4 + 4 + 12 = 36
- Claw Finisher: 4 + 4 + 4 + 10 = 22
- Air Claw Finisher: 4 + 4 + 10 = 18
- Dark Grip: 25 per hit
- Throws: Up Throw deals 30, while Directional Throws deal 20.
Arcana Damage (Default vs. Mastery)
- Draconic Ascent (Ground):
- Default: 6 + 6 + 6 + 16 = 34
- Mastery: 6 + 6 + 6 + 6 + 6 + 16 = 46
- Draconic Ascent (Air):
- Default: 30
- Mastery: 46
- Necrotic Wave (Ground):
- 12 (Close) + 36 (Projectile) = 48
- Phantom Impale:
- Ground or Air: 30
- Revenge Claw:
- Without Clash: 22
- With Clash: 44
Conclusion
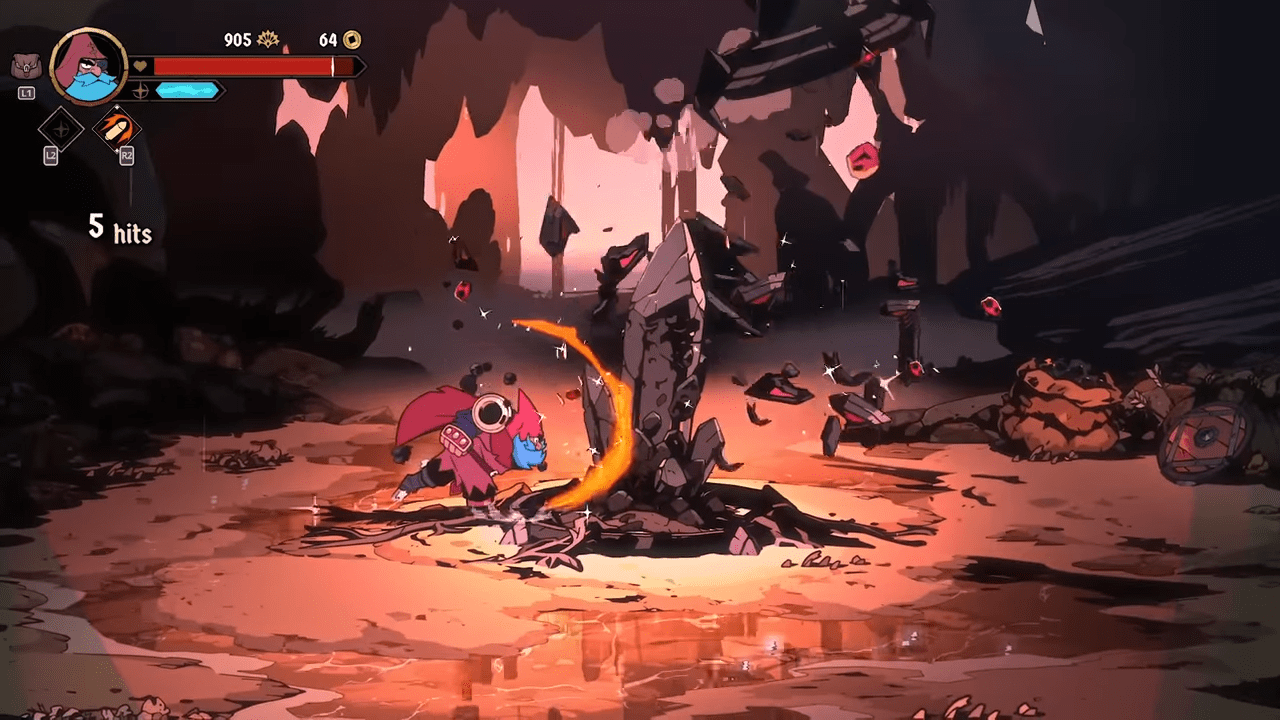
The lands of Talamh do not forgive mistakes, and button-mashing will only lead you to an early grave. This guide strips away the mystery of combat, transforming you from a lucky survivor into a calculated executioner. Master the hidden frame data, exploit every wallbounce, and turn the Crimson Order’s arrogance into their downfall. The Sun King believes he is untouchable, but we are here to prove him wrong.
Let the hopes of the rebellion drive you. Victory awaits, rebel. Go and claim it!

Leave a Reply