

Last Updated on 26 December, 2025
There is a rock. It is large, it is stubborn, and it is full of shards that absolutely must be yours. If you have spent any time in (the) Gnorp Apologue, you know the specific, hypnotic rhythm of sending tiny, pixelated Gnorps to batter that rock into submission. It starts as a simple clicker, but quickly spirals into a chaotic symphony of rockets, drones, and vomit-induced explosions.
This guide solves those problems by providing a direct path to victory. We offer a streamlined, step-by-step walkthrough that leads you from your first shard all the way to the finale. You will find the exact talent build required to maximize your damage output and speed. We also include a comprehensive roadmap for unlocking every single Steam achievement, including the difficult hidden ones!
Table of Contents
The Optimal Talent Build
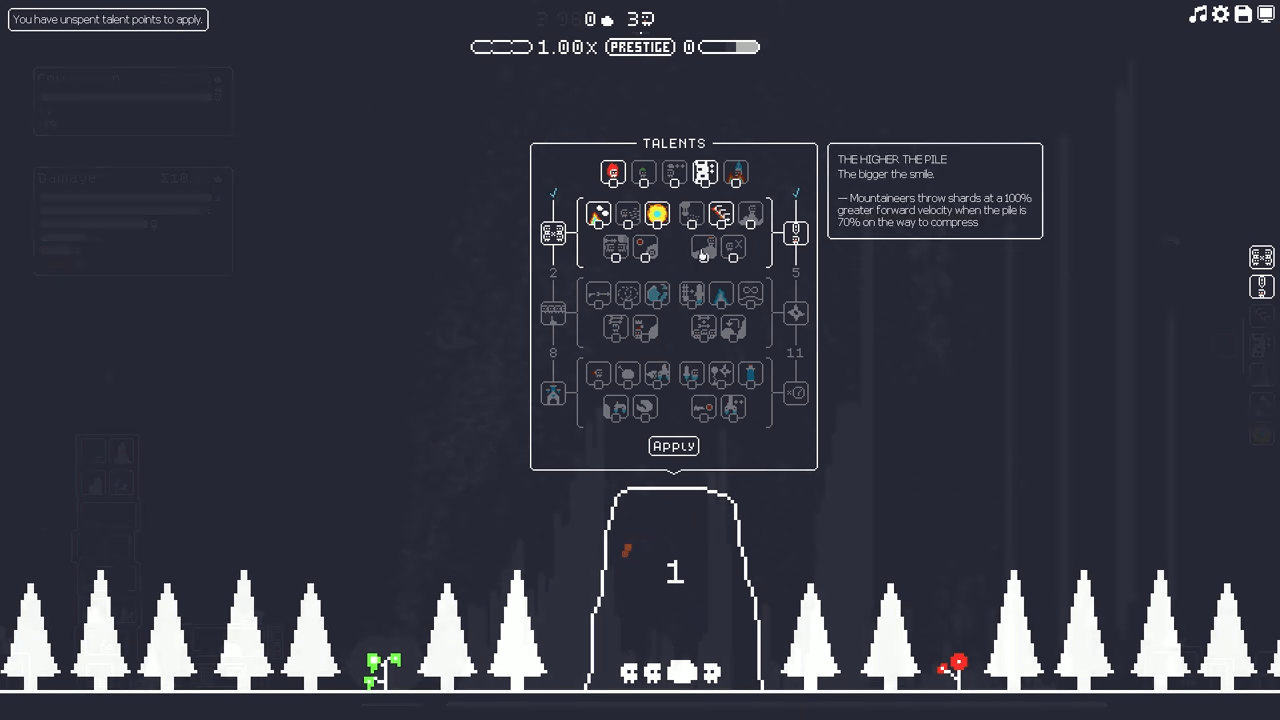
Before you dive into the step-by-step instructions, you need to set up your talent tree correctly. This build focuses on maximizing efficiency through specific synergies. You must use these 12 specific talents. You can assign any remaining points to your personal preference, but these core twelve remain non-negotiable for this strategy to work effectively.
Foundation (Row 1)
- Motivation: Keep your Gnorps moving with high energy. Motion is life in this game.
- Runner Backstop: Catch those stray shards before they disappear. You cannot afford to lose resources early on.
- Extra Housing: Expand your population cap because more Gnorps equal more damage.
- Bathing in Fire: This becomes crucial for combo synergy later in the game, specifically for ignition strategies.
Aerial Superiority (Row 2)
- Gatling Balloon: Increase your aerial threat to rain down damage from above.
Time Management (Row 3)
- Timeshift Delivery: Optimize your resource returns to speed up progression significantly.
Advanced Physics (Row 4)
- Future to the Back: Utilize this as a key component for advanced warfare tactics.
- Project Constellation: Expand your offensive capabilities significantly.
- Frost Fire: Add elemental damage stacking to melt the rock faster.
Economics (Row 5)
- Deals: Make your economy run smoother with better prices.
- Reclamation Mitigation: Prevent the rock from reclaiming your hard-earned shards too quickly.
Projectiles (Row 6)
- Arrows’ Last Hurrah: Squeeze every bit of value out of your projectiles before they vanish.
Optional (Row 7)
- Vulnerability Empowerment: Select this if you have the points available as it offers a strong boost to your damage output.
Step-by-Step Campaign Walkthrough
Follow these instructions precisely to optimize your run. Do not deviate from the order unless you know exactly what you are doing.
Early Game: Establishing Economy
Your goal here involves setting up a basic collection and damage loop. You must establish a foundation before you can ramp up the damage.
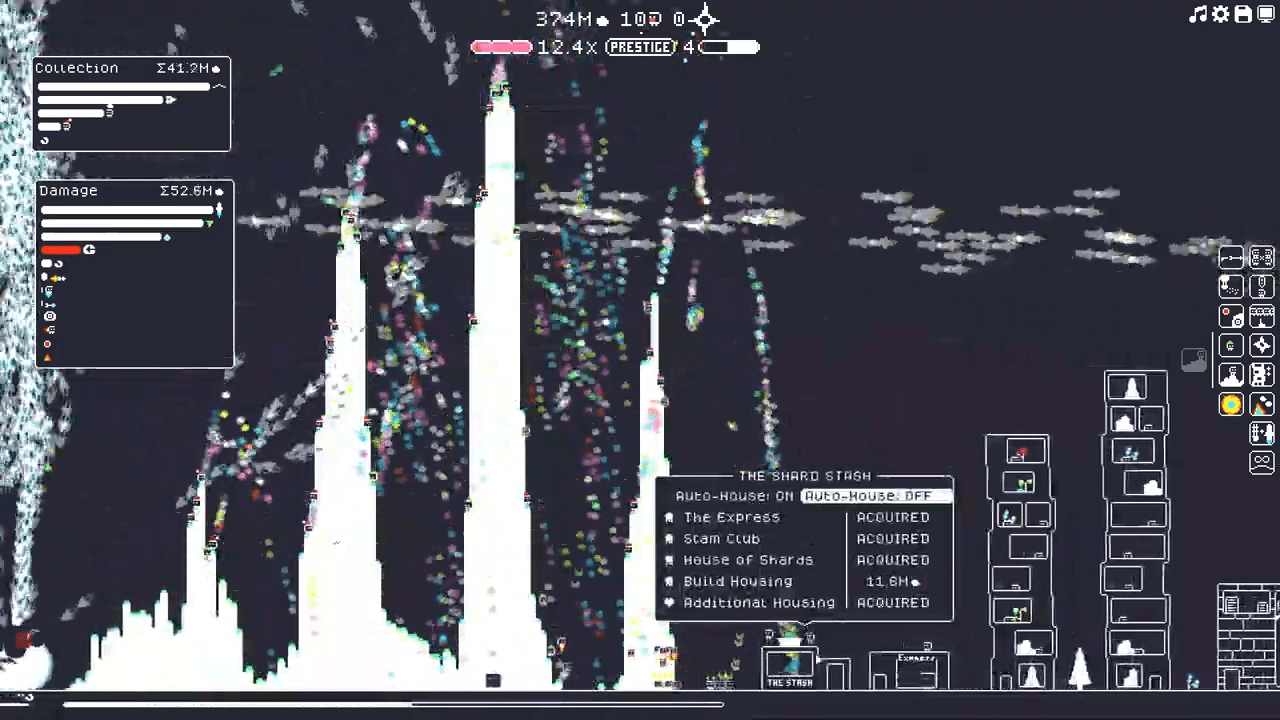
- Automate Housing: Go to the Shard Stash and turn Auto-House ON. This saves you from the tedium of managing population caps manually.
- Upgrade the Stash: Purchase the House of Shards upgrade from the Shard Stash.
- Unlock Analysis: From the House of Shards, purchase the Rock Analysis Lab.
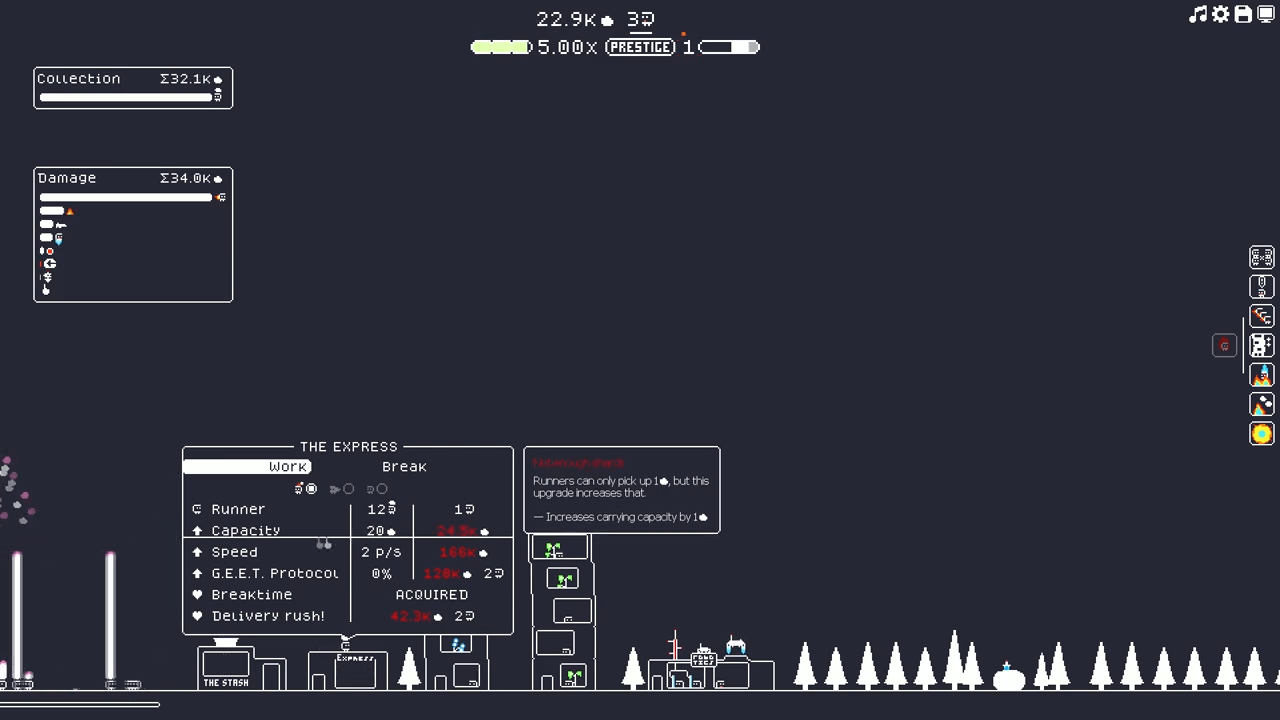
- Start the Runners: Go back to the Shard Stash and buy The Express.
- Expand Logistics: Upgrade The Express until you have 5 Runners operating.
- Caffeine Boost: Return to the House of Shards and build the Cocoa Cafe to boost productivity.
- Violence Begins: Go to the Shard Stash and build the Slam Club.
- Recruit Slammers: Upgrade the Slam Club to hire 5 Slammers.
- Ranged Support: From the House of Shards, construct the Archery Range.
- Explosives: Also from the House of Shards, build the Gnorp Propulsion Lab.
- Bomber Squad: Upgrade the Propulsion Lab to hire 5 Bombers.
- Efficiency Tweak: At The Express, research Breaktime. Research this early to help with the grind later on.
Mid Game: The Zybellium Spikes
Now you begin spending Zybellium (ZYB) to ramp up your damage output. This phase relies on specific elemental combinations and precise upgrades.
- Collect Special Resources: In the Rock Analysis Lab, unlock Zybellium Collection.
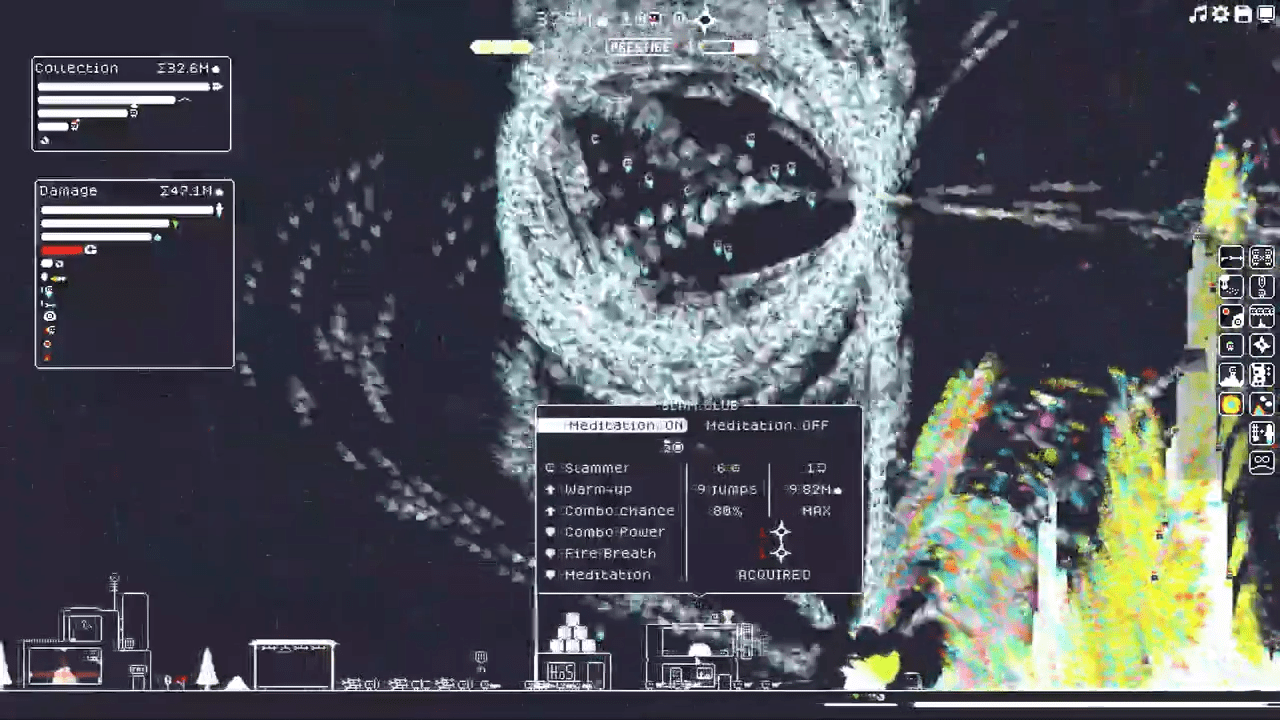
- First ZYB Upgrade: Spend your first Zybellium at the Slam Club to unlock Combo Chance 20% and Fire Breath.
- Elemental Arrows: At the Archery Range, unlock Fire Arrows and Ice Arrows.
- More Slammers: Increase your Slam Club roster to 10 Slammers.
- Better Combos: Upgrade the Slam Club to Combo Chance 40%.
- More Bombers: Increase the Propulsion Lab roster to 10 Bombers.
- Advanced Warfare: From the House of Shards, unlock Gun v. Rock.
- Rifles Deployed: Buy 2 Riflegnorps at the Gun v. Rock building.
- Air Support: At the Rock Analysis Lab, unlock the Balloon Gunner.
- Max Combo: Return to the Slam Club and upgrade to Combo Chance 80%.
- Logistics Expansion: Upgrade The Express to 10 Runners.
- Speed and Carry: Enhance The Express with Capacity 10, Speed 2, and Delivery Rush.
- Slammer Army: Increase your Slam Club roster to 25 Slammers.
- Bomber Reinforcements: Increase the Propulsion Lab roster to 20 Bombers.
- More Rifles: Upgrade Gun v. Rock to 4 Riflegnorps.
- Even More Bombers: Increase the Propulsion Lab roster to 25 Bombers.
- ZYB Impact: Spend two Zybellium at the Gnorp Propulsion Lab to unlock Timeshift Impact x2.
- Housing Expansion: Spend one Zybellium at the Shard Stash for Additional Housing.
- Speed Boost: At the Gnorp Propulsion Lab, unlock Ultra Boost.
- Faster Runners: Upgrade The Express to Speed 3.
Late Game: Rockets and Rails
This phase introduces advanced mechanics like the Garden and Rockets. You will see your damage numbers skyrocket here as you prepare for the end.
- Botany: Spend one Zybellium at the House of Shards to unlock The Garden.
- Flower Power: At The Garden, select Flower Power. You must deassign other options and ensure only Puke is selected.
- Protocol Initiate: At The Express, unlock Geet Protocol 10%.
- Rocket Science: From the House of Shards, unlock YX1-AB.
- Weakspots: At the Rock Analysis Lab, research Weakspot Discovery, Weakspot Frequency, and Weakspot Weakspot.
- Logistics Surge: Increase The Express to 20 Runners.
- Heavy Lifting: Upgrade The Express to Capacity 30 and Geet Protocol 40%.
- Focused Fire: At the Gnorp Propulsion Lab, unlock Concentration and assign it to Weakspot.
- Holy Ground: From the House of Shards, build the Shrine.
- The Chosen One: Find the chosen Gnorp.
- Better Vomit: At The Garden, research Enriched Puke.
- Rifle Squad: Increase Gun v. Rock to 6 Riflegnorps.
- Zybellium Ammo: Spend two Zybellium at the Archery Range for Zybellium Arrows and assign Zybe.
- Runner Army: Increase The Express to 30 Runners.
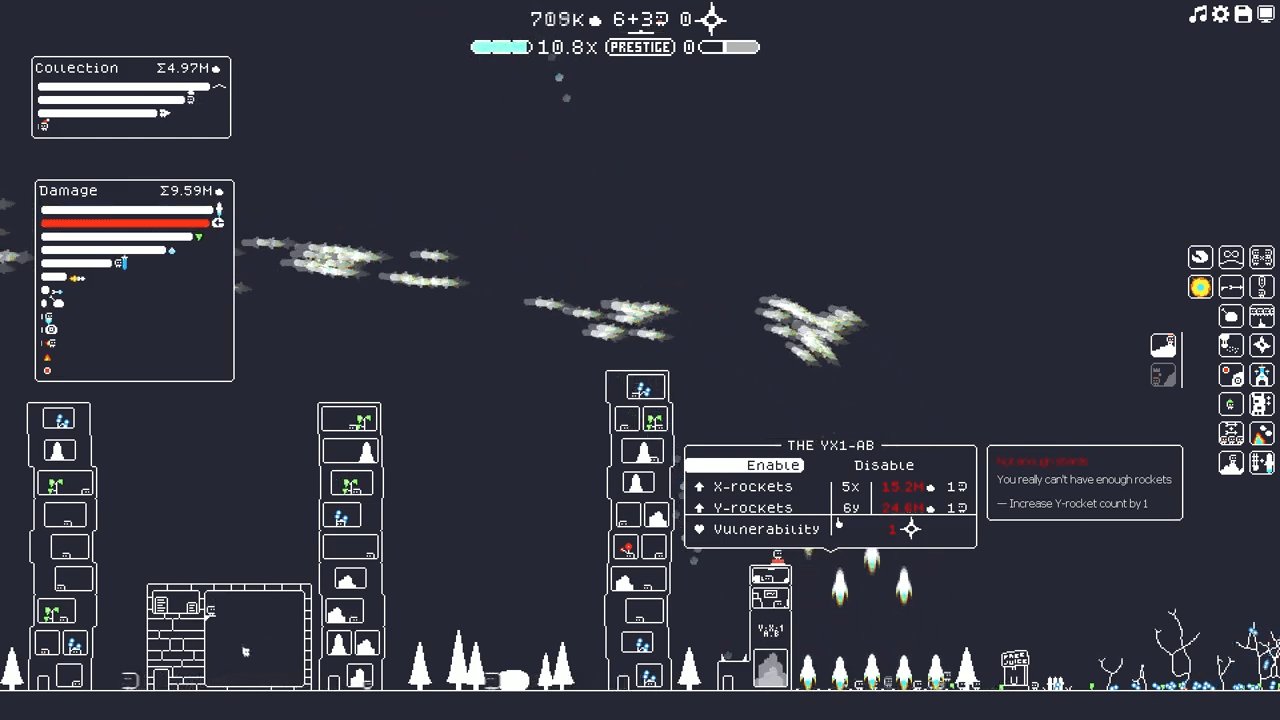
- Rocket Launch: At YX1-AB, set Y-rockets to 5 and X-rockets to 5.
- Runner Cap: Increase The Express to 35 Runners.
- Rocket Upgrade: At YX1-AB, set Y-rockets to 6 and X-rockets to 6.
- Nullification: Spend one Zybellium at the Rock Analysis Lab for Reclamation Nullification.
- Vulnerability: Spend one Zybellium at YX1-AB for Vulnerability, then set Y-rockets to 9 and X-rockets to 8.
The Finale Sequence
This represents the endgame loop. A big grind awaits you here, but you remain almost done with the game. Keep pushing until the final bar fills completely.
- The Big Gun: From the House of Shards, unlock the Rail Gun.
- The End: Select (the) Finale at the Rail Gun.
- Maximize Runners: Keep adding runners at The Express.
- Maximize Bombers: Keep adding bombers at the Gnorp Propulsion Lab.
- Maximize Rockets: Keep adding X-rockets and Y-rockets (using Zybellium) at YX1-AB.
- Victory: Initiate the finale sequence.
100% Achievement Guide
Beating the game is only half the battle. To truly master the Gnorp life, you need to collect every achievement. This section compiles the most popular methods for 100% completion based on community research.
Milestone Achievements
These achievements naturally occur as you progress through the game or require simple actions.
A Gnorp is Born
Objective: Get your first Gnorp.
To unlock this achievement, simply purchase your first Build Housing upgrade. You will find this by hovering over The Stash building.
The Ground Trembles
Objective: Reach your first compression event.
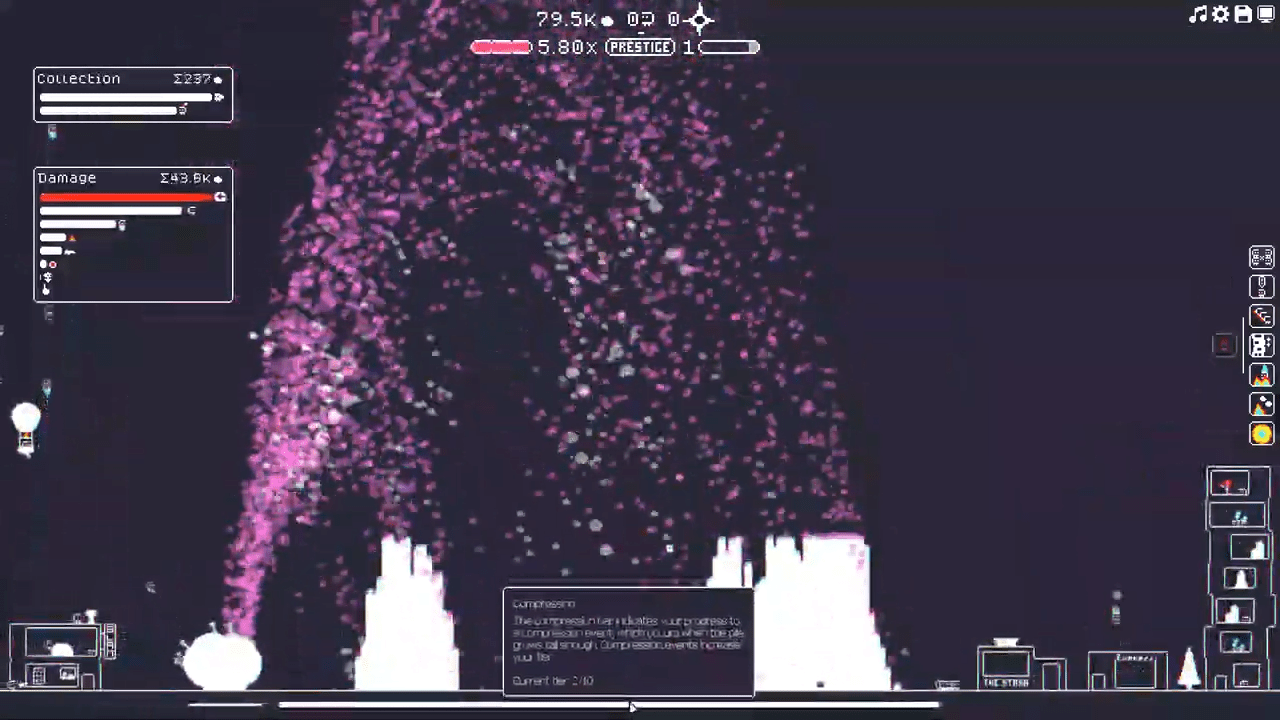
A compression event happens when you harvest shards faster than you collect them. This causes the pile to grow so large that the rock re-absorbs it. You simply need to beat the rock up, let the pile grow high, and place less emphasis on collection. When the rock absorbs the shards, you win the achievement.
New Beginning
Objective: Prestige for the first time.
Click and hold the prestige button at the top of the screen. This resets your progress but grants you Prestige Points to allocate to your talent rock for stronger buffs in your next run.
Getting Somewhere
Objective: Prestige and have a total of 10 talent points.
You will eventually unlock this as you play through and complete the game.
Gnorp Slam!
Objective: Have 100 slammers.
Collect 100 Gnorps and purchase 100 slammers from the Slam Club.
(the) Finale
Objective: Beat (the) Gnorp Apologue.
Simply follow the step-by-step campaign walkthrough provided in the previous section of this post. Players have finished this in 6 hours, 11 hours, or even 46 hours. The time does not matter; only the result does.
Gnorp-tastic!
Objective: 100% the game.
This unlocks automatically once you complete all other achievements.
Skill and Strategy Achievements
These require specific builds, timing, or strange behaviors to trigger.
Mountaineers #1
Objective: Have mountaineers collect the most.
You need your Mountaineers (from the Cocoa Cafe) to top the Collection Chart on the left side of the screen. To achieve this, purchase 10 Mountaineers and upgrade digging width to 7 columns. You must also allocate Gnorps to the Improved Digging upgrade.
They Burn Bright, and Hit the Rock So Right
Objective: Have 10 bombers bathed in fire at the same time.
You must prestige at least once to do this. This requires the Bathe in Fire perk from the Talent Rock, 10 Bombers, and the Fire Breath perk (requires 1 Zybellium). You also need 80% Combo Chance and active Fire Arrows. Once you set this up, ensure the rock stays on fire long enough to ignite 10 bombers simultaneously.
Speed
Objective: Reach the first compression event within 5 minutes of clicking the rock.
Do not attempt this until you have established talent rock perks late in the game. Invest heavily in Slammer Gnorps rather than Runners and quickly acquire the Archery Range and Fire Arrows. The combination of high damage and fire triggers compression within the 5-minute window. You must alter the standard talent build to exclude Runner Backstop and Bigger Pile for this specific run.
Retro-Futuristic Warfare
Objective: Have a riflegnorp shoot grenade arrows.
You need at least 17 Prestige Points to attempt this. Allocate points to Future to the Back and Modern Warfare on the Talent Rock. Purchase your first Riflegnorp, then click the Modern Warfare option that appears at the top of the Gun v. Rock building.
What Do I Choose??
Objective: Have 3 unspent Zybellium.
Allow three compression events to occur in a single playthrough without spending the resulting Zybellium on upgrades. You need the Zybellium Collection upgrade from the Rock Analysis Lab to pick them up.
Uh, Is This Allowed?
Objective: Acquire shards without having built the stash.
Do this immediately upon starting a new prestige. Pan the camera to the rock on the far right and click the rock to generate shards. Manually click the individual shards to collect them before the Gnorps build The Stash. If you click fast enough, the shards land in the stash spot before the building exists.
Coax It
Objective: Coax successfully 20 times in a row.
You need the Zybellium Mastery perk to see the icon. The Rock Analysis building will display a blinking white light on the left of the Zybellium Collection Container. Click the light when it turns fully white.
Deep Dive: The Y2K Achievement
Objective: Have 20 drones die at the same time.
This achievement often frustrates players, but it just requires patience. Do not over-upgrade your pile; keep it at Tier 1 so drones remain cheap. Here is the exact tested method:
- Acquire House of Shards, Slam Club, and The Express.
- Acquire Archery Range and Robotics.
- Buy housing for: 10 Runners, 3 Slammers, 10 Bombers, plus the builders (4 for Archery, 2 for Slam, 2 for Express).
- Get 10 Runners (Speed Level 2, Capacity 20).
- Get 10 Slammers (5 Warm Up Jump upgrades).
- Equip Archers with Fire Arrows.
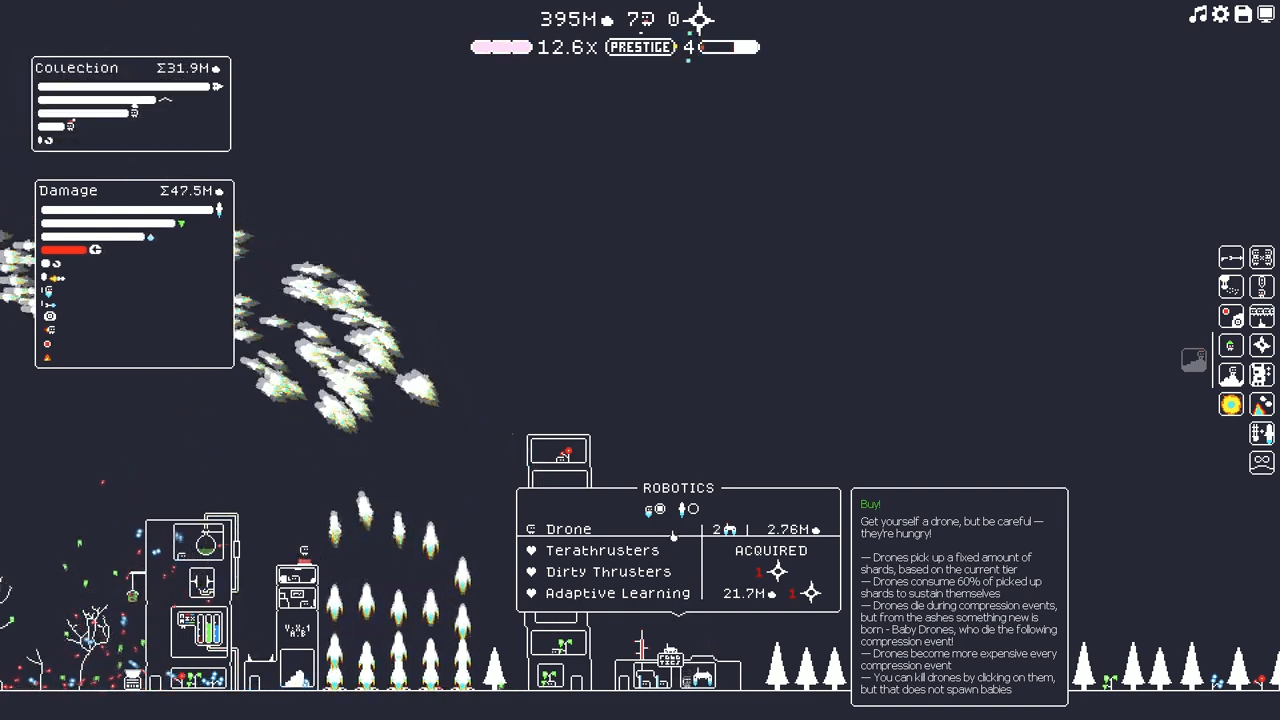
- Buy exactly 20 Drones. No more, no less.
- Once you have the drones and 10 Bombers ready, auto-click the rock to force a compression event. The compression will destroy the drones simultaneously.
Secret and Fun Achievements
It Didn’t Deserve This
Objective: Brutally, viciously murder a drone before its time by clicking on it.
Purchase the Robotics building from the House of Shards. Once you have a drone flying around, click on it repeatedly until it destroys the drone.
Gnorpcalibur!
Objective: Embed Gnorpcalibur in the rock.
This serves as an endgame achievement. Acquire The Shrine building (costs 1 million shards) and select the Find The Chosen upgrade. Watch as all but one Gnorp die attempting to pull the sword. The achievement unlocks shortly after.
MY EYES
Objective: This is your own Fault.
Press F8 (or Shift + 8) on your keyboard. Your screen will turn fuchsia pink, and the achievement will pop.
Conclusion
There you have it. You now possess the knowledge to transform from a novice rock-clicker into a Gnorp overlord. Whether you follow the step-by-step campaign guide or hunt down the elusive Y2K achievement, remember that patience and strategy remain your best tools. Now, go forth and compress that rock. Your Gnorps are waiting.

Leave a Reply