
Last Updated on 21 August, 2026
Are you ready to dive into the mesmerizing audio and visual experience of the game called Sektori? At its core, Sektori functions as a high-octane twin-stick shooter where your success hinges entirely on movement, identifying priority targets, and executing split-second decisions. This guide is designed specifically for newcomers seeking to understand the foundational mechanics and conquer the challenging campaign. Whether you are stepping into the cockpit for the first time or looking to elevate your gameplay to the punishing Revolution difficulty, this will provide you with the essential knowledge you need to survive. We will primarily focus on the Redeemer, which serves as the most well-rounded starter ship, but the core principles outlined here will apply universally to your journey.
Table of Contents
- The Fundamental Philosophy of Movement
- Navigating the Campaign Structure
- The Stack Upgrade System and Tokens
- Decoding Enemy Attacks and Bullets
- Field Interactivity: Letters, Pads, and Artifacts
- Building Your Arsenal: Decks, Cards, and Drones
- The Burden of Power: Understanding Curses
- Bosses and Minibosses: Knowing Your Enemy
- Mastering the Strike Ability
- Preparing for the Revolution Difficulty
- Final Thoughts and Strategies
The Fundamental Philosophy of Movement
Before you worry about your damage output or card synergies, you must master your ship navigation. Excellent positioning dictates the barrier between an impressive victory and an immediate game over. Skill expression in Sektori largely comes down to how efficiently you navigate the arena.
While taking out enemies remains a priority, your offensive capabilities mean nothing if your positioning puts you in a compromised spot. Focus heavily on keeping a safe distance from enemy swarms and learning the precise hitbox of your ship. Your Shields function as your health points. They dictate exactly how many mistakes you can make before your run abruptly ends. When your shield counter reaches zero, the very next projectile or enemy collision you suffer will result in a game over.
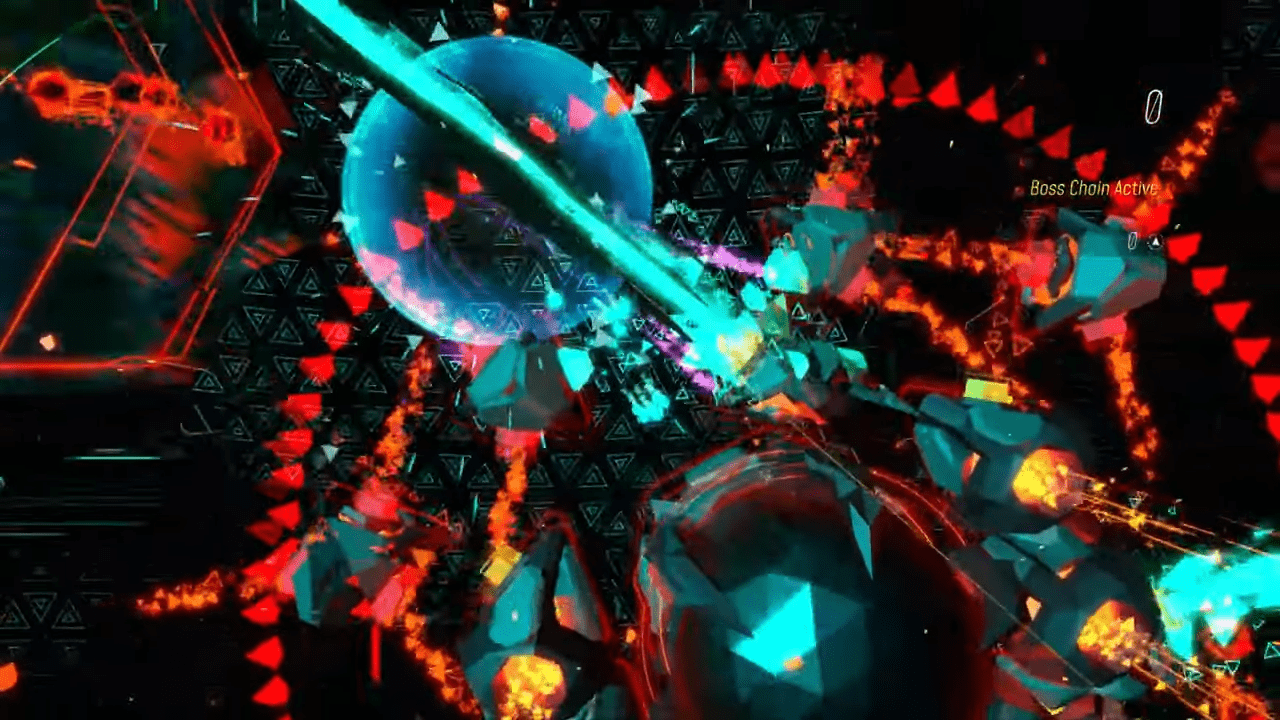
Tip: Always prioritize positioning over damage, since you cannot effectively eliminate targets while struggling with poor placement.
Navigating the Campaign Structure
When you launch a campaign run, the game prompts you to select eight distinct decks. These decks contain specialized cards that will dramatically alter your capabilities as you progress. You acquire these game-changing cards by spending Evolve Tokens, which you can easily identify by their bright yellow color.
A standard campaign stretches across five distinct Worlds, capping each area off with a formidable boss fight. If you choose to brave the Revolution difficulty, the campaign expands into a sixth World. Pacing yourself through these stages requires endurance, especially since a typical challenge run spans over thirty minutes and a Revolution run demands forty minutes or more of intense focus.
Tip: Keep in mind that playing on the Revolution difficulty setting extends your campaign by adding a punishing sixth world to conquer.
The Stack Upgrade System and Tokens
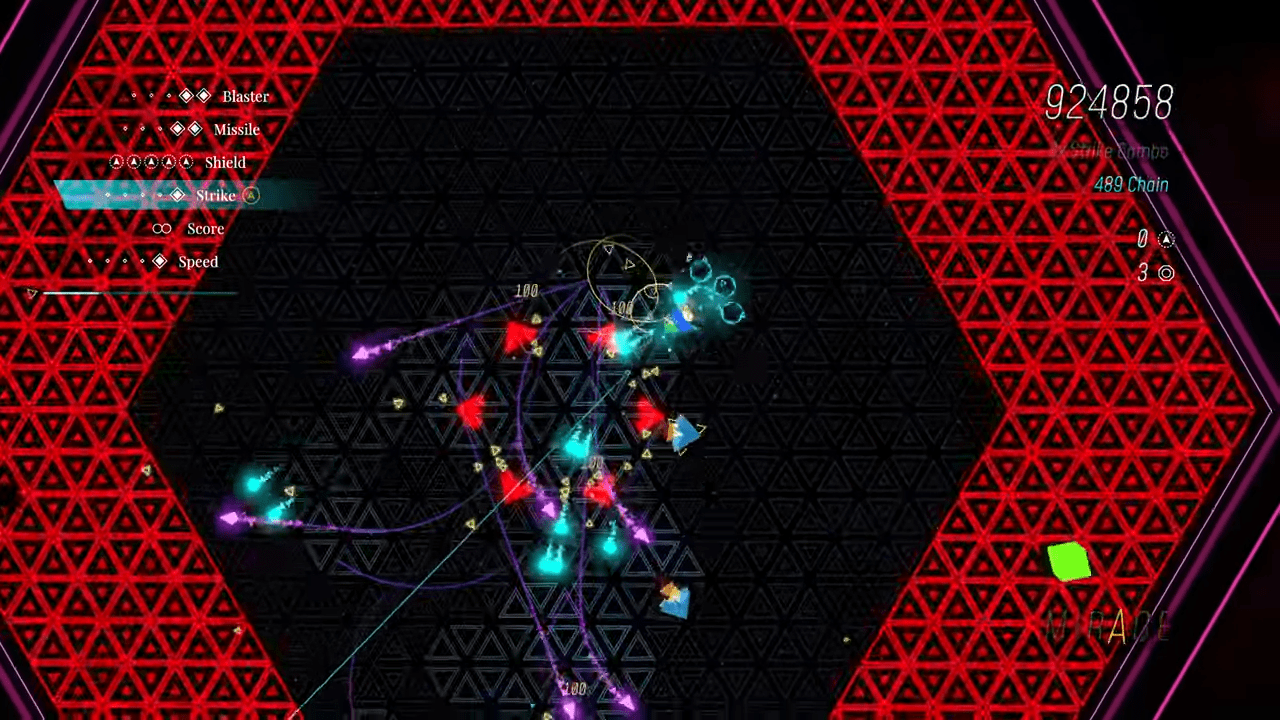
As you obliterate enemy forces, they drop glowing triangle shapes known as Glimmer. Piloting your ship directly over these shapes collects them and fills a progress bar located on the left side of your heads-up display. Once this bar reaches maximum capacity, the game spawns a blue Selector Token. Grabbing any token triggers a powerful explosion around your ship, providing excellent defensive utility.
Selector Tokens tie directly into the Stack Upgrades system, which appears on your screen from top to bottom. Every blue token you acquire moves your active selection up the stack by one tier. This system creates a risk versus reward dynamic, as the most impactful upgrades sit higher up the chain. The upgrade categories are:
- Blaster: Enhances the raw damage output of your standard weapon.
- Missile: Introduces homing projectiles that track enemy targets automatically.
- Shield: Restores a layer of your crucial health pool.
- Strike: Increases both the travel distance and the explosive radius of your dash ability.
- Score: Generates a token to boost your point total.
- Speed: Increases the base movement velocity of your vessel.
If you manage to push your selection to the very top of the stack past the Blaster upgrade and grab another Selector Token without spending it, the game converts it into a yellow Evolve Token. Do not underestimate the cheaper upgrades at the bottom of the list. Spending tokens on Speed or Score is incredibly valuable for utility purposes.
For your initial World, a solid strategy involves putting two points into Speed and then three into Missile. Alternatively, you can apply one point each to Speed, Missile, Strike, and Blaster. Once you reach later Worlds, your primary focus must shift entirely toward survival rather than greedily chasing optimal damage stats.
Tip: Gathering any token type will immediately generate a powerful blast around your ship, offering a great defensive tool during hectic moments.
Decoding Enemy Attacks and Bullets
Your adversaries utilize three distinct types of standard projectiles, alongside three specialized attacks reserved exclusively for bosses and minibosses. Learning how to counter each type is vital for survival.
Standard Bullets:
- Red Bullets: These track your current location and feature extreme durability. You cannot shoot them down. You must rely on your Drone companions to block them, use a Pad explosion to clear them, or dash directly through them using your Strike.
- Blue Bullets: These function exactly like their red counterparts, but they possess a glaring weakness. You can easily destroy them using your primary Blaster shots.
- White Bullets: These projectiles follow you around the arena but suffer from a terribly wide turning radius. You can outmaneuver them with sharp movements. Like the red variants, you can only eliminate them via Pads, Drones, or Strikes.
Specialized Attacks:
- Artillery: The game highlights a specific danger zone on the battlefield. After a short delay, a massive blast engulfs that marked area.
- Homing Arrows: These track your ship aggressively, but you can destroy them with standard weapons or evasive abilities.
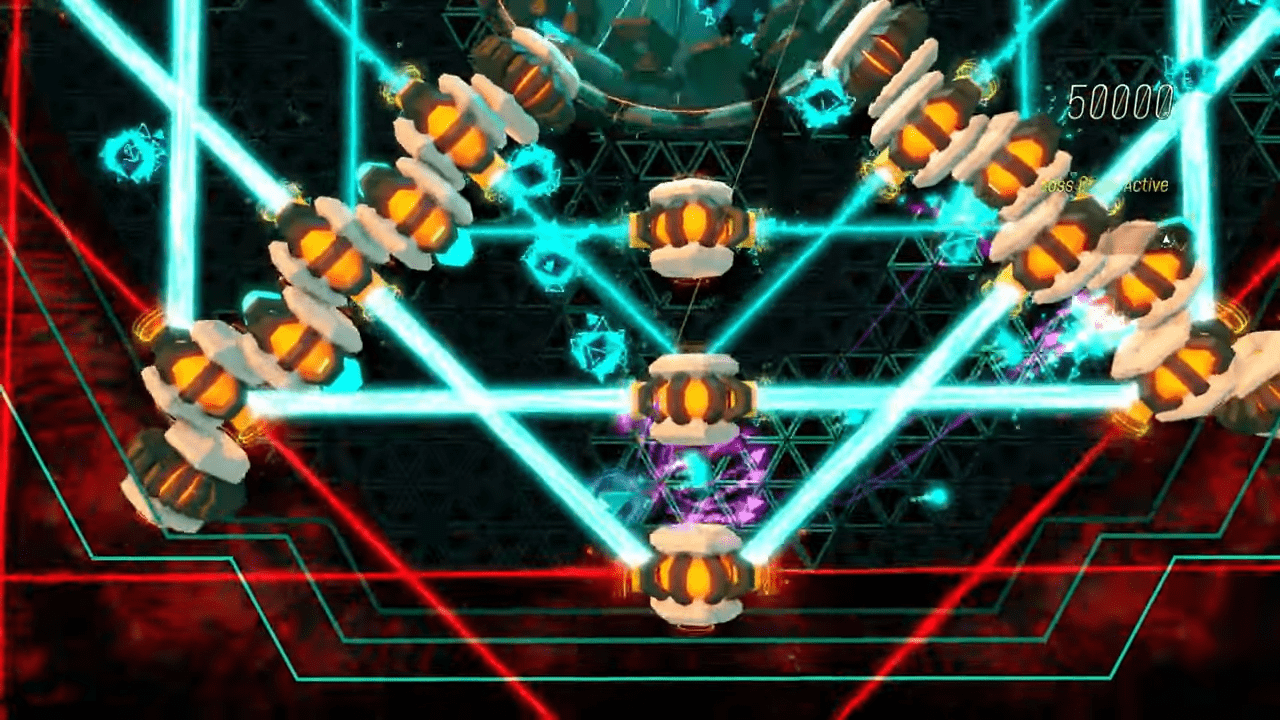
- Lasers: Reserved exclusively for boss encounters, these giant beams eradicate anything they touch. You cannot destroy a laser, but your Strike invulnerability allows you to pass straight through the beam unscathed.
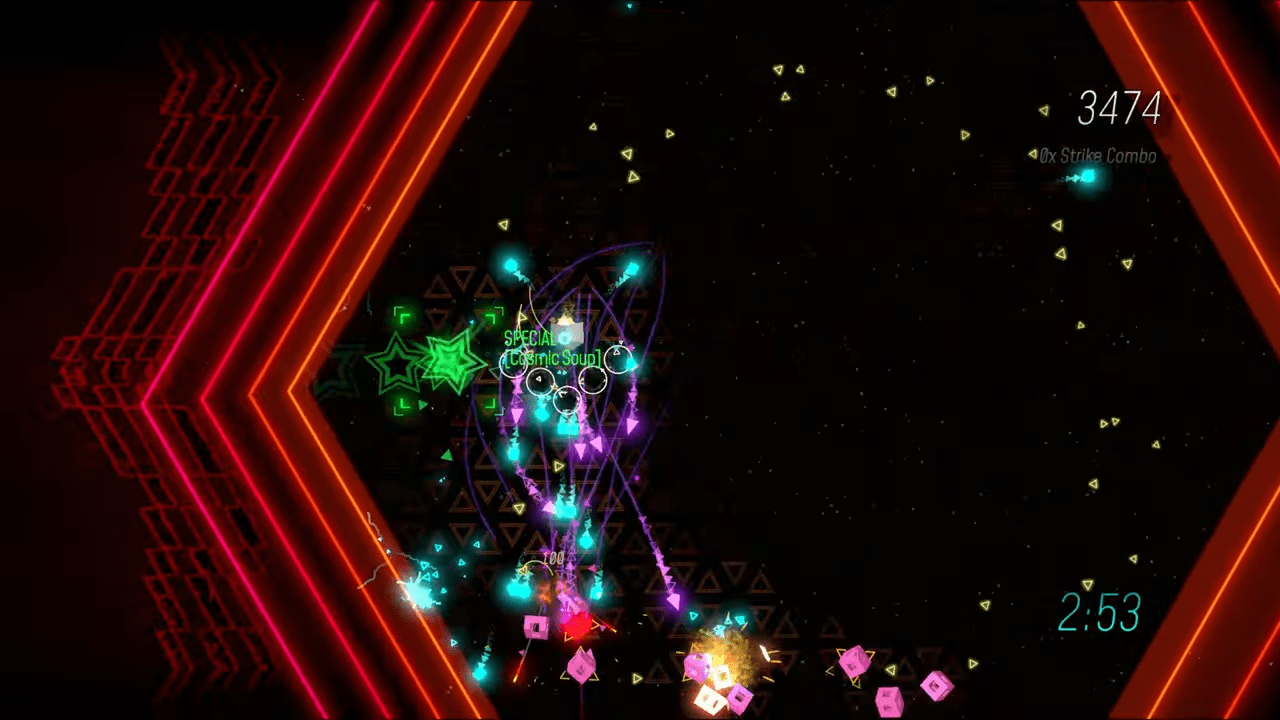
Tip: Remember that you can safely dash straight through massive boss lasers by utilizing your temporary Strike invulnerability window.
Field Interactivity: Letters, Pads, and Artifacts
The battlefield frequently spawns interactive elements that can turn the tide of a difficult encounter.
Letters and Rainbow Mode
Throughout your journey, specific Sektori Letters will appear. The bottom right corner of your screen highlights your collection progress. Touching a letter creates a localized blast and instantly refreshes your Strike cooldown. Collecting the full set triggers the highly coveted Rainbow Mode.
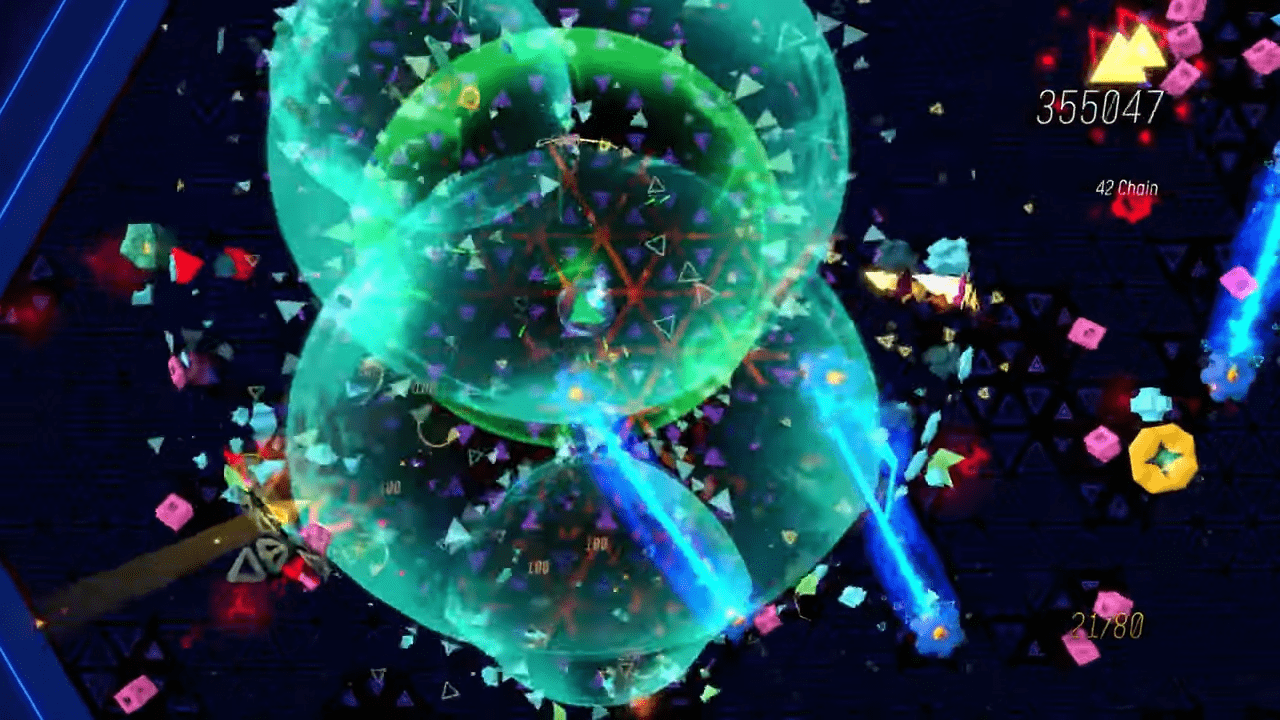
Rainbow Mode supercharges your firepower, significantly reduces your Strike cooldown, and completely disables enemy Revenge Bullets. It also spawns a unique sphere that bursts into massive amounts of Glimmer when shot. Gathering an additional letter while the mode is active extends the duration by three seconds. Furthermore, it multiplies your score based on your difficulty level. Take caution, as Rainbow Mode does not grant invincibility. You must collect six letters spelling “Mirage” in Experience difficulty, seven spelling “Sektori” in Challenge, and ten spelling “Revolution” in the hardest mode.
Pads and Artifacts
You will encounter two types of interactive floor mechanisms. The Jump Pad launches your ship into the air and triggers a massive detonation upon landing, instantly killing minibosses if you land directly on top of them. The Strike Pad propels you in the direction of its arrows, mimicking your dash ability to obliterate obstacles and concluding with an explosion.
Artifacts appear as diamond shapes that you must destroy in a strict sequence. The active target glows bright yellow and points a line toward the next object in the chain. Successfully breaking all of them grants an Evolve Token. Hitting them out of order causes the entire chain to vanish.
Keep an eye out for Bonus Waves consisting of flying targets with marked flight paths. Eliminating blue waves rewards a Selector Token, while yellow waves yield an Evolve Token.
Tip: If you play on the Revolution difficulty setting, activating Rainbow Mode will actually triple your score gains.
Building Your Arsenal: Decks, Cards, and Drones
Sektori offers sixteen unique decks containing three cards each. Finding a setup that matches your personal rhythm is highly recommended. Cards come in both normal and rare variations, with the rare ones providing immense power at the cost of a temporary curse.
Notable Cards:
- Maximizer: Grants extra missiles for a massive damage boost.
- Transaction: Allows you to trade score points for Shields. This is essential for players prioritizing survival over leaderboards.
- Shields Up: Simply increases your maximum shield capacity.
- Laser Show: Emits an area-of-effect blast whenever you apply a stack upgrade.
- Laser Drone: Widely considered the strongest drone available.
- Defender: This incredible card allows your missiles to destroy blue enemy bullets. The rare version extends missile lifespan so they can hunt distant targets.
- Mercy: Shortens the duration of dangerous Revenge Bullets.
- Glimmer Grab: Makes collecting triangle drops significantly easier.
- Super Token: Extends the temporary firepower buff gained after collecting a token.
- Token Magnet: A great quality-of-life upgrade, but avoid the rare version. The rare variant pulls tokens too quickly and ruins your ability to strategically time their usage.
You also have the option to discard cards when presented with a choice. Discarding removes the card from your active pool entirely, which prevents deck pollution and ensures you draw your preferred tools more frequently.
Drones
Drones provide exceptional utility by absorbing enemy fire. Equipping the Formations deck allows you to arrange them strategically, with the Circle formation acting as a rotating meat shield around your vessel. Drones die upon contact with threats but respawn shortly after. The four types include Bomb Drones that explode on impact, Blaster Drones that fire standard shots, Missile Drones that utilize homing projectiles, and Laser Drones. Laser Drones easily dispatch Protector enemies, which usually require you to shoot their unprotected backsides.
Tip: Discarding unwanted cards actively removes them from your pool, giving you much better odds of drawing the exact tools you actually need.
The Burden of Power: Understanding Curses
Selecting a rare card inflicts your ship with a Curse. You cleanse these debuffs by surviving for a set amount of time or eliminating a specific quota of enemies. The cleansing requirements scale upward depending on your chosen difficulty level.
- No Shields: You temporarily lose access to your protective barriers. Getting hit during this window is fatal.
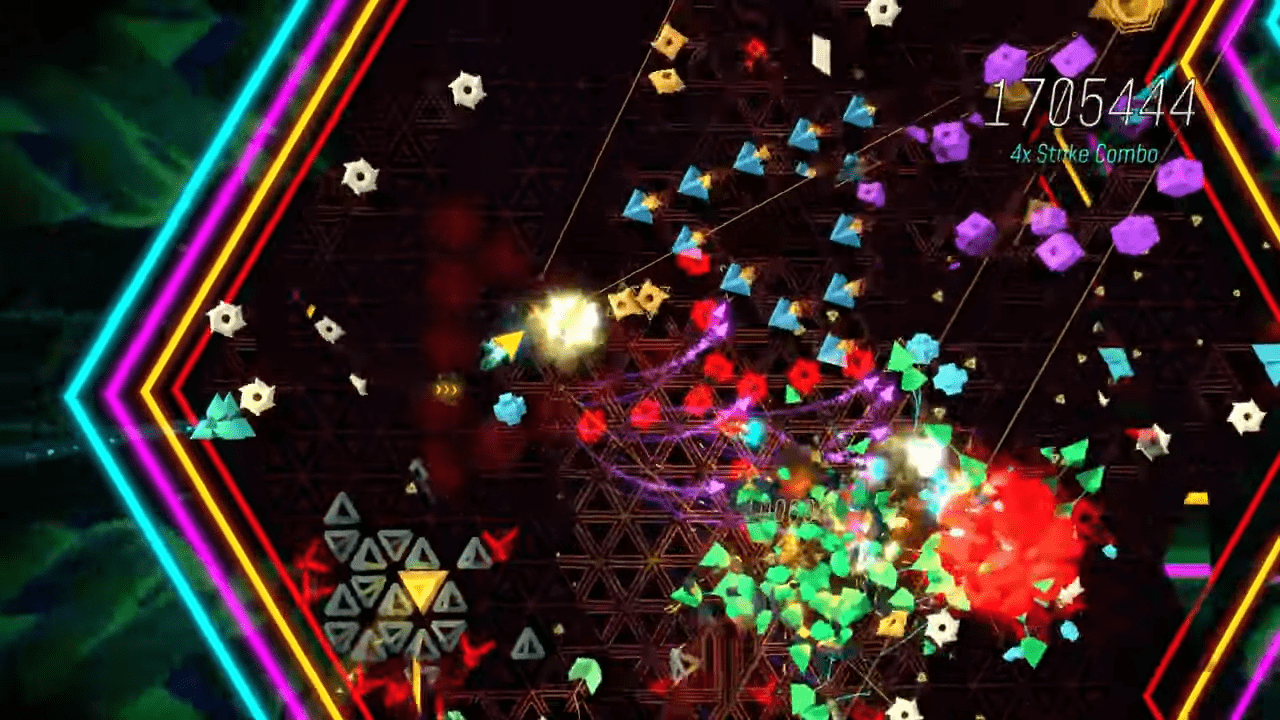
- Spam Enemies: The game aggressively spawns purple cubes. When destroyed, these specific enemies unleash retaliatory Revenge Bullets in your direction.
- No Strike Attack: This disables your dash entirely, forcing you to rely purely on base movement speed and raw firepower.
- Weapon Power Down: A relatively mild curse that significantly lowers your gun damage. Your Strike power and Drone capabilities remain fully intact.
- Slowest Ship Speed: Your vessel slows down to a crawl. You must utilize your Strike constantly to reposition safely.
Tip: The Weapon Power Down curse only affects your primary guns, leaving your dash damage and drone weapons completely unaffected.
Bosses and Minibosses: Knowing Your Enemy
Every World concludes with a randomized boss encounter. Bosses scale in power from Generation 1 to Generation 5. Defeating any boss rewards you with two Selector Tokens and one Evolve Token.
The Boss Roster:
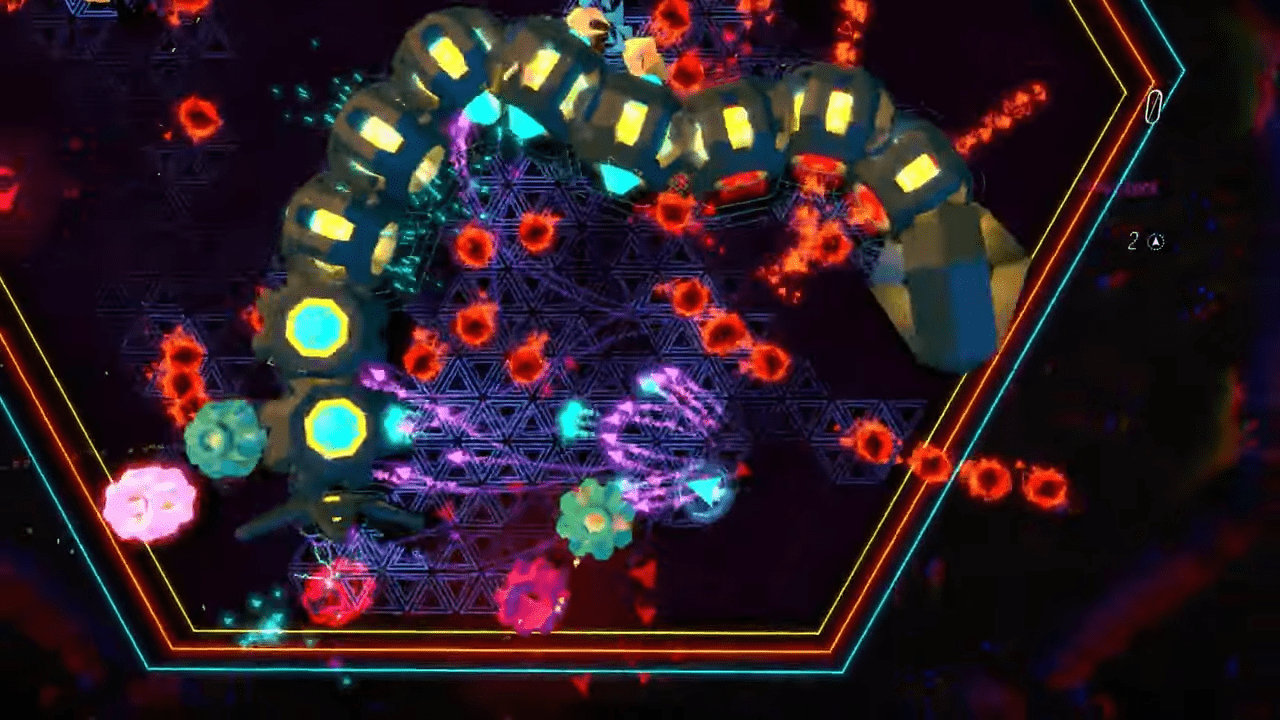
- Queen Serpent: Arguably the most difficult encounter in Sektori. She floods the arena with eggs while moving erratically. Red eggs shoot projectiles, while green eggs hatch into aggressive snake minions. The supreme version introduces orange eggs that spawn advanced snakes capable of firing Revenge Bullets. Patience is paramount here. Clear the clutter before focusing on damage.
- Sacred Chains: Unleashes a relentless barrage of lasers and projectiles.
- Void Engine: Functions similarly by filling the screen with complex bullet patterns.
- Omen Core: This entity slowly chases you around the room. You must maintain distance and use your dash to access open space when cornered.
- The Architect: Alongside standard attacks, this boss summons Disintegration Zones that cause instant death regardless of your remaining shields.
The Miniboss Roster:
Look out for large, pumpkin shaped enemies. The Hog simply takes up space and deals contact damage. Axion fires intervals of red bullets. Stigma utilizes the arena nuking artillery attack. Mekion fires destructible homing projectiles. Finally, Magnion unleashes white bullets that you can easily outmaneuver due to their awful turn radius.
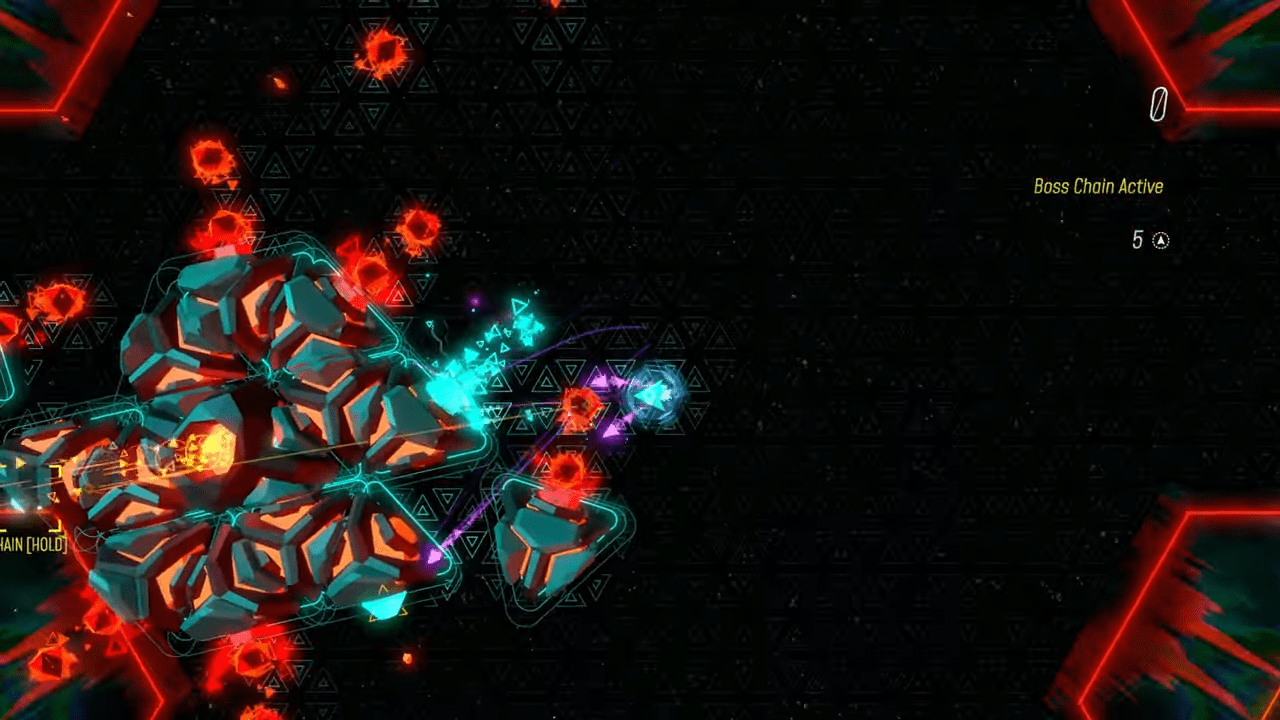
Tip: If a particular boss gives you trouble, utilize the Boss Rush mode to safely practice and learn their specific attack patterns.
Mastering the Strike Ability
Your Strike ability represents your ultimate tool for survival. It repositions your ship, clears immediate threats via area damage, and offers precious invulnerability frames. Normally, the ability requires a brief charging period before you can use it again. However, learning how to bypass this cooldown separates average pilots from elite veterans.
You can perform a “Strike Reload” by dashing directly into interactive objects. Striking a Pad, a Token, or a Letter completely resets your cooldown instantly. Getting hit by an enemy also restores the ability. Most importantly, activating any Stack Upgrade immediately reloads your dash. This mechanic makes cheap upgrades like Score and Speed incredibly powerful in the late game.
Tokens also possess a slight magnetic pull when you get close. You can use this magnetism to pull a token away from a dangerous wall and then safely execute a dash in any direction you desire. Remember that your dash always travels exactly where you aim, not necessarily the direction your ship is currently moving.
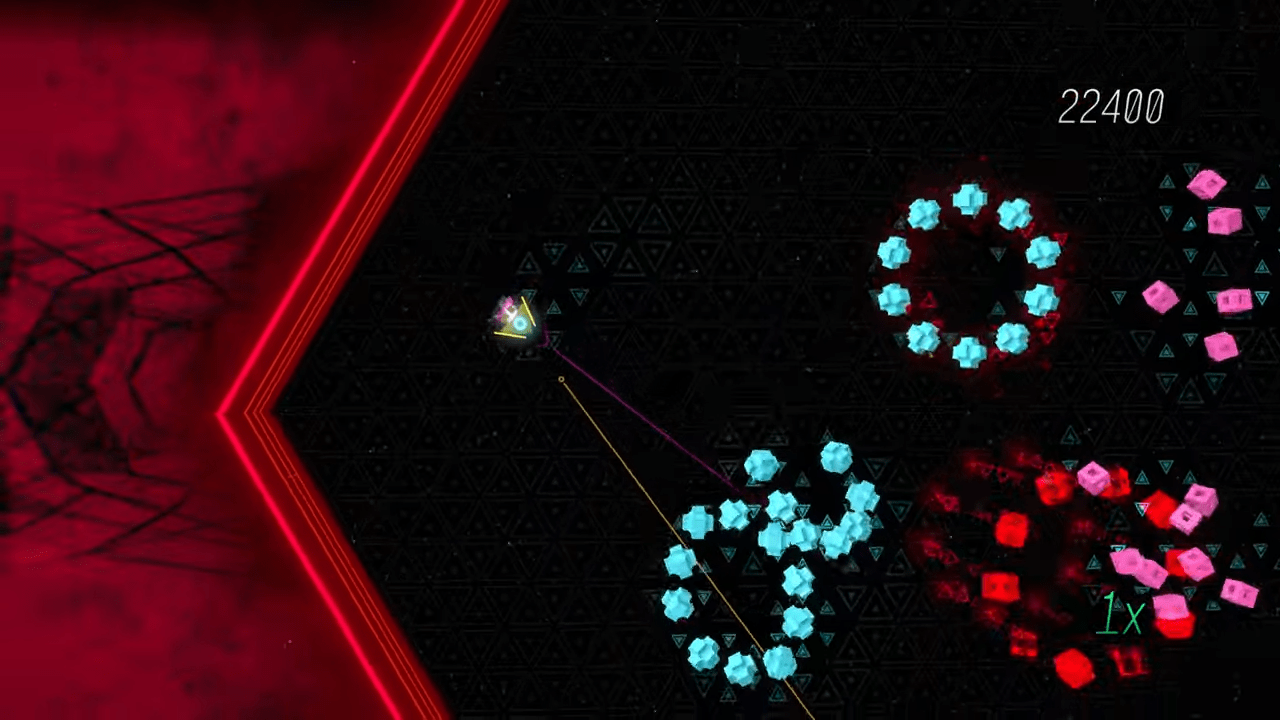
Tip: Since your dash always travels exactly where you aim, you can easily use token magnetism to pull resources away from hazards before dashing to safety.
Preparing for the Revolution Difficulty
Revolution mode transforms Sektori from a standard challenge into a brutal test of endurance. This difficulty demands a complete shift in your gaming mentality. You must enter this mode with a willingness to fail repeatedly. Bosses start at Generation 2 and the campaign concludes with two back-to-back Generation 5 supreme encounters.
Before attempting Revolution, you should practice your fundamentals in alternative modes. Arcade Challenge strips away your cards, forcing you to rely entirely on mechanical skill. The Classic mode hones your Glimmer collection and token efficiency. Surge mode trains your target prioritization, while Gates mode completely disables your weapons and dash, leaving pure movement as your only survival tool.
Regarding ship selection, the community generally ranks the Sentinel as the easiest, followed by the Redeemer, with the Defier sitting firmly as the most difficult option due to its severely limited weapon range. If you choose the Sentinel, the Formations deck is absolutely non-negotiable due to your high volume of Drones. If you choose the Defier, the Movement deck and its Ranger card become virtually mandatory to extend your tiny reach.
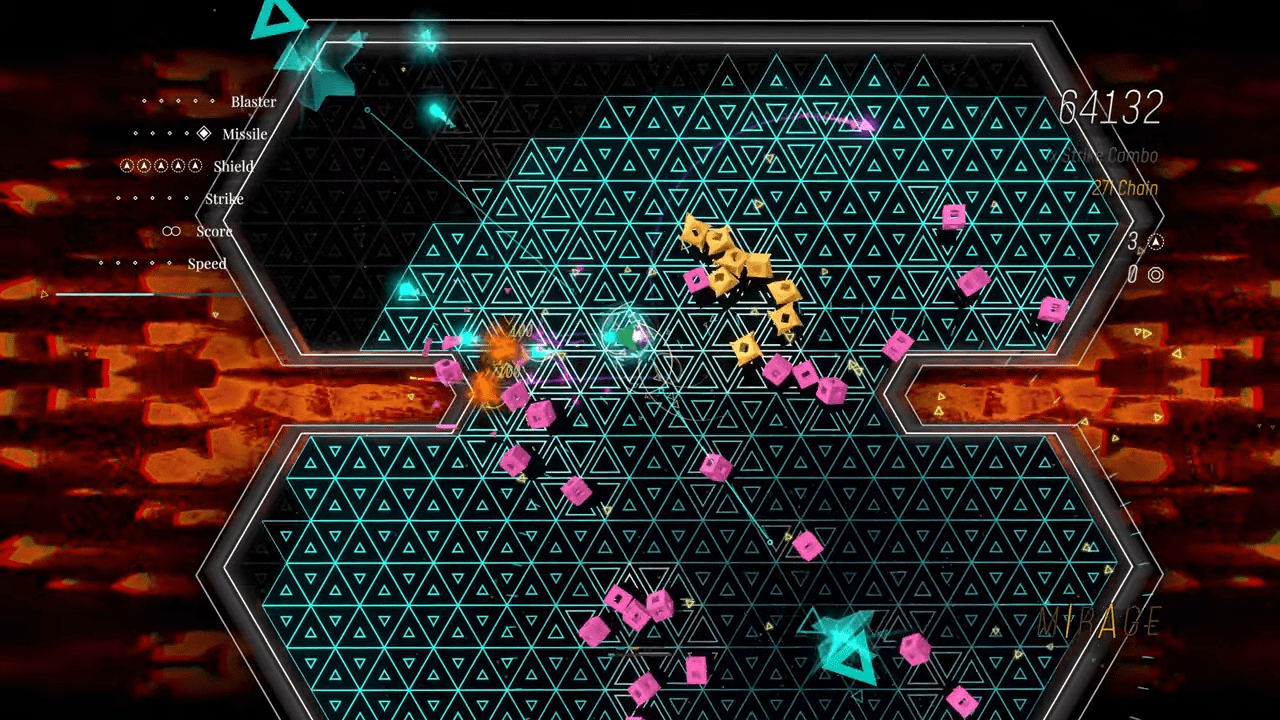
Tip: Playing the Arcade Challenge provides fantastic fundamental practice, as it completely removes your ability to rely on powerful card upgrades.
Final Thoughts and Strategies
Sektori requires patience above all else. Your singular goal is clearing the campaign, not securing a mathematically perfect score. Your shields are the most valuable resource you possess. Never sacrifice a layer of health just to grab a stray piece of Glimmer. Boss encounters have absolutely no time limits, meaning you can play defensively and wait for safe damage windows.
Pay strict attention to purple cubes and their lethal Revenge Bullets. Sometimes, refusing to pull the trigger is the smartest tactical choice you can make. If you do need to kill them safely, executing them with a Strike nullifies the retaliatory fire, as the explosion happens immediately after the enemy dies.
Always keep in mind that Sektori is a difficult game meant to be enjoyed. Your prowess will naturally grow as you spend more time navigating the cosmic battlefields. Protect your shields, prioritize your Strike reloads, and embrace the stunning dance of destruction. Have fun out there, pilot!

Leave a Reply