
Last Updated on 18 December, 2025
This guide transforms your gameplay experience by providing a step-by-step path, from your first dig to the final credits. While Digseum’s achievements are straightforward, following a structured plan allows you to avoid unnecessary grinding and optimize your Dream Tree progression. We have designed this guide to lead you through the game in a way that secures every achievement in the order they naturally appear. We cover every mechanic, from basic excavation to advanced prestige strategies, ensuring a perfect game on your profile. Prepare to dive deep into the dirt and the dreams that lie beneath as you uncover the secrets of this unique world.
Table of Contents
- Achievement Breakdown and Statistics
- Understanding Core Gameplay Dynamics
- Prestige 1: The Mud Pit and Early Discoveries
- Prestige 2: The First Step into Dreams
- Prestige 3: The Power of Mystic Radar
- Prestige 4: Deep Sleep and Mountain Climbing
- Prestige 5: Securing Your Progress with Unchanged
- Prestige 6: Mastering the Sleep Cycles
- Prestige 7: Harnessing the Third Eye
- Prestige 8: Endless Dreams and Space Constraints
- Prestige 9: Reaching the Rainbow Bridge
- Prestige 10: Navigating the Astral Plane
- Prestige 11: The Final Awakening at the Brink
- Conclusion and Final Thoughts
Achievement Breakdown and Statistics
Digseum features a total of 10 achievements. The developer designed these rewards to be accessible, as evidenced by the high percentage of players who have successfully completed the set. In fact, almost 80 percent of the people who opened the game have the least received achievement. You will find that the journey to a perfect game is more of a relaxing hobby than a difficult challenge.
We have broken down the achievement types below to give you a clear view of what to expect during your 3 hour journey through the game.
| Category | Count | Details |
|---|---|---|
| Story Related | 2 | You earn these by simply reaching the end of the narrative. |
| Milestones | 8 | You unlock these for gold goals, prestige counts, and relic levels. |
| Offline Accessible | 10 | You do not need an internet connection for these. |
| Single Player | 10 | No multiplayer interaction is necessary for perfection. |
The achievements trigger based on reaching specific game states. Two of them function as markers for finishing the narrative. The other eight focus on your progression milestones, such as finding relics, accumulating wealth, or reaching specific levels in the Dream Tree. Because this guide follows a chronological order, you can simply play through the chapters we have outlined to ensure no achievement is left behind. Most players agree that the game is short and the achievements are straightforward. However, writing these guides helps us document bugs and discuss strategies that might help others.
Understanding Core Gameplay Dynamics
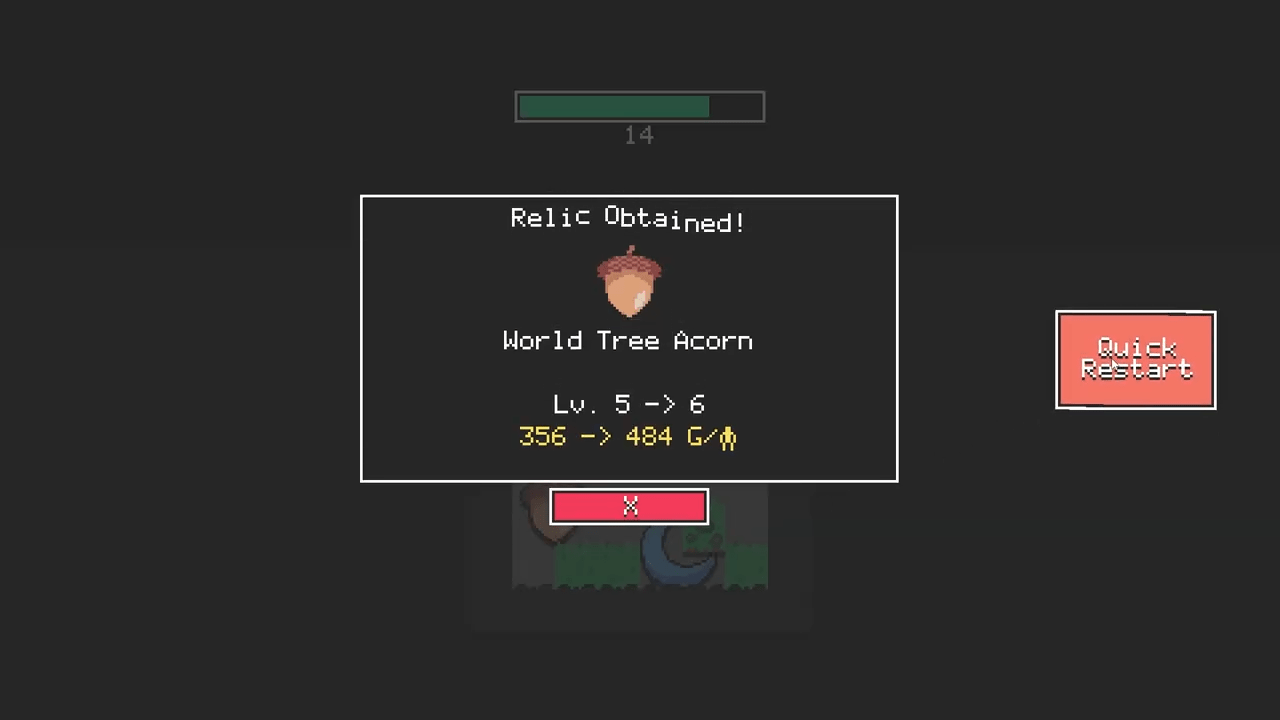
The gameplay loop in Digseum involves excavating relics and earning passive income from museum visitors. You start with limited energy and a basic pickaxe. As you find relics for the first time, the game adds them to your permanent catalog. If you find a relic you already possess, the game increases that relic’s level instead. Higher levels translate directly into more money per visitor. This creates a powerful incentive to revisit old areas even as you unlock new ones. You pay money to open new areas, and excavating them also costs money, with the sole exception being the Mud Pit.
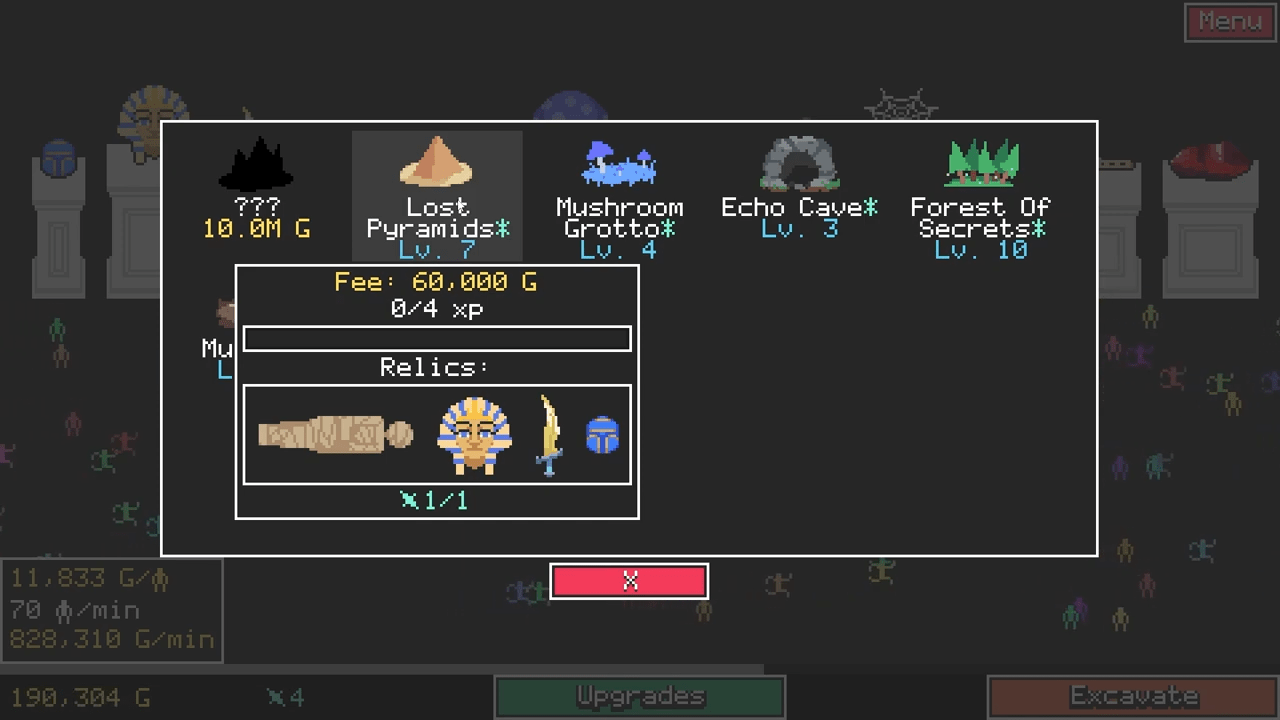
Beyond individual relics, each excavation area has its own level. Digging and discovering items in a specific location increases the area level, which boosts the income for every relic found within that zone. You must manage your resources carefully to ensure you do not run out of gold before finding the treasures you need. The tutorial from the game is quite helpful, so you should follow it closely. However, if you missed the details, remember that your energy is limited. Each location can also hold dream fragments, which represent the premium currency used for better upgrades in the dream tree. The number of fragments you can find in a single location is limited but you can increase this limit with specific upgrades.
The prestige system allows you to reset your progress in exchange for the chance to use dream fragments. A prestige makes you lose all your progress, but you gain the benefit of dream tree upgrades. Different upgrades in this tree improve how prestige affects your game. Your ultimate goal involves moving through all the locations to find the very last relic. This loop of building up and resetting is the core of the Digseum experience.
The Mud Pit and Early Discoveries
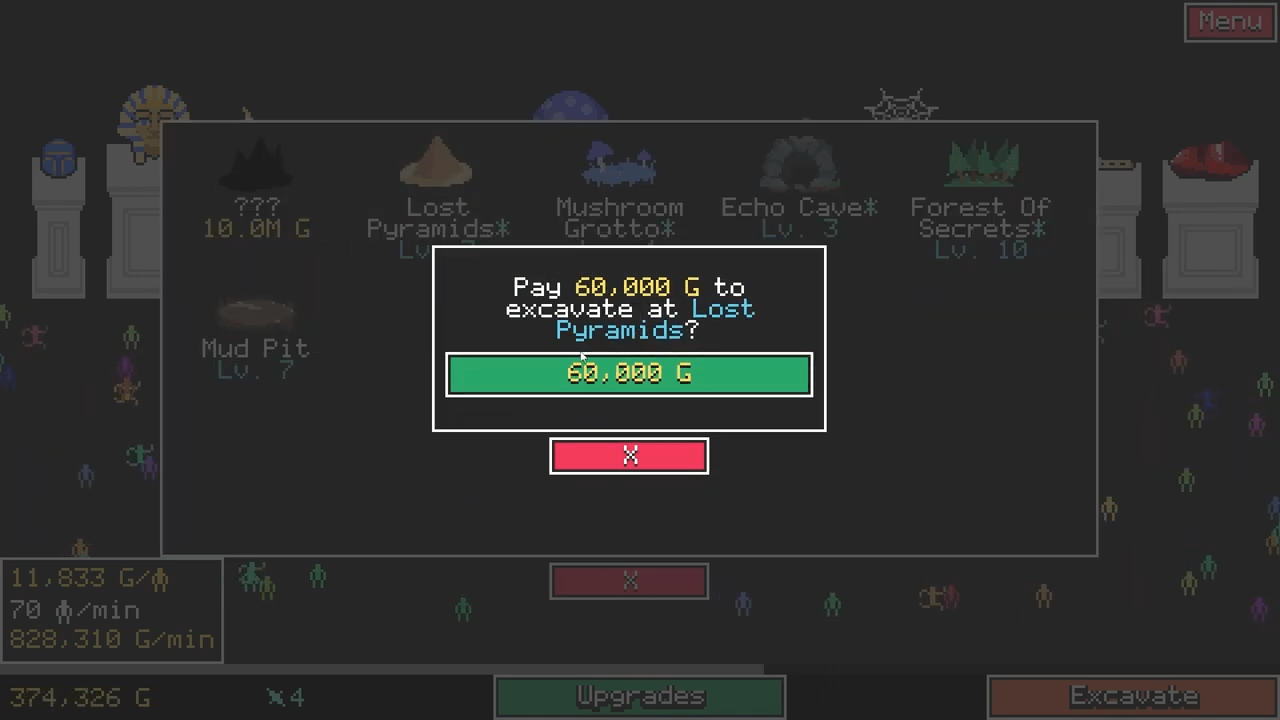
Every journey begins in the dirt. The Mud Pit serves as the introductory level of the game. It features simple dirt that is easy to clear. Because there is no cost to excavate here, you can use this area to build up your initial gold reserves and understand the stamina mechanics. Your primary focus here is simply digging until you find your very first treasure.
Achievement: My First Relic
The game awards this achievement as soon as you discover your first relic from any excavation. It is the first milestone on your path to 100 percent completion.
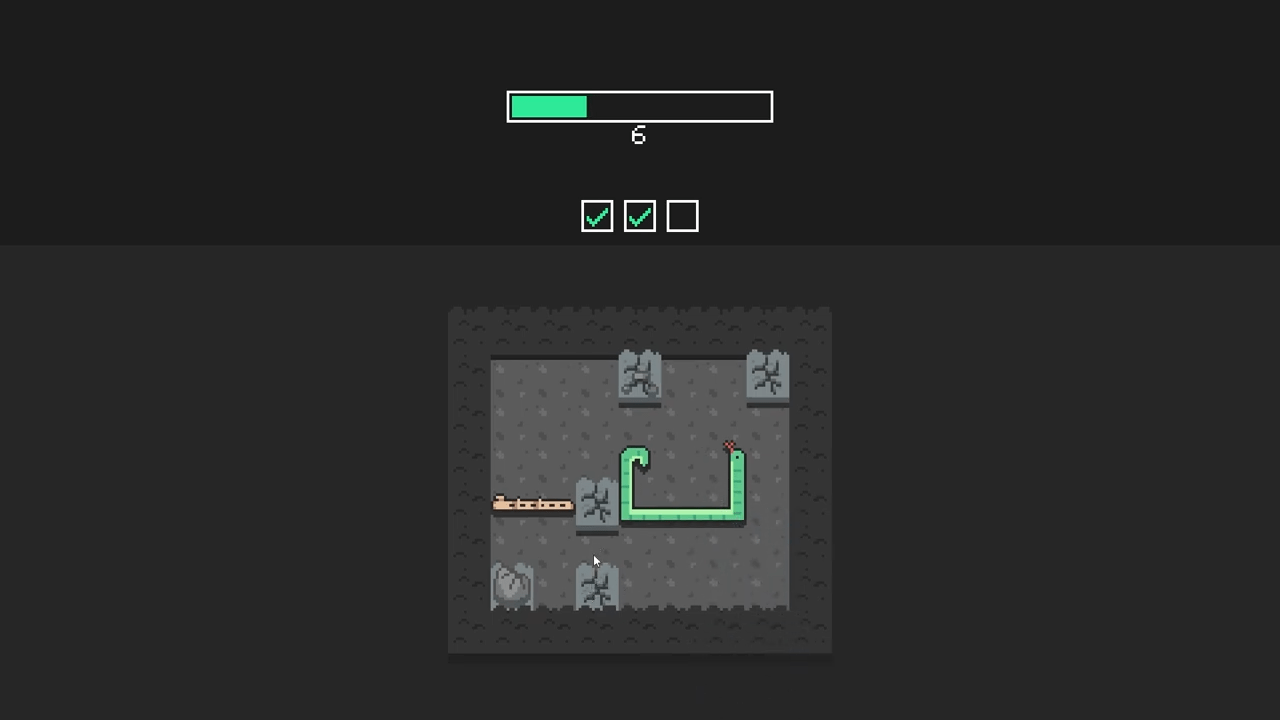
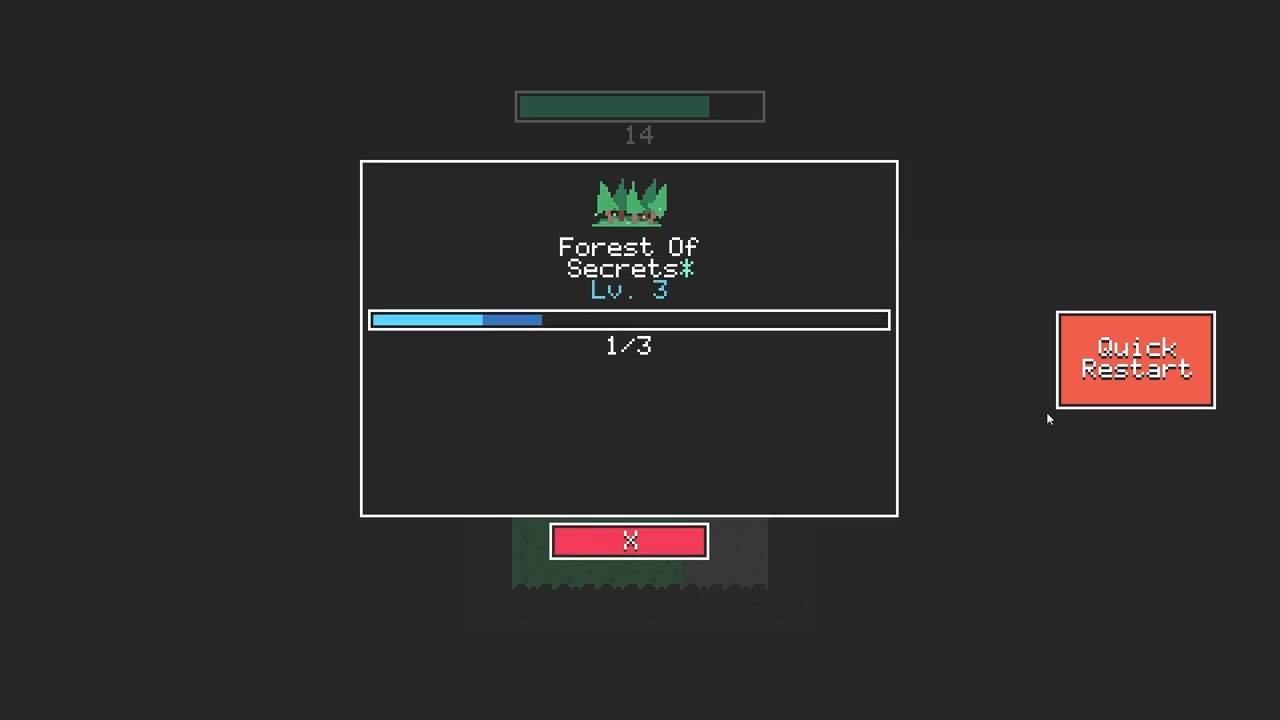
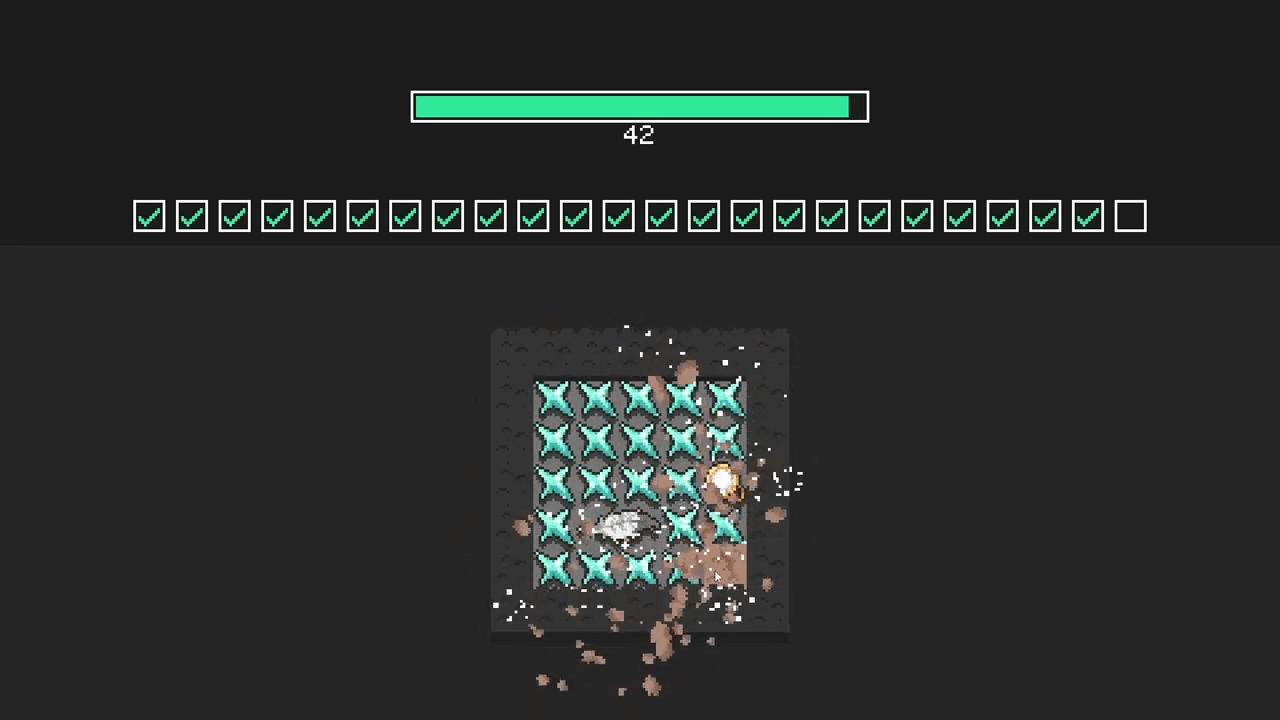
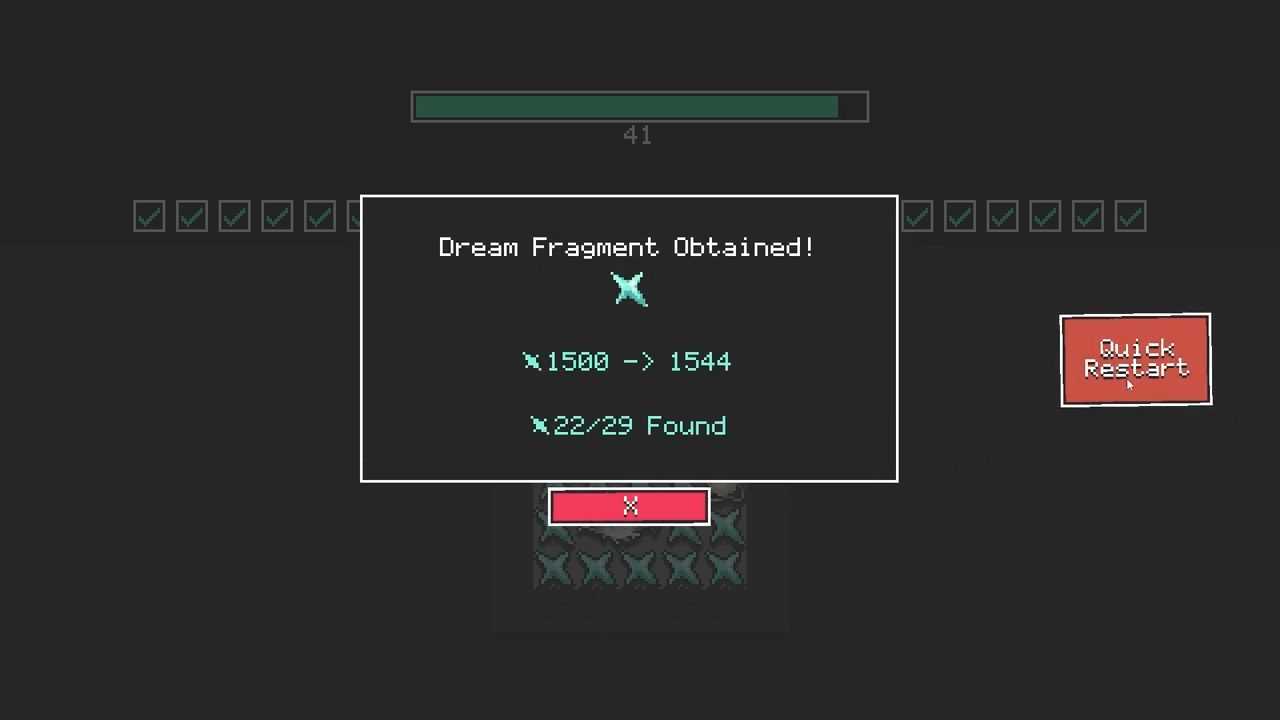
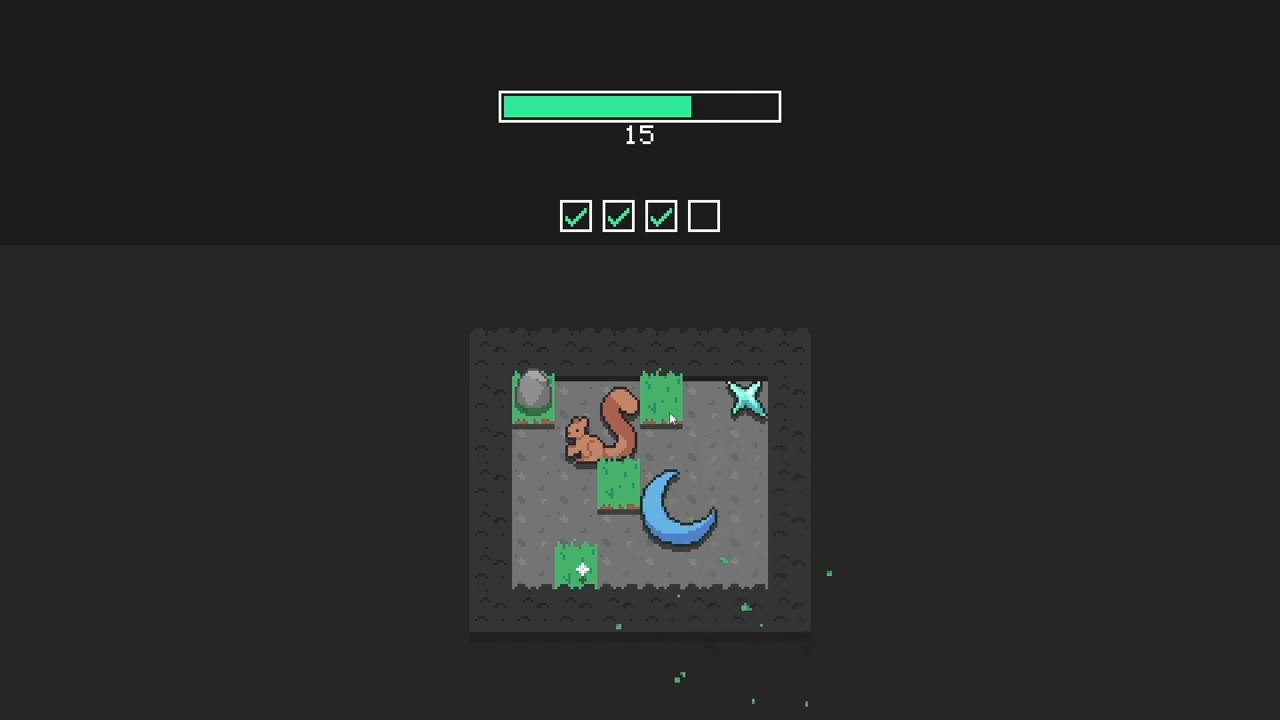
Once you have mastered the Mud Pit, you will move to the Forest of Secrets. Starting from this level, you can find a limited amount of dream fragments. Look at the top of your screen for the checkboxes. If you see three checkboxes instead of the standard two, a fragment is hidden in the area. You must continue excavating until you find it. These fragments are the key to the Dream Tree and your long term success.
Achievement: Mysterious Fragment
This achievement triggers when you obtain your first dream fragment. While I found this in the Forest of Secrets, you might encounter it later. The achievement usually pops once you return to the main menu screen.
After the forest, you will explore the Echo Cave and the Mushroom Grotto. The Grotto is particularly important because it signifies you are reaching a point where you can prestige. Continue to farm gold and fragments until you reach the Lost Pyramids. By the time you clear the pyramids, you should have at least 4 fragments ready for your first reset.
Achievement: Millionaire
You earn this achievement by accumulating 1,000,000 G. Through natural progression and relic leveling, you should hit this milestone before or during your time in the Mushroom Grotto. Since I was upgrading and quick restarting frequently, I obtained it here.
The First Step into Dreams
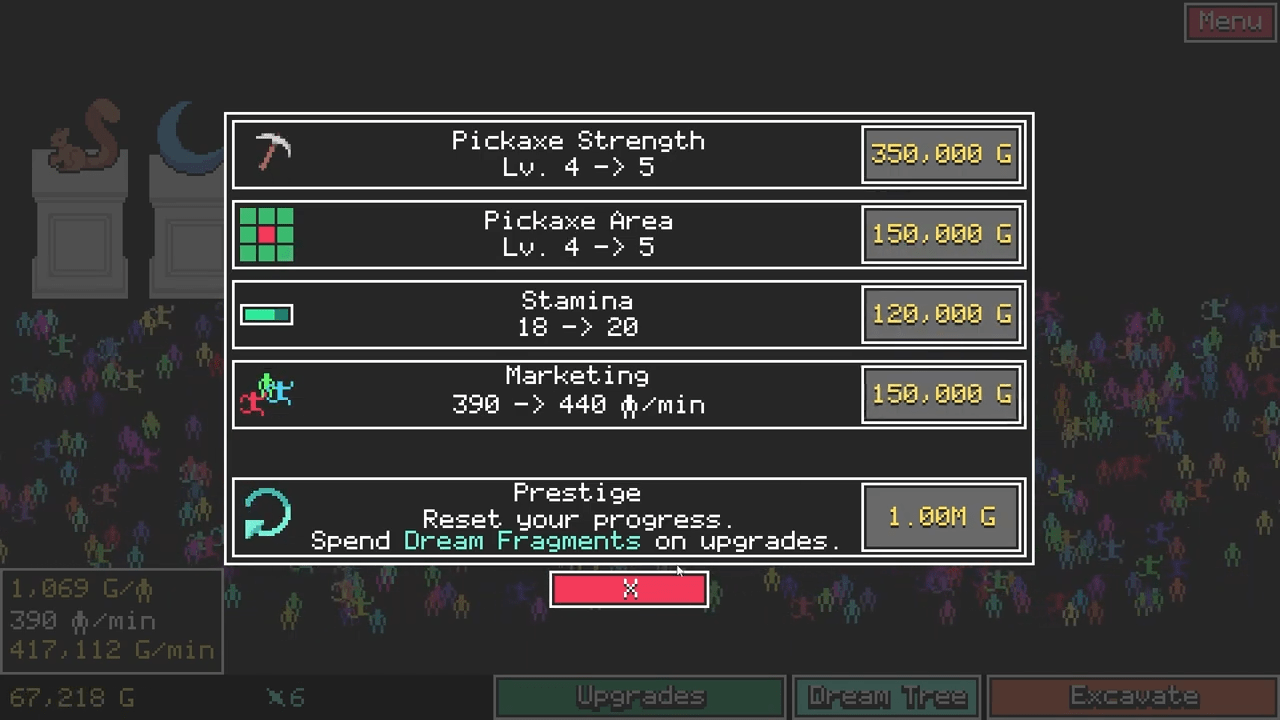
When you reach the 1 million gold mark, you gain the ability to prestige. This costs your entire gold balance but grants you access to the Dream Tree. The tree contains various paths, and you should choose your upgrades based on how you want to play. There are no major warnings at this moment, so select what feels right for your strategy.
Achievement: Dreaming
You earn this achievement for performing your very first prestige. It marks your transition from a simple digger to a master of the dream world.
In this second life, your strategy shifts toward efficiency. You will go through the early areas again, but this time your goal is to find fragments as quickly as possible. The initial chance for a fragment to appear in a level is 30 percent. If you do not see one, restart the level immediately. You might find that you cannot afford the next location after the Lost Pyramids. If progress feels slow, upgrade your relic levels for a short time to generate enough cash. However, the next location is already hard to excavate, so you will need extra upgrades. It is more efficient to prestige again at this point.
The Power of Mystic Radar
Since dream fragments serve as your main currency for growth, you must increase the amount you get per prestige. You should have 4 fragments from your previous run. Use these to purchase Daydreaming Level 1 followed by the Mystic Radar. This upgrade is a game changer for collectors. It increases the total number of dream fragments you can find in each location by one. This means the Mud Pit now offers a fragment, and every other location offers two, effectively doubling your fragment input per prestige.
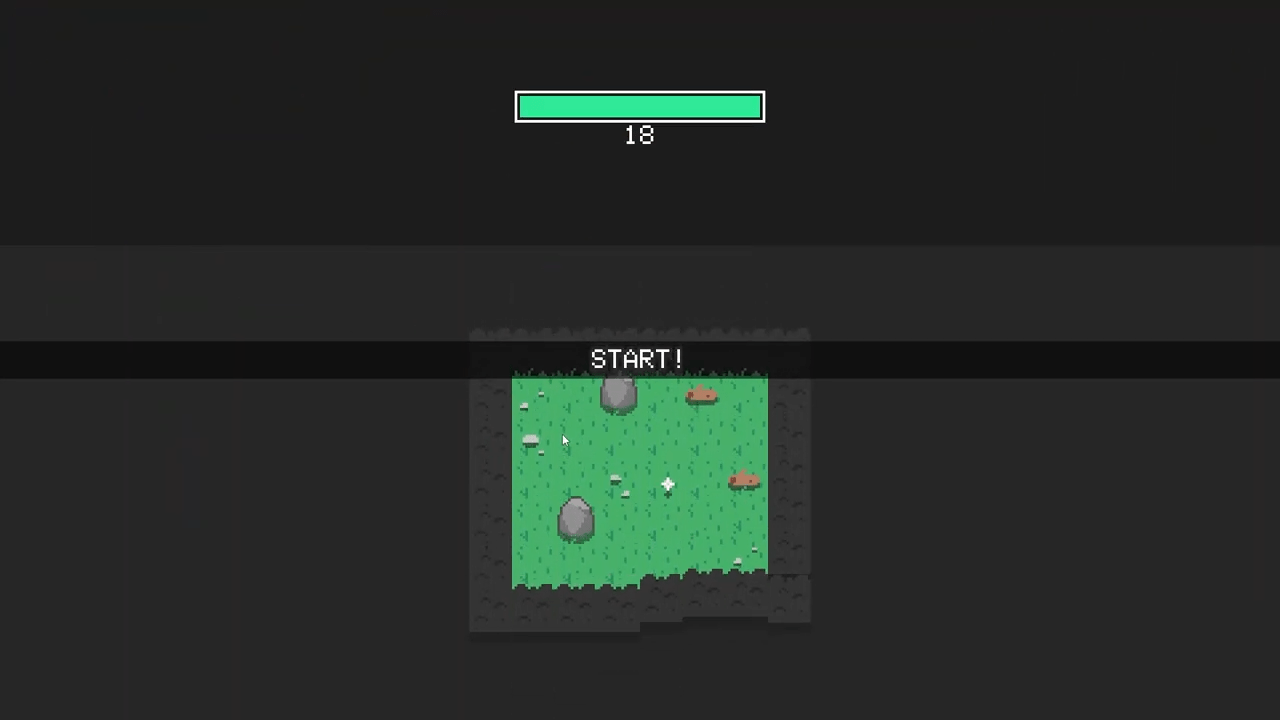
During this run, visit every area and excavate until you exhaust all dream fragments. This will allow you to get enough money for upgrades as well. Since we did not purchase money upgrades from the Dream Tree yet, entering the next location remains a bit difficult. However, we are making progress. You can perform the next prestige once you have accumulated 9 dream fragments.
Deep Sleep and Mountain Climbing
Now that you have doubled your fragment intake, it is time to enhance it further. Use the fragments from your last run to purchase the Deep Sleep upgrade. This also doubles your dream fragment income. You can also look into Parallel Dreams or Daydreaming Level 2 if you want to speed up the time it takes to reach a prestige, though these are not strictly necessary.
In this prestige, you should aim to take your pickaxe to Level 6. This level allows you to handle the tougher environment of the next major area.
Mount Stone
This location contains lots of rocks. You can try to get the dream fragments here in this prestige, or you can wait for the next prestige when it will be definitely easier. If you try it now, do not overextend yourself. Focus on clearing just one quarter or half of the area. After you find all 3 fragments, you should have 24 dream fragments total. This is the time for the next prestige.
Securing Your Progress with Unchanged
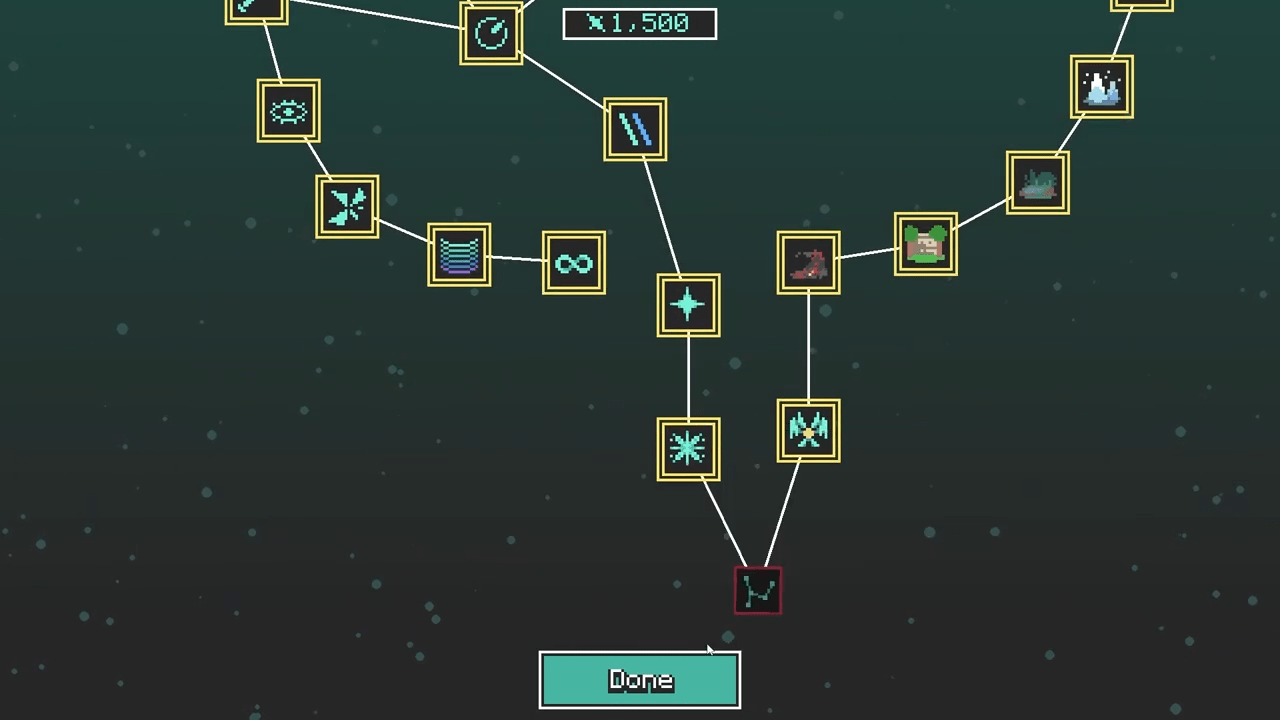
The fifth prestige is where you eliminate the repetitive parts of the game. You should focus your Dream Tree investments on the upper left corner. The most important upgrade here is Unchanged. This perk allows you to keep all of your standard shop upgrades even after you prestige. This prevents the beginning of each run from being a slog.
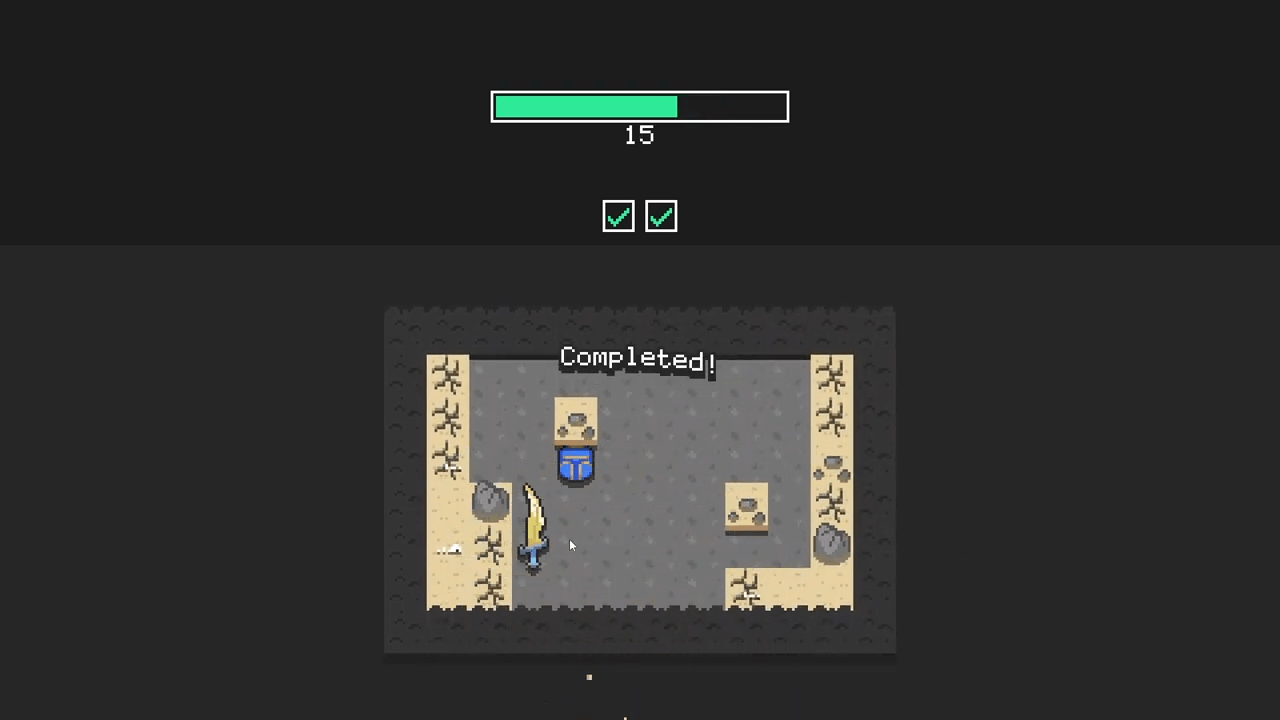
Because you kept your upgrades, you will reach millions of gold almost immediately after finishing the Mud Pit. Use this momentum to unlock several new locations.
- Snowy Summit: Contains 3 dream fragments.
- Mucky Marsh: Contains 4 dream fragments.
- Jungle Temple: Contains 4 dream fragments.
If you find it difficult to reach the Jungle Temple, you can always prestige earlier. After you gather these fragments, you will hit a bit of a soft lock. It is best to prestige now to continue your growth.
Mastering the Sleep Cycles
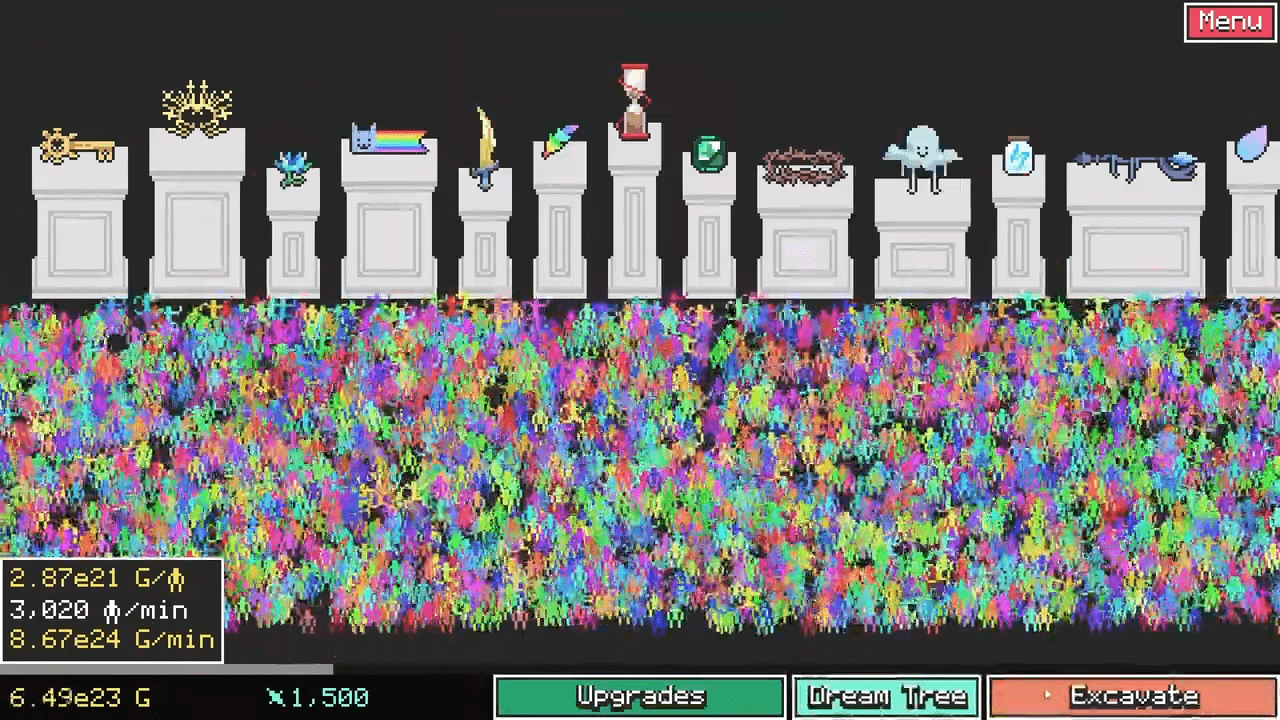
You are now deep into the game mechanics. By this point, you have performed several resets and your Dream Tree is starting to look quite full. This is the stage where you focus on the Sleep Cycles achievement and further optimization of your dream powers.
Achievement: Sleep Cycles
This achievement triggers when you prestige for the fifth time. You will see it pop as soon as you view the Dream Tree.
For your upgrades this time, follow the route through Semblance and Inspector to reach the Dream Pocket. This route removes almost all of the negative parts of the prestige. You still need to go to each excavation area to get the dream fragments, but with the Dream Pocket, you can ensure that you have every relic in each level. At this point, finding dream fragments is easier than ensuring you have everything, as RNG can sometimes withhold a specific relic type for a long time. Prestige again once you have all fragments and relics from this run.
Harnessing the Third Eye
The Seventh Prestige introduces the most powerful vision upgrades. You must unlock the Third Eye if you have not already. This opens a powerful line of buffs including Mystic Scope, Mystic Sight, and Dream Fragmentation. You should also take this opportunity to unlock the Wish upgrade.
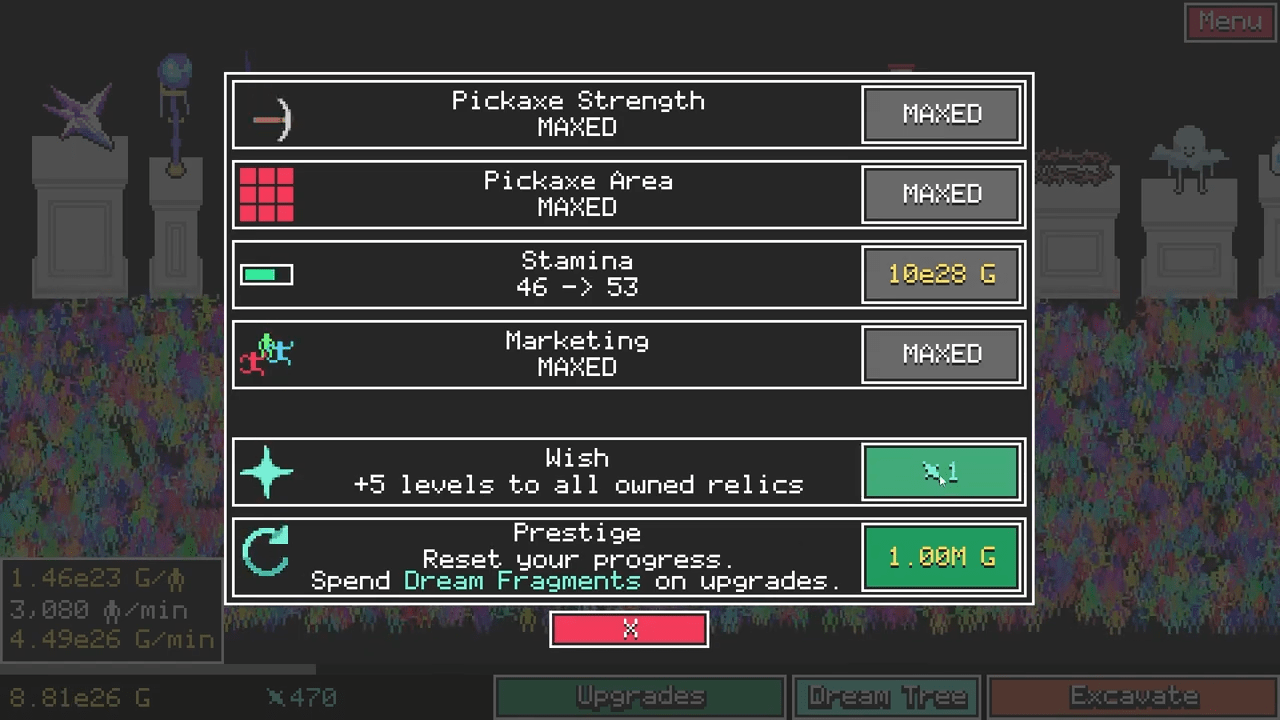
If you have extra dream fragments, you can also get the Analyzer. This helps with a later achievement, although we are not grinding specifically for it yet. Now, collect all the dream fragments from each location. You can now use the Wish feature in the upgrades shop to add one level to all of the relics. Increasing relic levels increases your income, but avoid wasting too many fragments on the wish until you get other dream tree upgrades.
Volcanic Wasteland
This location costs 6.00T to enter. Make sure to get all the dream fragments and relics from this fiery area before moving to another prestige.
Capitalizing on Endless Dreams
In this prestige, your fragment income will reach astronomical levels. You need to invest in Collapsing Dreams followed by Endless Dreams. You can finish the Endless Dreams path here as its total cost is 40, but it will net you 200 additional dream fragments in a single prestige.
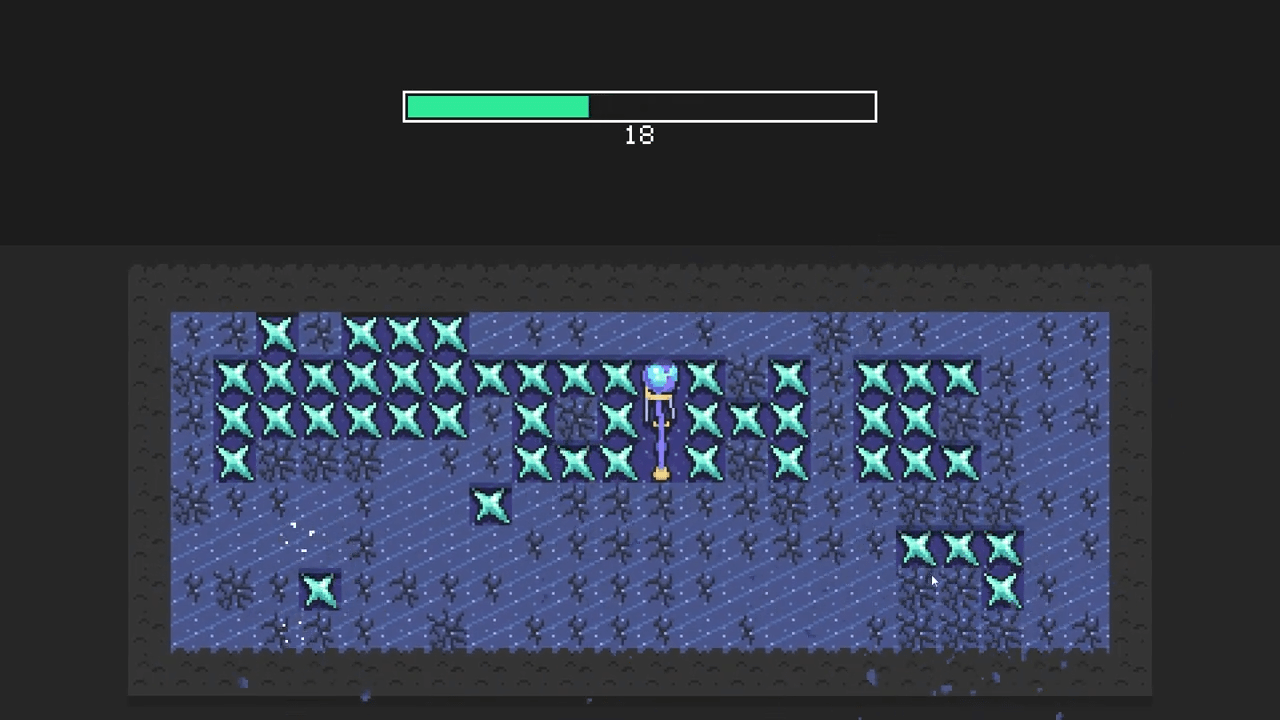
Because of these upgrades, smaller levels like the Mud Pit and the Forest of Secrets will not have enough space to have all of the dream fragments they can offer. You must excavate them, restart the level, and excavate them a second time to claim every fragment.
Cloudtop Castle
This location costs 3e15 gold. Once you gather all the relics and dream fragments from this high altitude location, you will be ready for another prestige.
Reaching the Rainbow Bridge
You are now approaching the end of the game. For your upgrades, it would be smart to invest in Miracle, as it would improve the performance of your Wish ability. You should have enough dream fragments by now to finish almost all of the dream tree upgrades.
Achievement: Level 100
After the analyzer upgrade, this should come naturally as you progress through the game.
After you finish Cloudtop Castle again, you should be near the unlock fee for the next location. If you do not have enough money, simply use the Wish button a little bit to reach your goal.
Rainbow Bridge
This location costs 9e19 gold. Do not forget to perform normal upgrades to ease your life while digging here. After you get all relics and dream fragments, check if you have opened the Godlike Relics upgrade from the Dream Tree. If you have it, use the wish to make your relics reach 1000 levels. If not, prestige to get the upgrade and come back here.
Navigating the Astral Plane
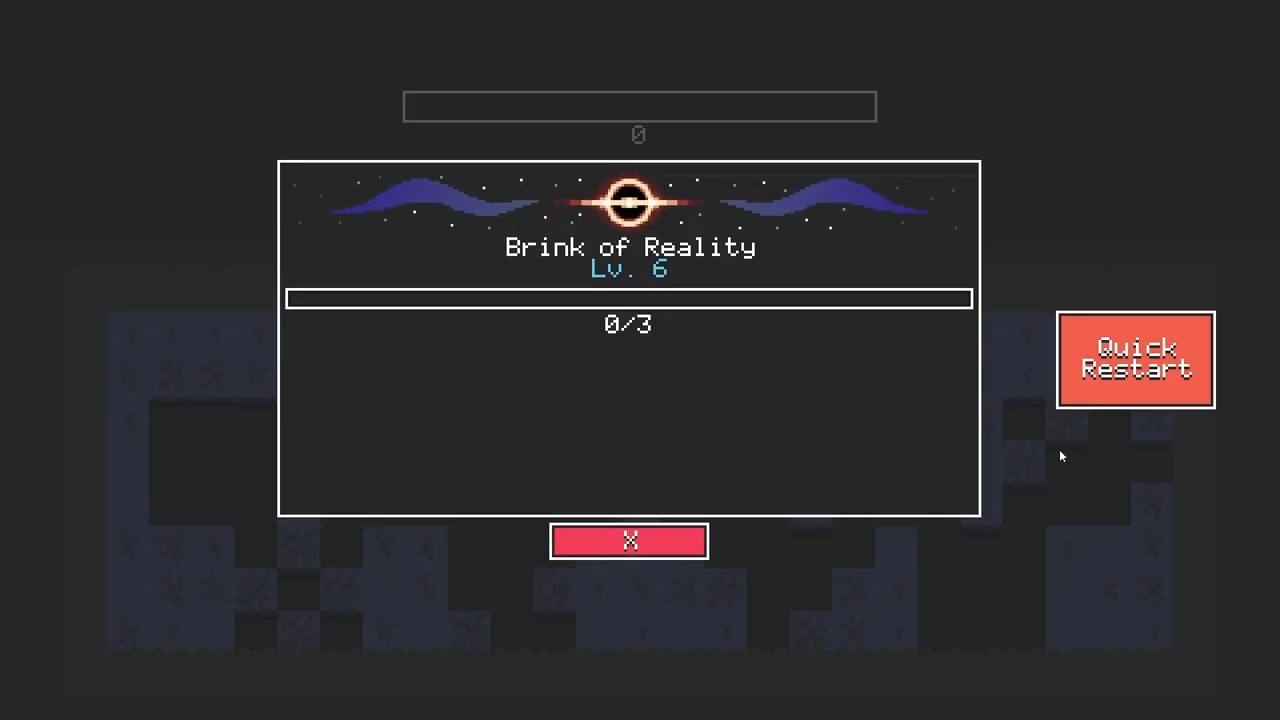
The tenth prestige is the final preparation for the end. You should unlock the Astral Plane, which costs 5e26 gold. While doing things in the Astral Plane, it is possible you will get the next achievement.
Achievement: Octillionaire
You earn this achievement by accumulating 1e27 G. This milestone usually triggers while you are excavating the Astral Plane.
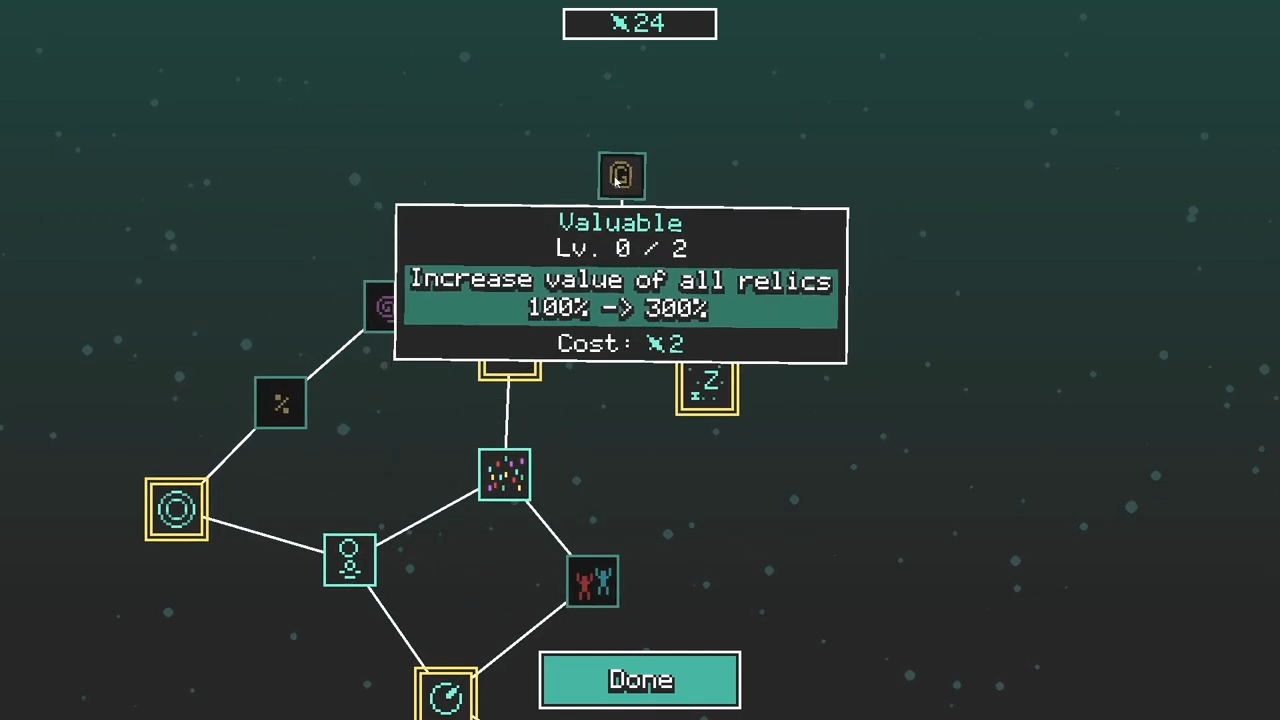
During this run, make sure to purchase the Astrology upgrade in the Dream Tree. This specific perk only becomes available after you have unlocked the Astral Plane.
Achievement: Level 1000
This achievement requires a relic to reach level 1000. We did this in the last prestige, but it only popped in this one for me after I finished the Mud Pit one time. I do not know what the game checks for this specifically. You do not need to find all relics to get the remaining achievements at this point, so you can go for the last prestige.
The Final Awakening at the Brink
You have reached the final chapter of your journey. In this eleventh prestige, you should be able to completely buy out all the upgrades in the Dream Tree. This is your victory lap through the game.
Achievement: Final Destination
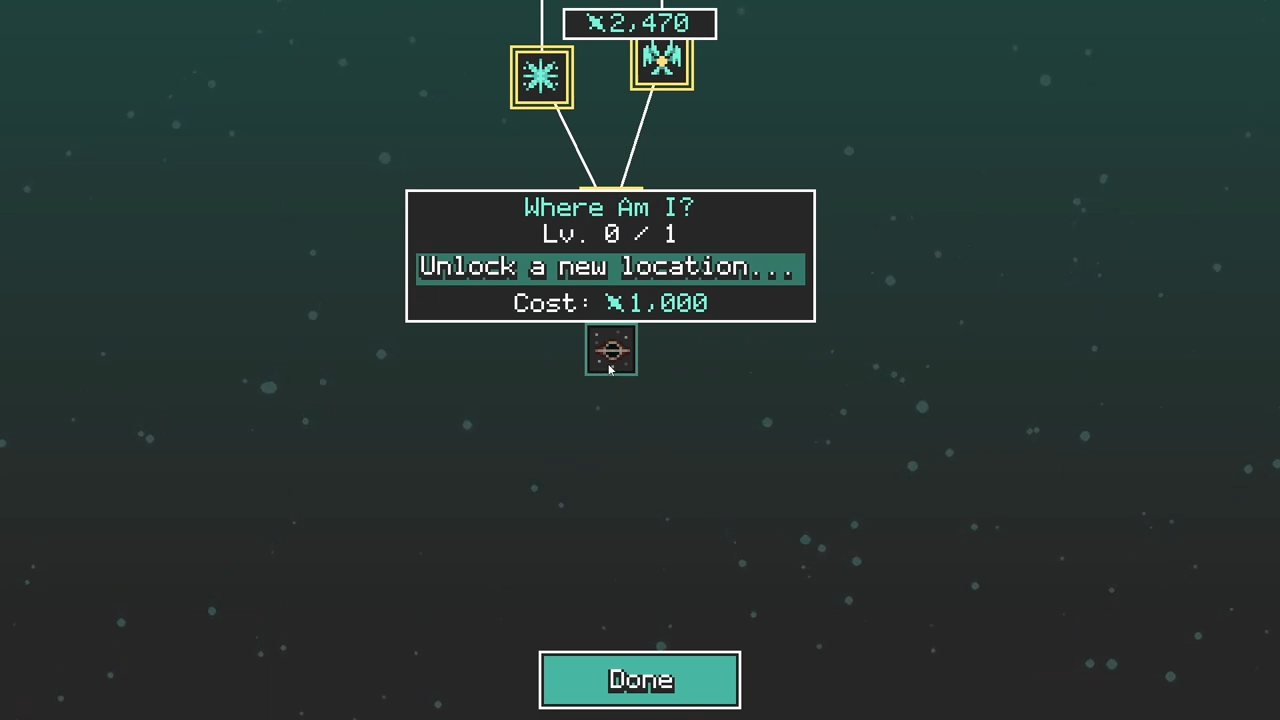
Buying the Where am I? upgrade in the dream tree will give you this achievement and unlock the final location.
Brink of Reality
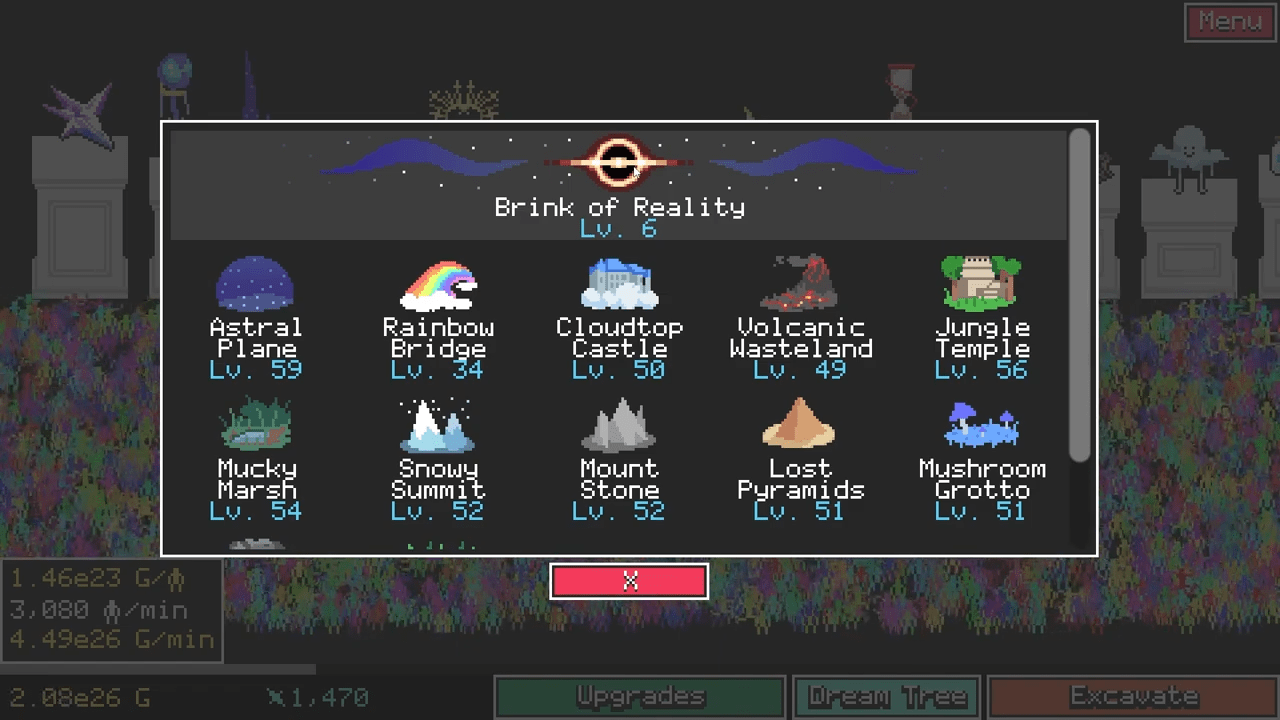
If you have enough dream fragments, you can go for this immediately. If not, just go to some other areas to get some more of them.
Achievement: Awaken
After you complete the Brink of Reality, you will get this achievement and beat the game. Congratulations on perfecting Digseum!
Conclusion and Final Thoughts
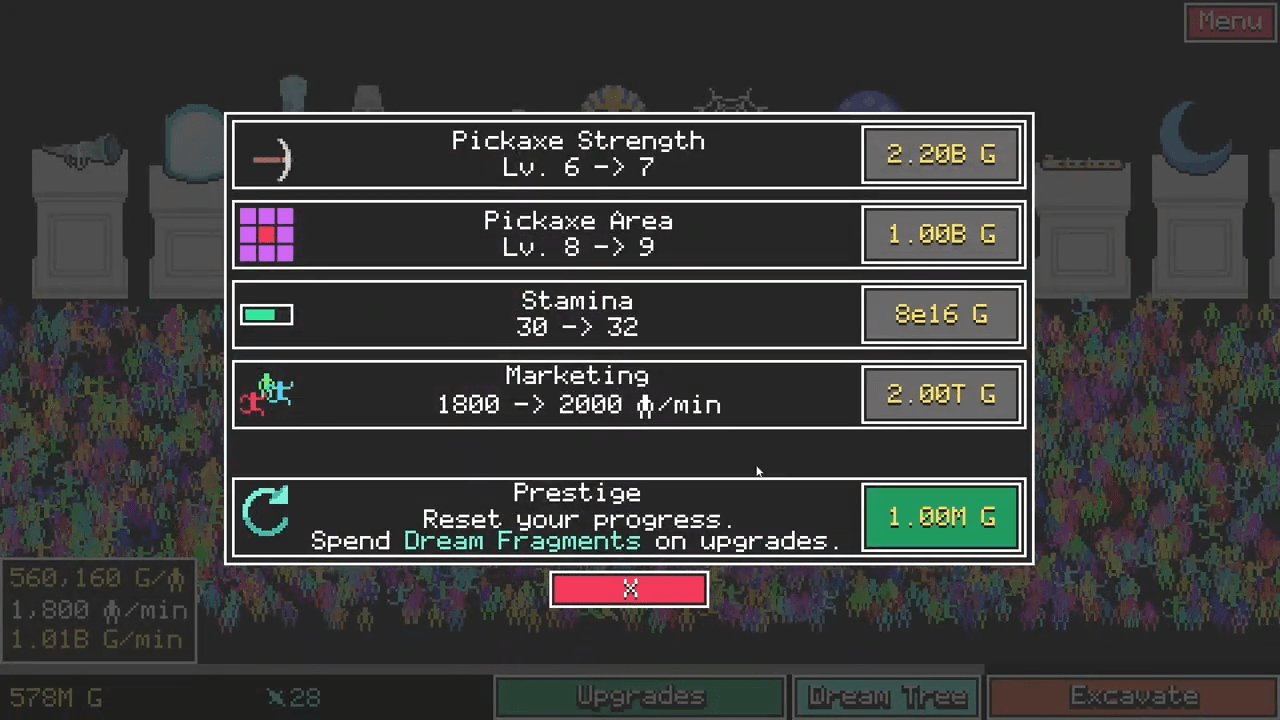
Congratulations on achieving 100% completion in Digseum! By following this chronological path, you have turned a short excavation game into a perfect record on your profile. You have navigated the complexities of the Dream Tree, managed your energy through the toughest Rocky Mountains, and reached the absolute limits of gold accumulation. Digseum is a testament to the satisfying loop of progression and the joy of discovery.Whether it was your first relic in the Mud Pit or the final awakening at the Brink of Reality, you have seen everything this unique world has to offer. We hope this guide provided the clarity and strategy you needed to make your journey as efficient as possible.
Your museum is now complete, and your collection of accolades is a perfect ten out of ten. Thank you for using this guide and happy gaming!

Leave a Reply